
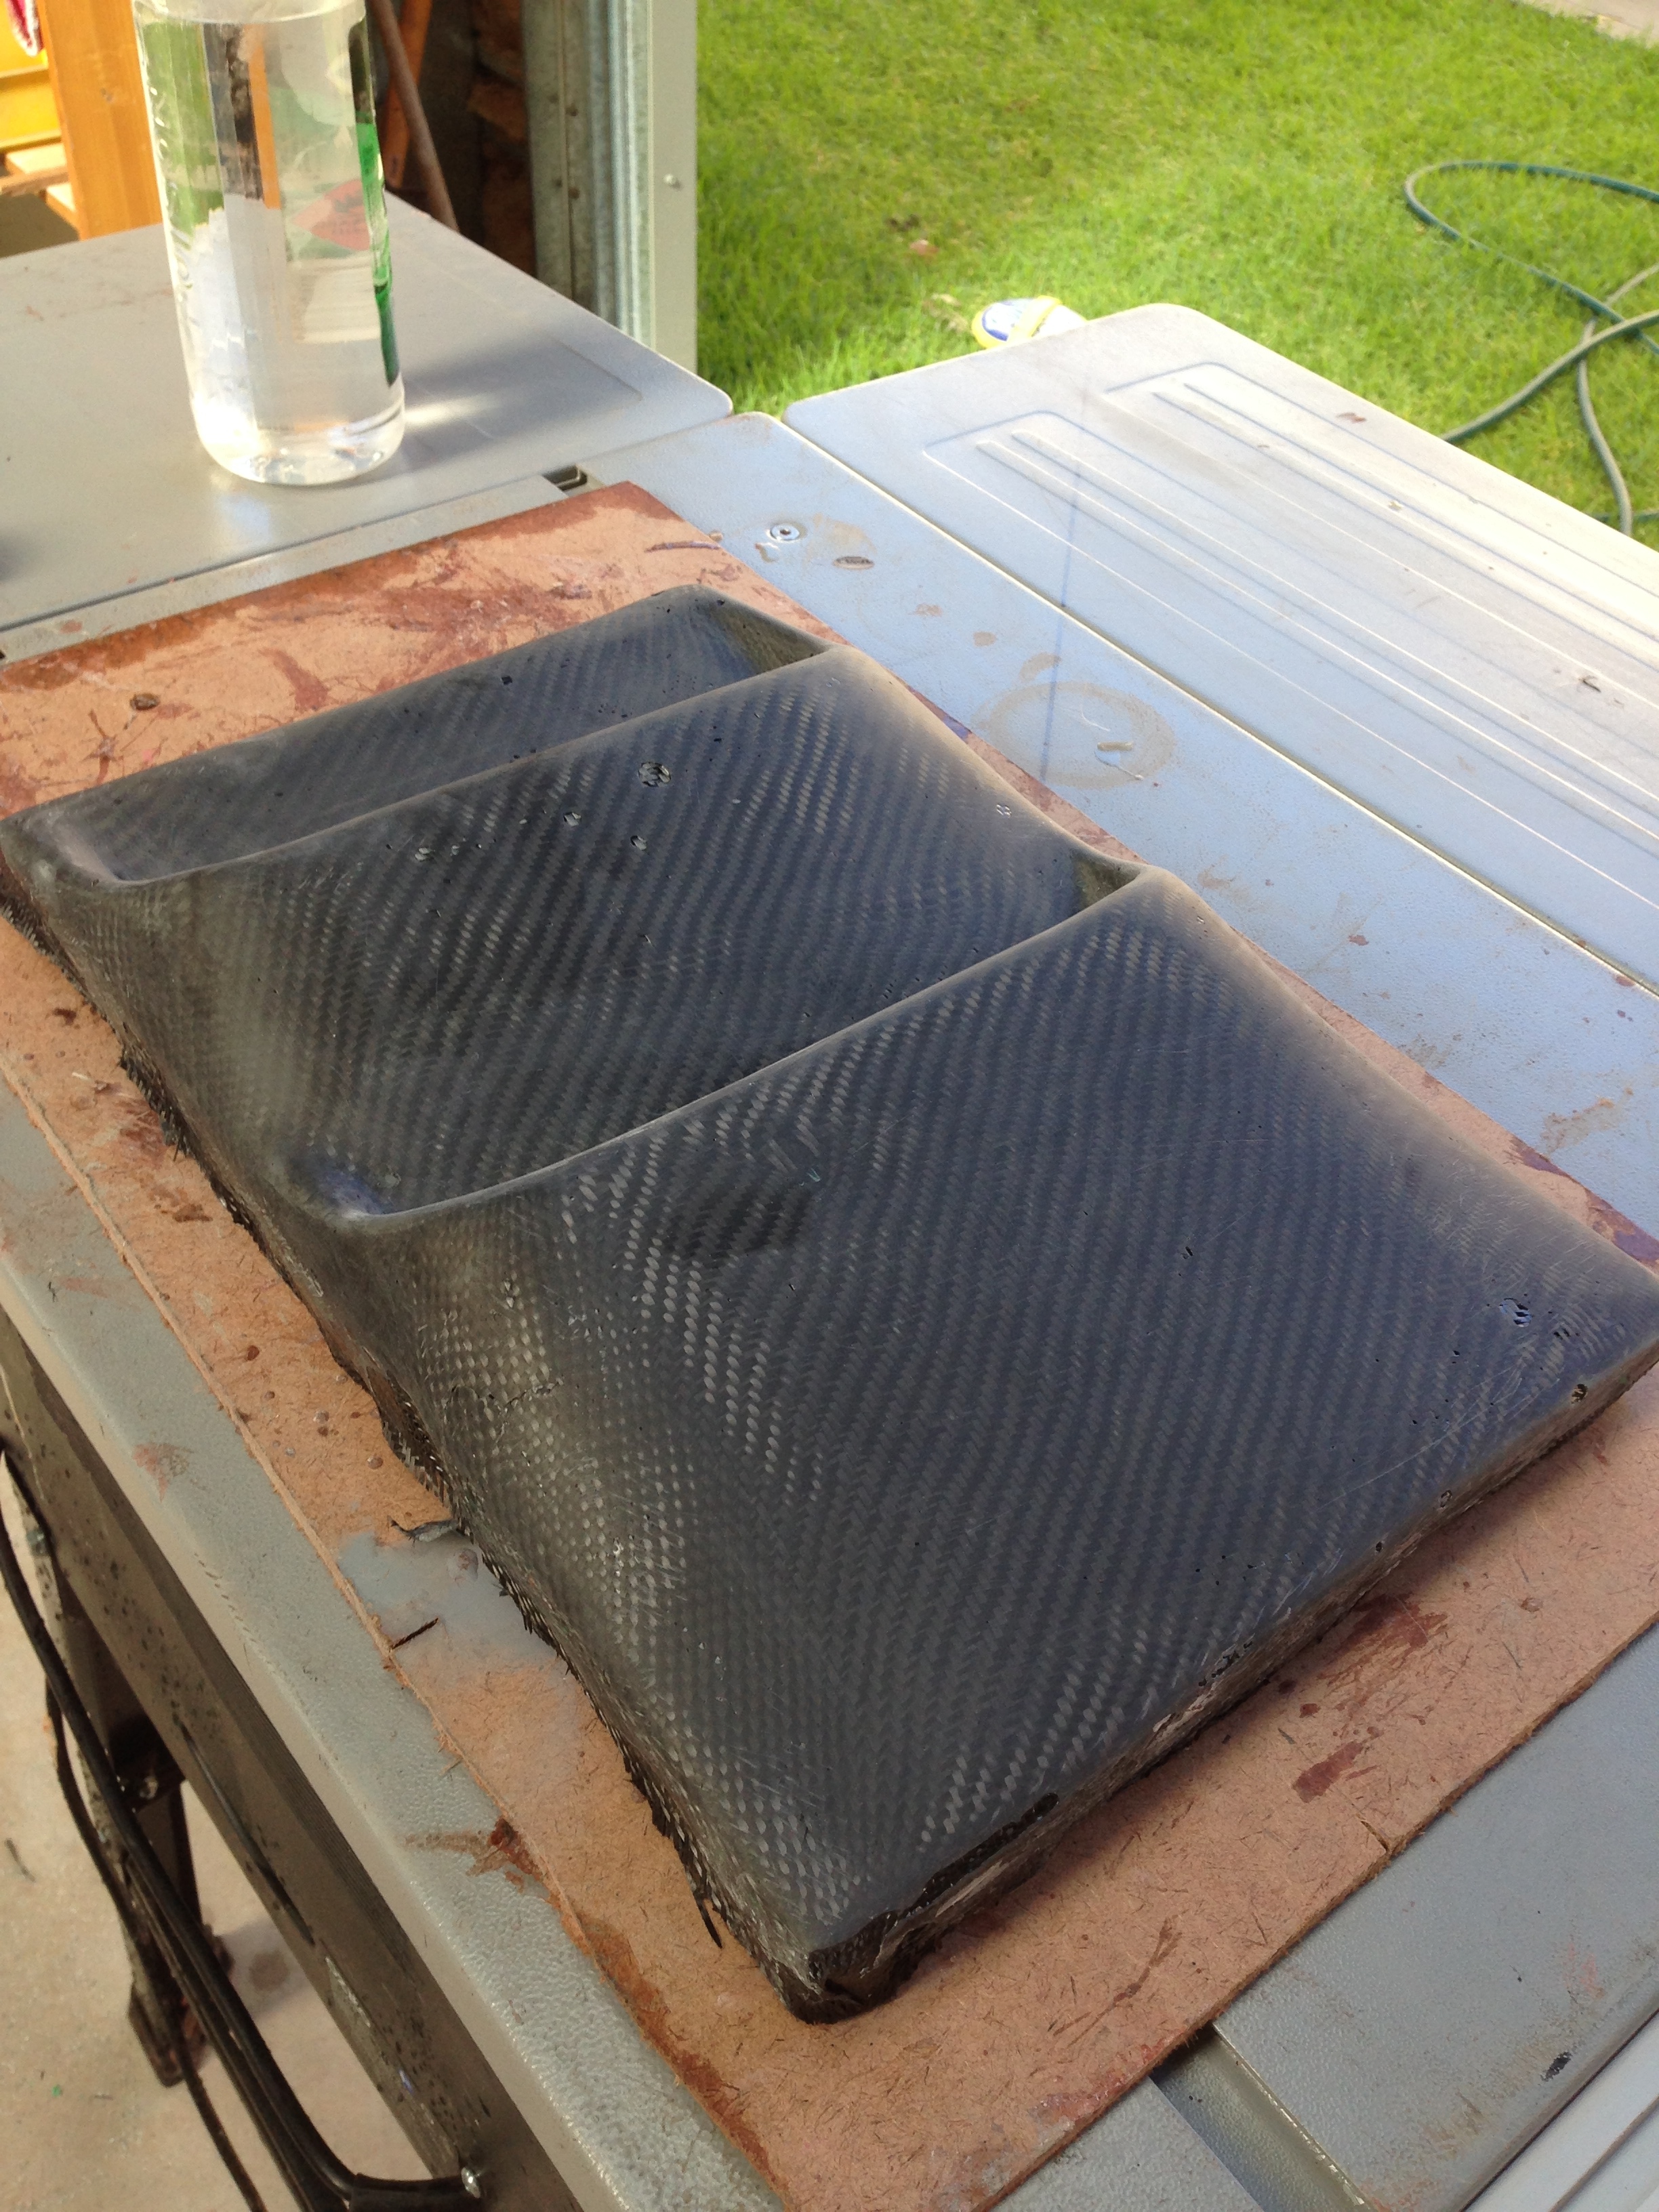
After waxing the mould with a bunch of coats of release wax, I laid down a thick coat of resin and then started to work the first layer of carbon cloth into the mould. Being the first time I had worked with carbon fibre, I found it a bit of a challenge getting the fabric into the mould without disturbing the weave. With hindsight I would have spent a bit more time smoothing off the edges of the mould to stop it from jagging the carbon cloth. I probably would have also started with a slightly less complicated mould for my first effort! I ended up using two layers of carbon to get some good strength into the scoop.

Once the carbon had set overnight, I started trying to wrestle it out of the mould. As with the template, I had all sorts of problems getting the scoop out. After about an hour of yanking at it and swearing, I finally got the scoop out but unfortunately cracked both the carbon scoop and significantly damaged the mould as well. This was disappointing as I need to create two of these scoops for the car and I need them to be near identical for it to not look odd.

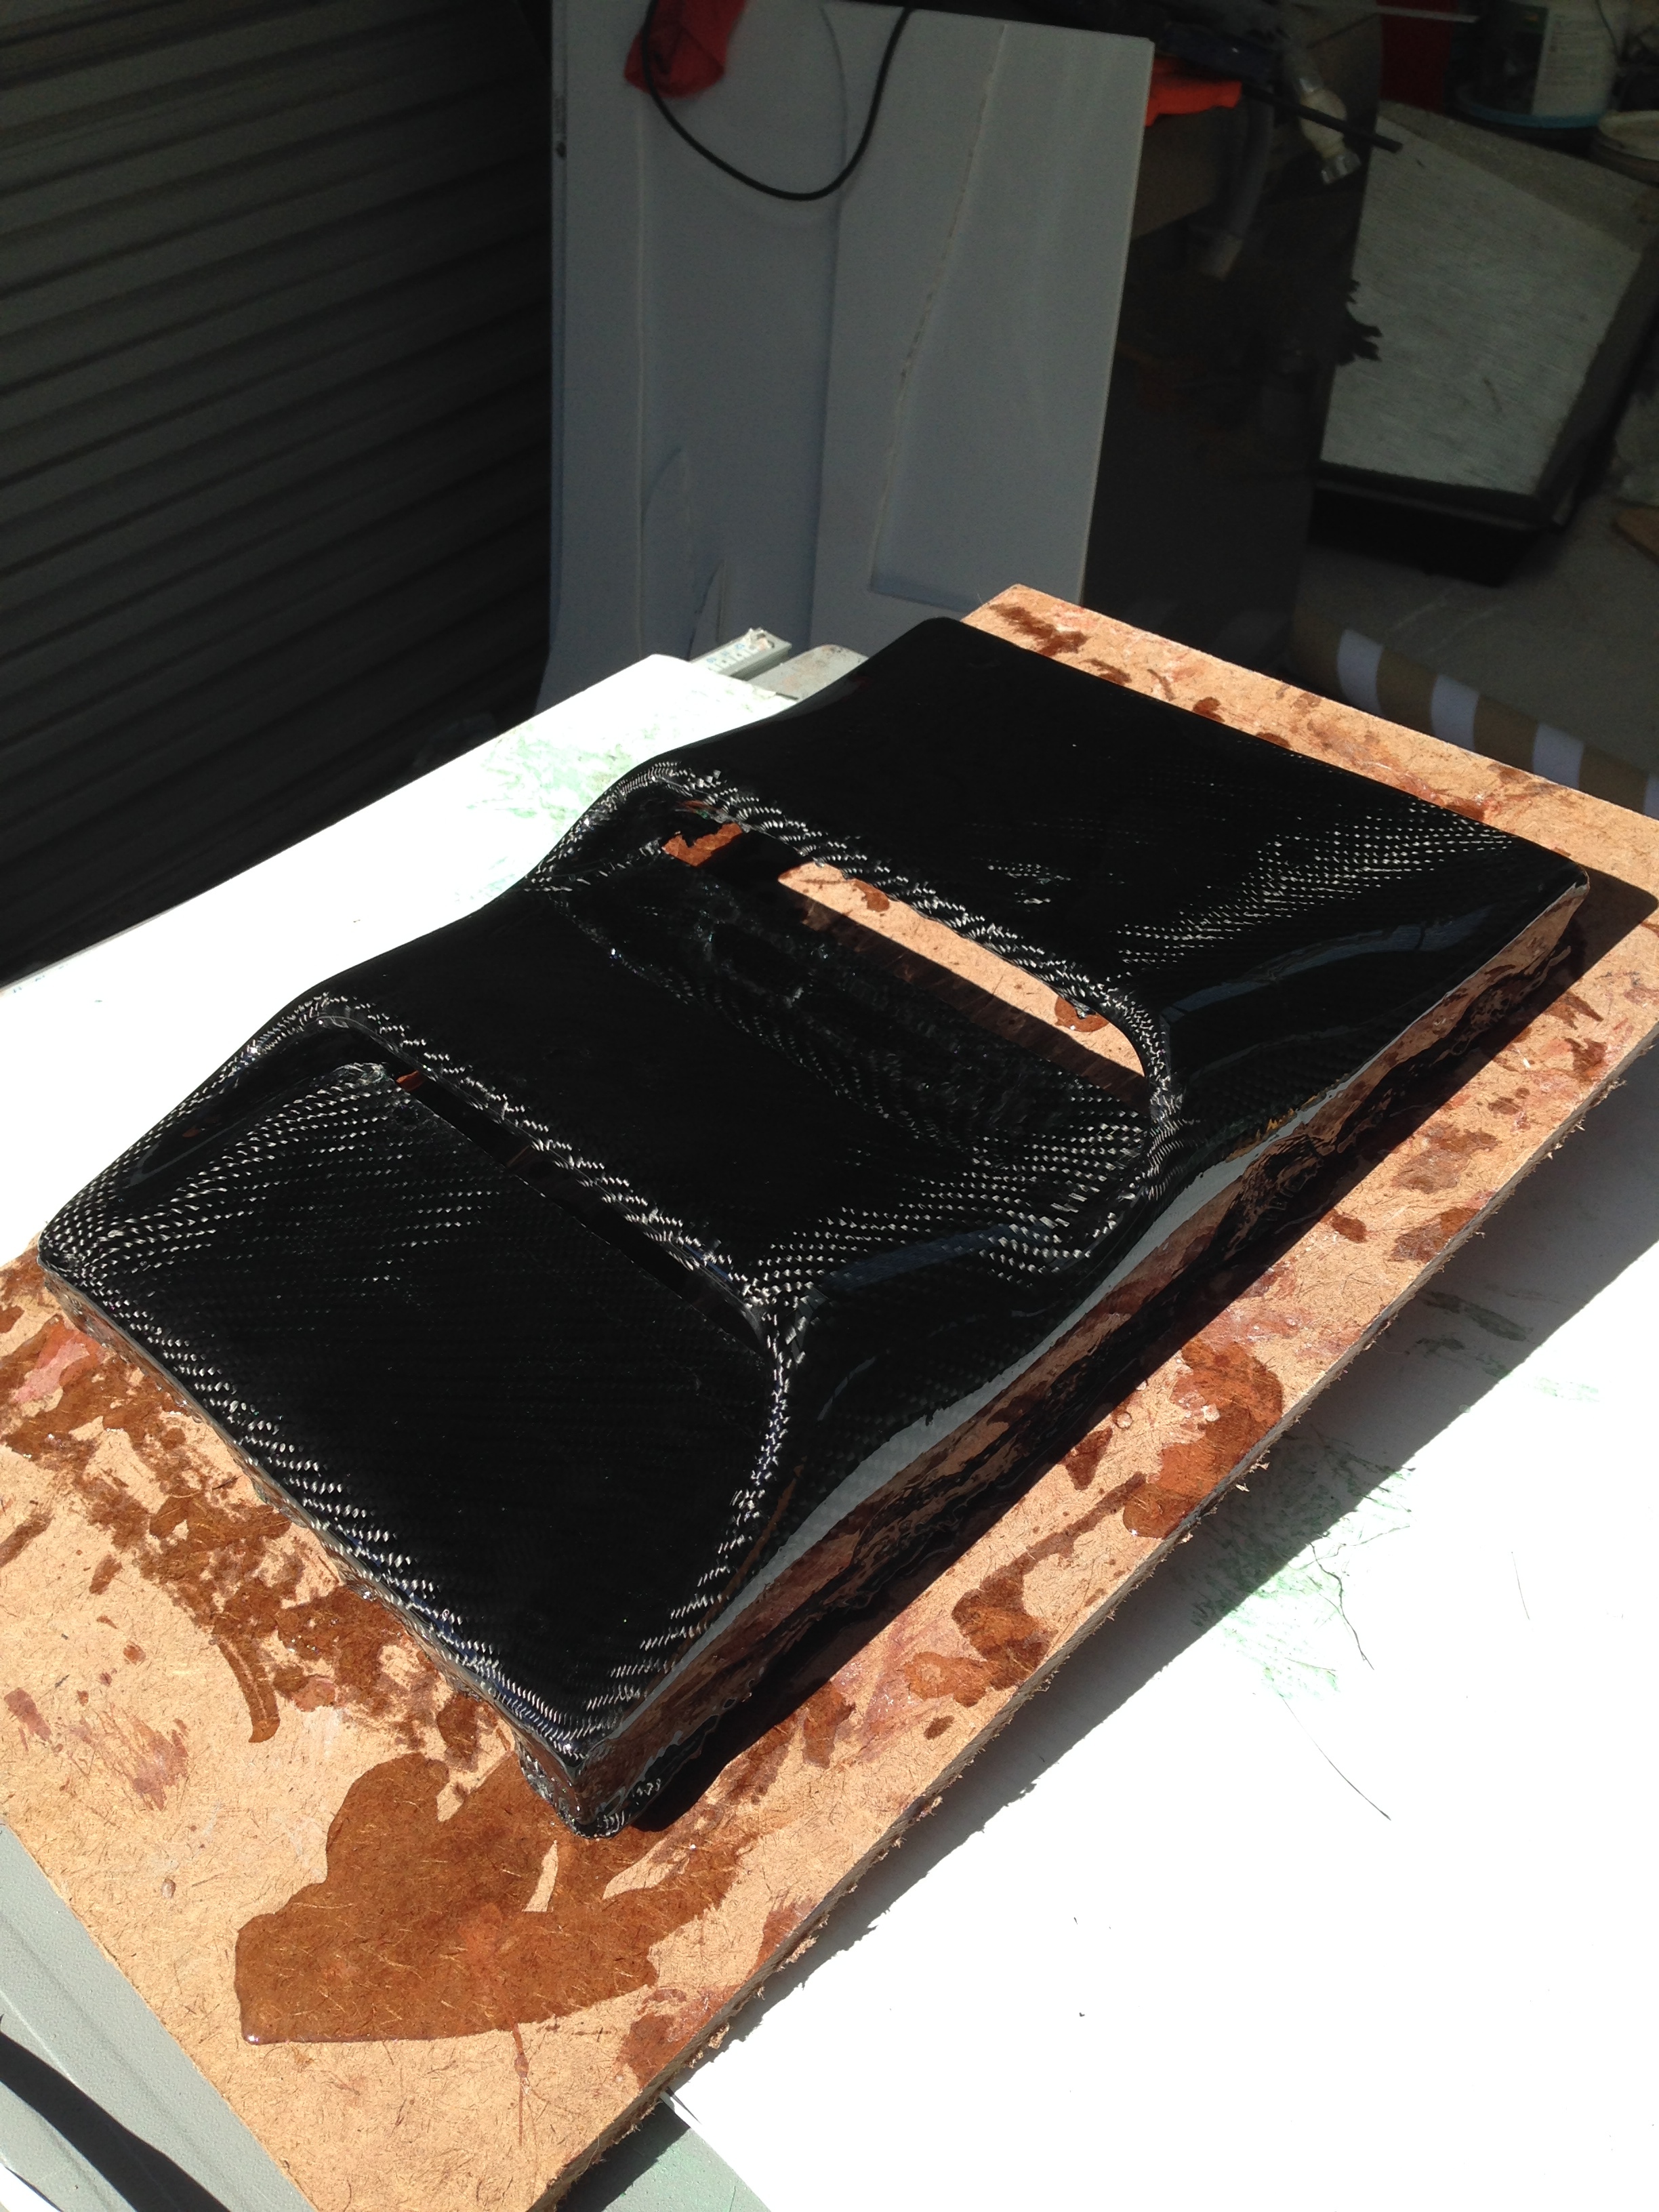
After a few more hours of sanding I had something that looked sort of like what I wanted.


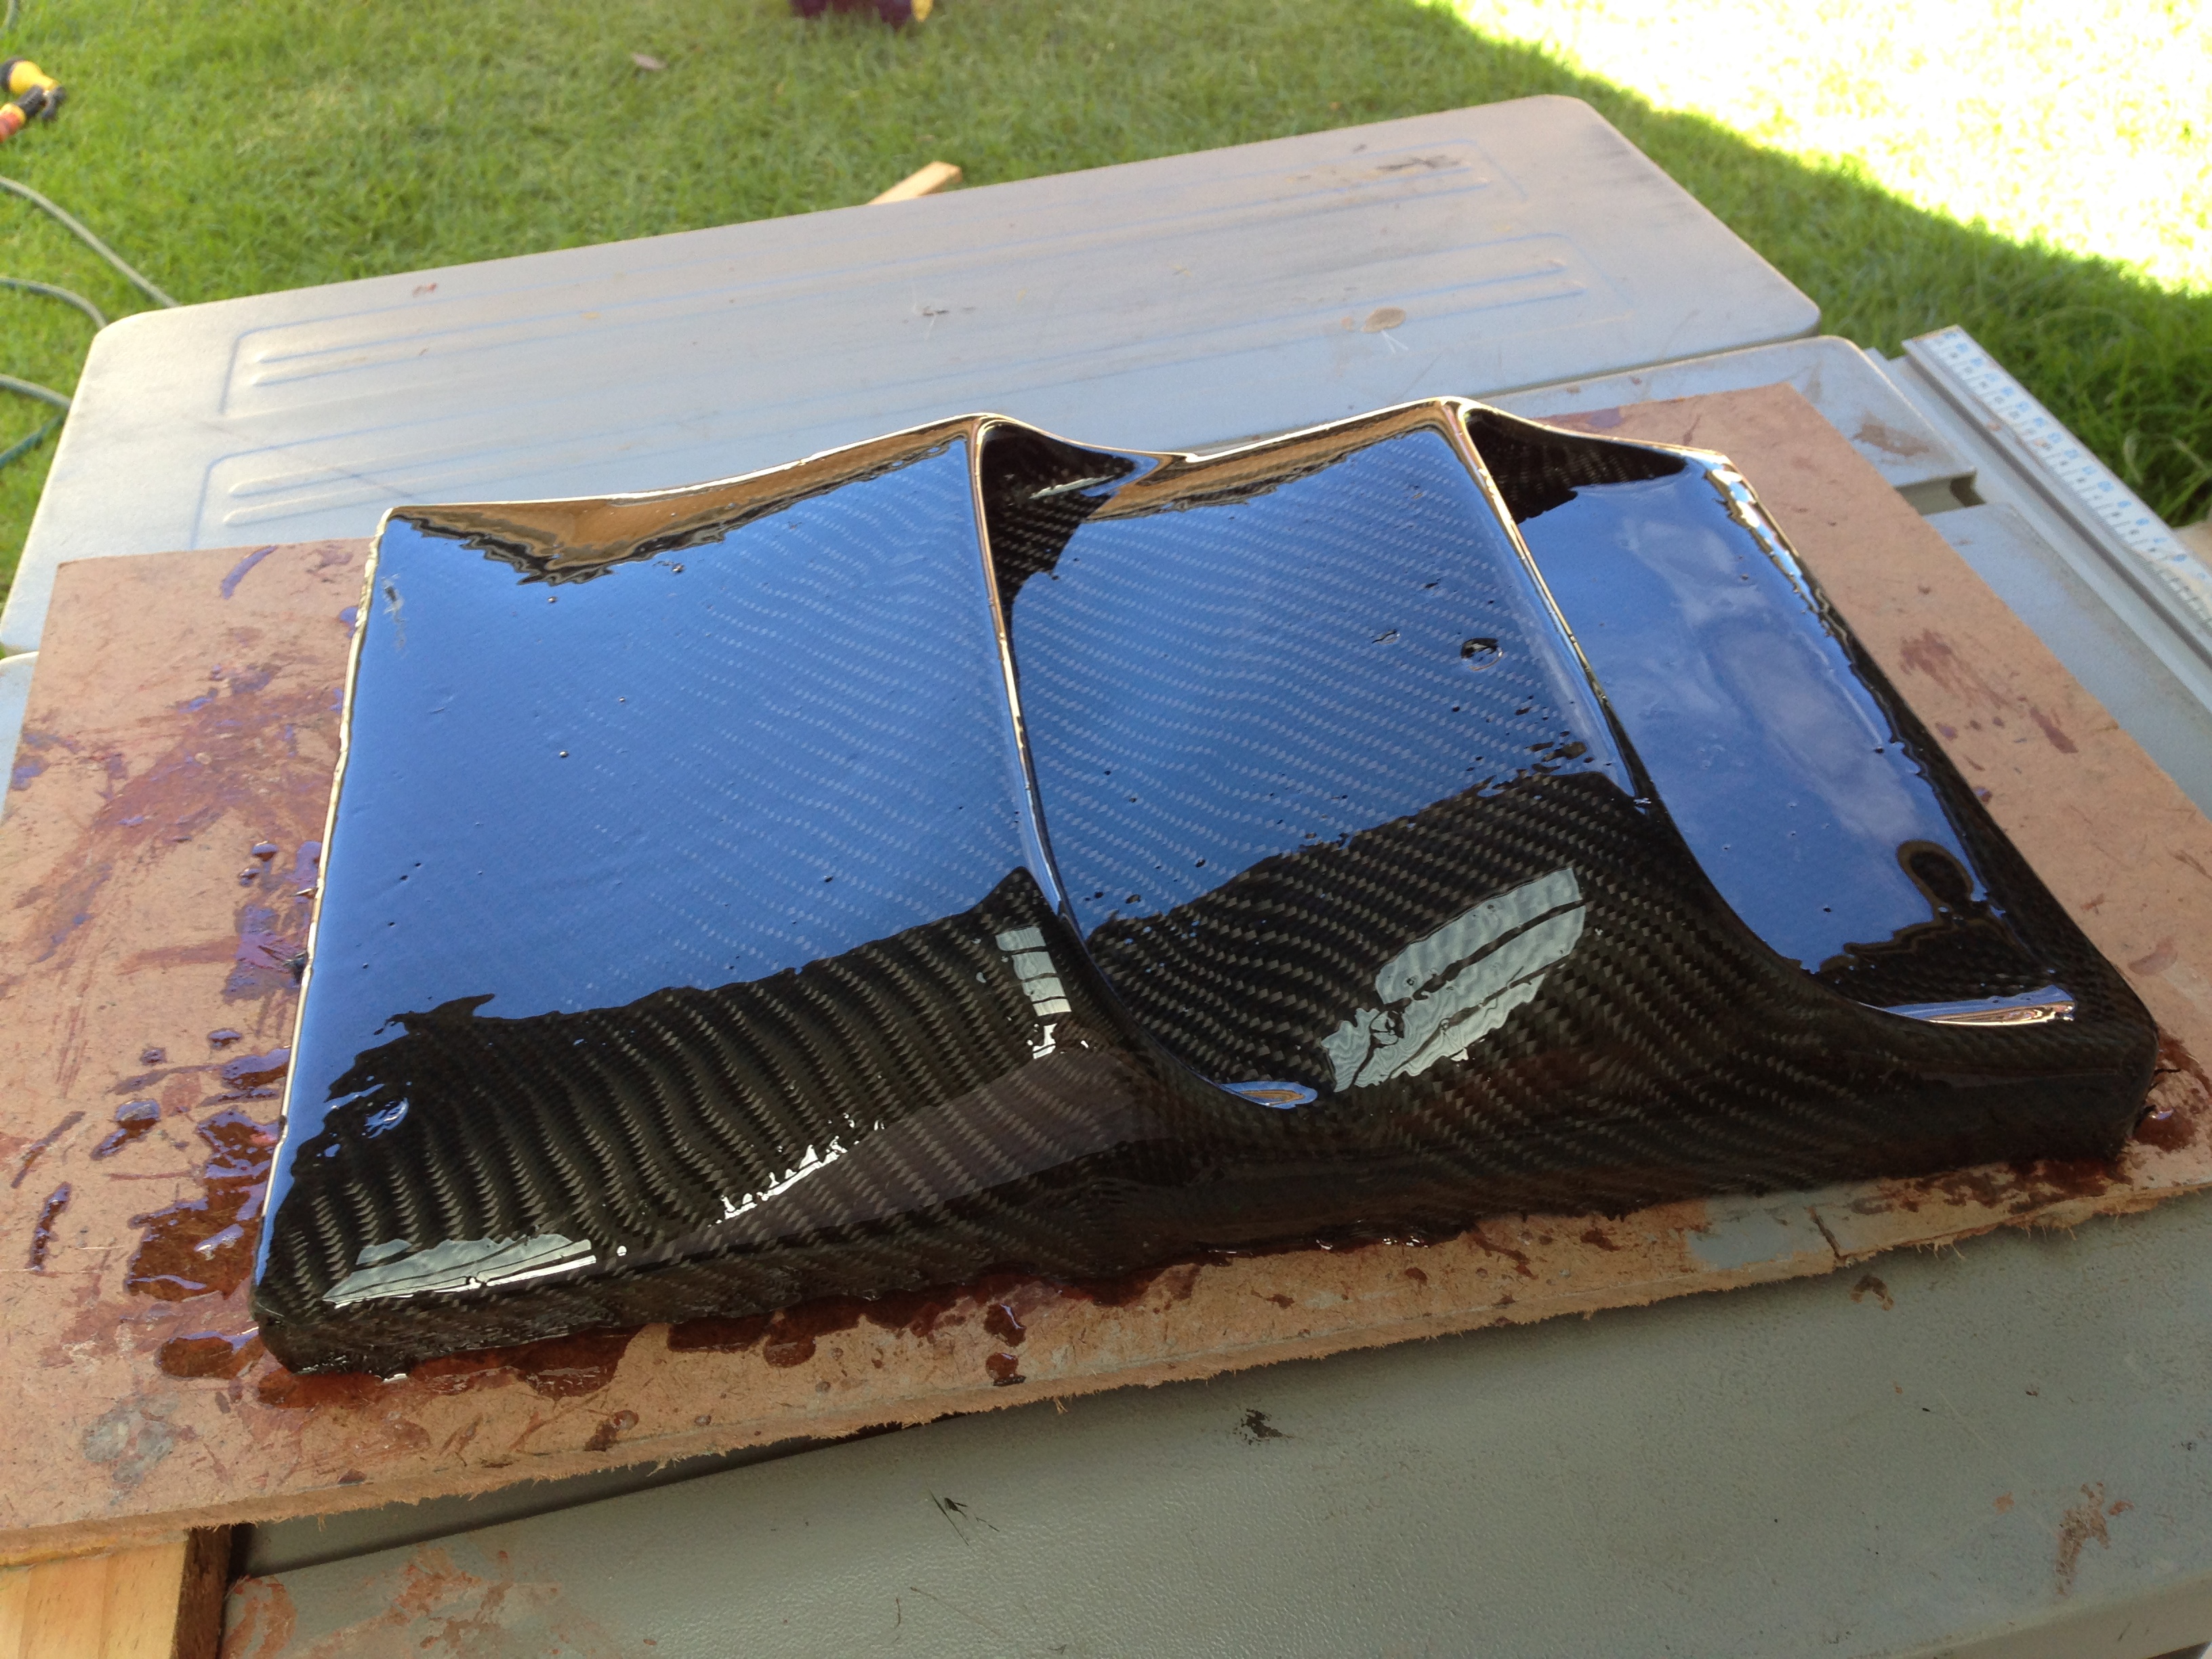
Having sanded out all the gross imperfections, I laid on another coat of resin. There were several areas where the resin hadn’t impregnated the carbon fibre at all, so left deep defects in the surface that would prove hard to correct. I guess this is the advantage of using a vacuum bagging technique, but I wanted to start simple and not throw to much money at equipment for my first go.


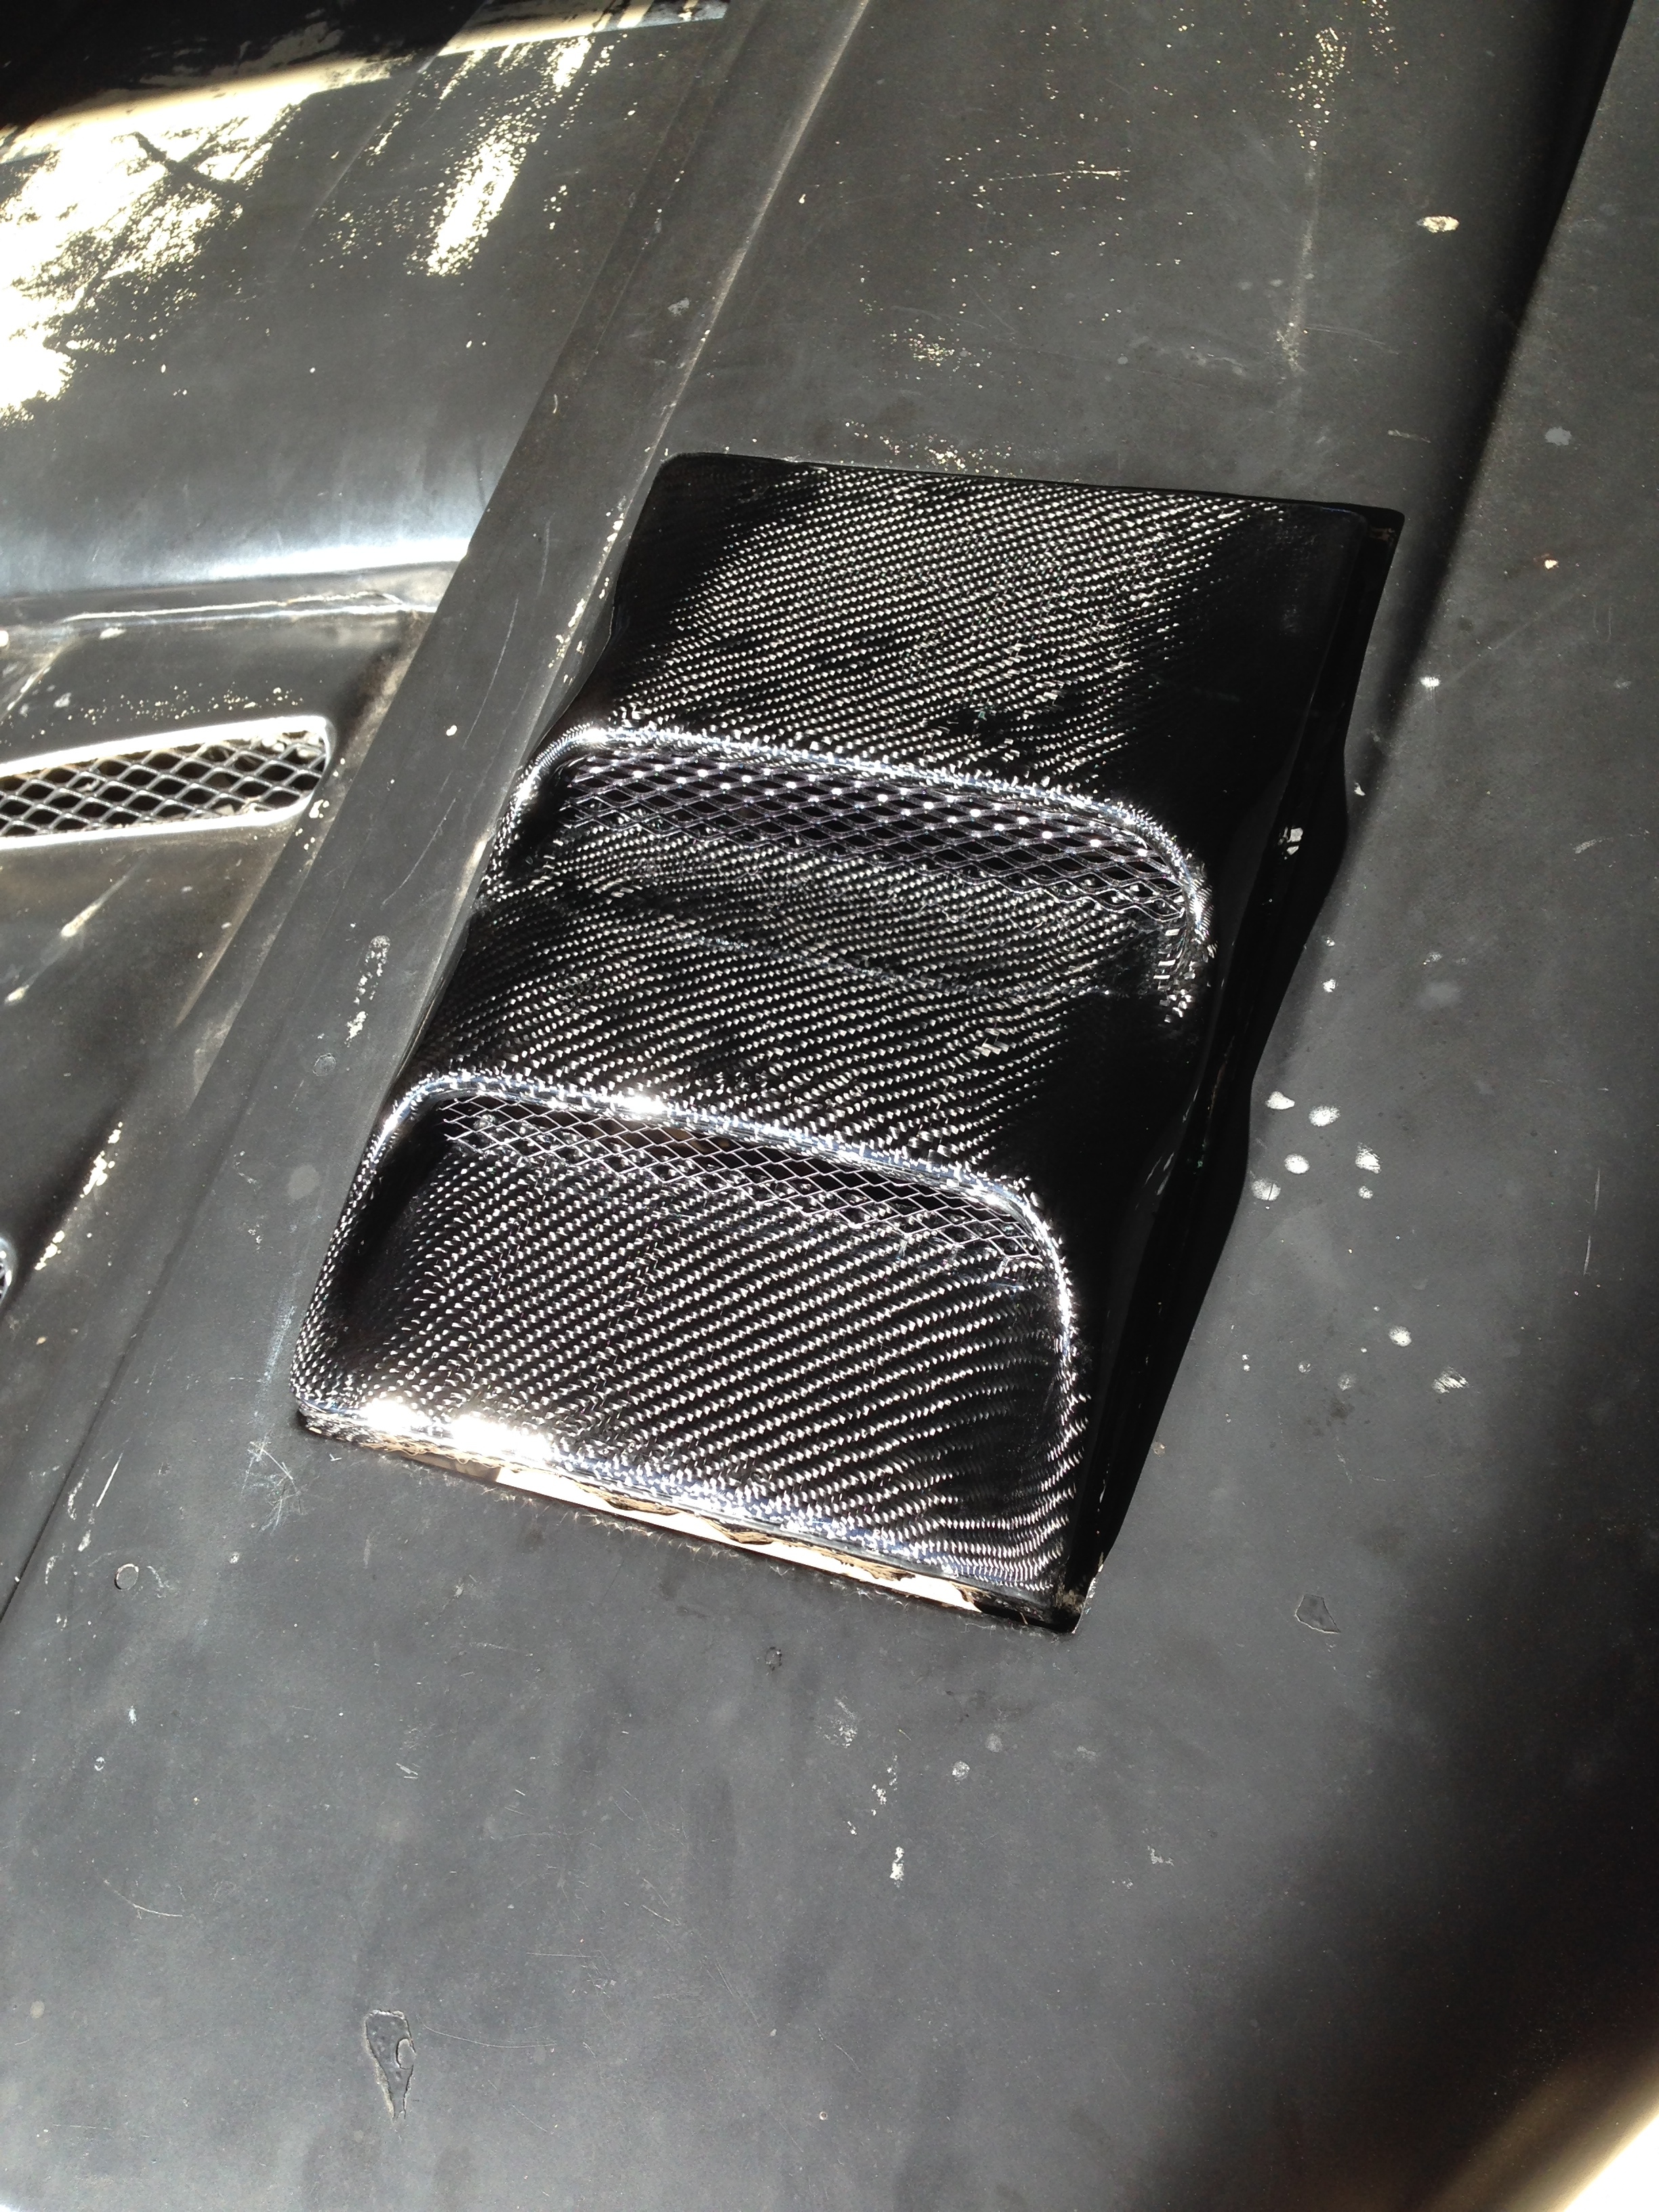
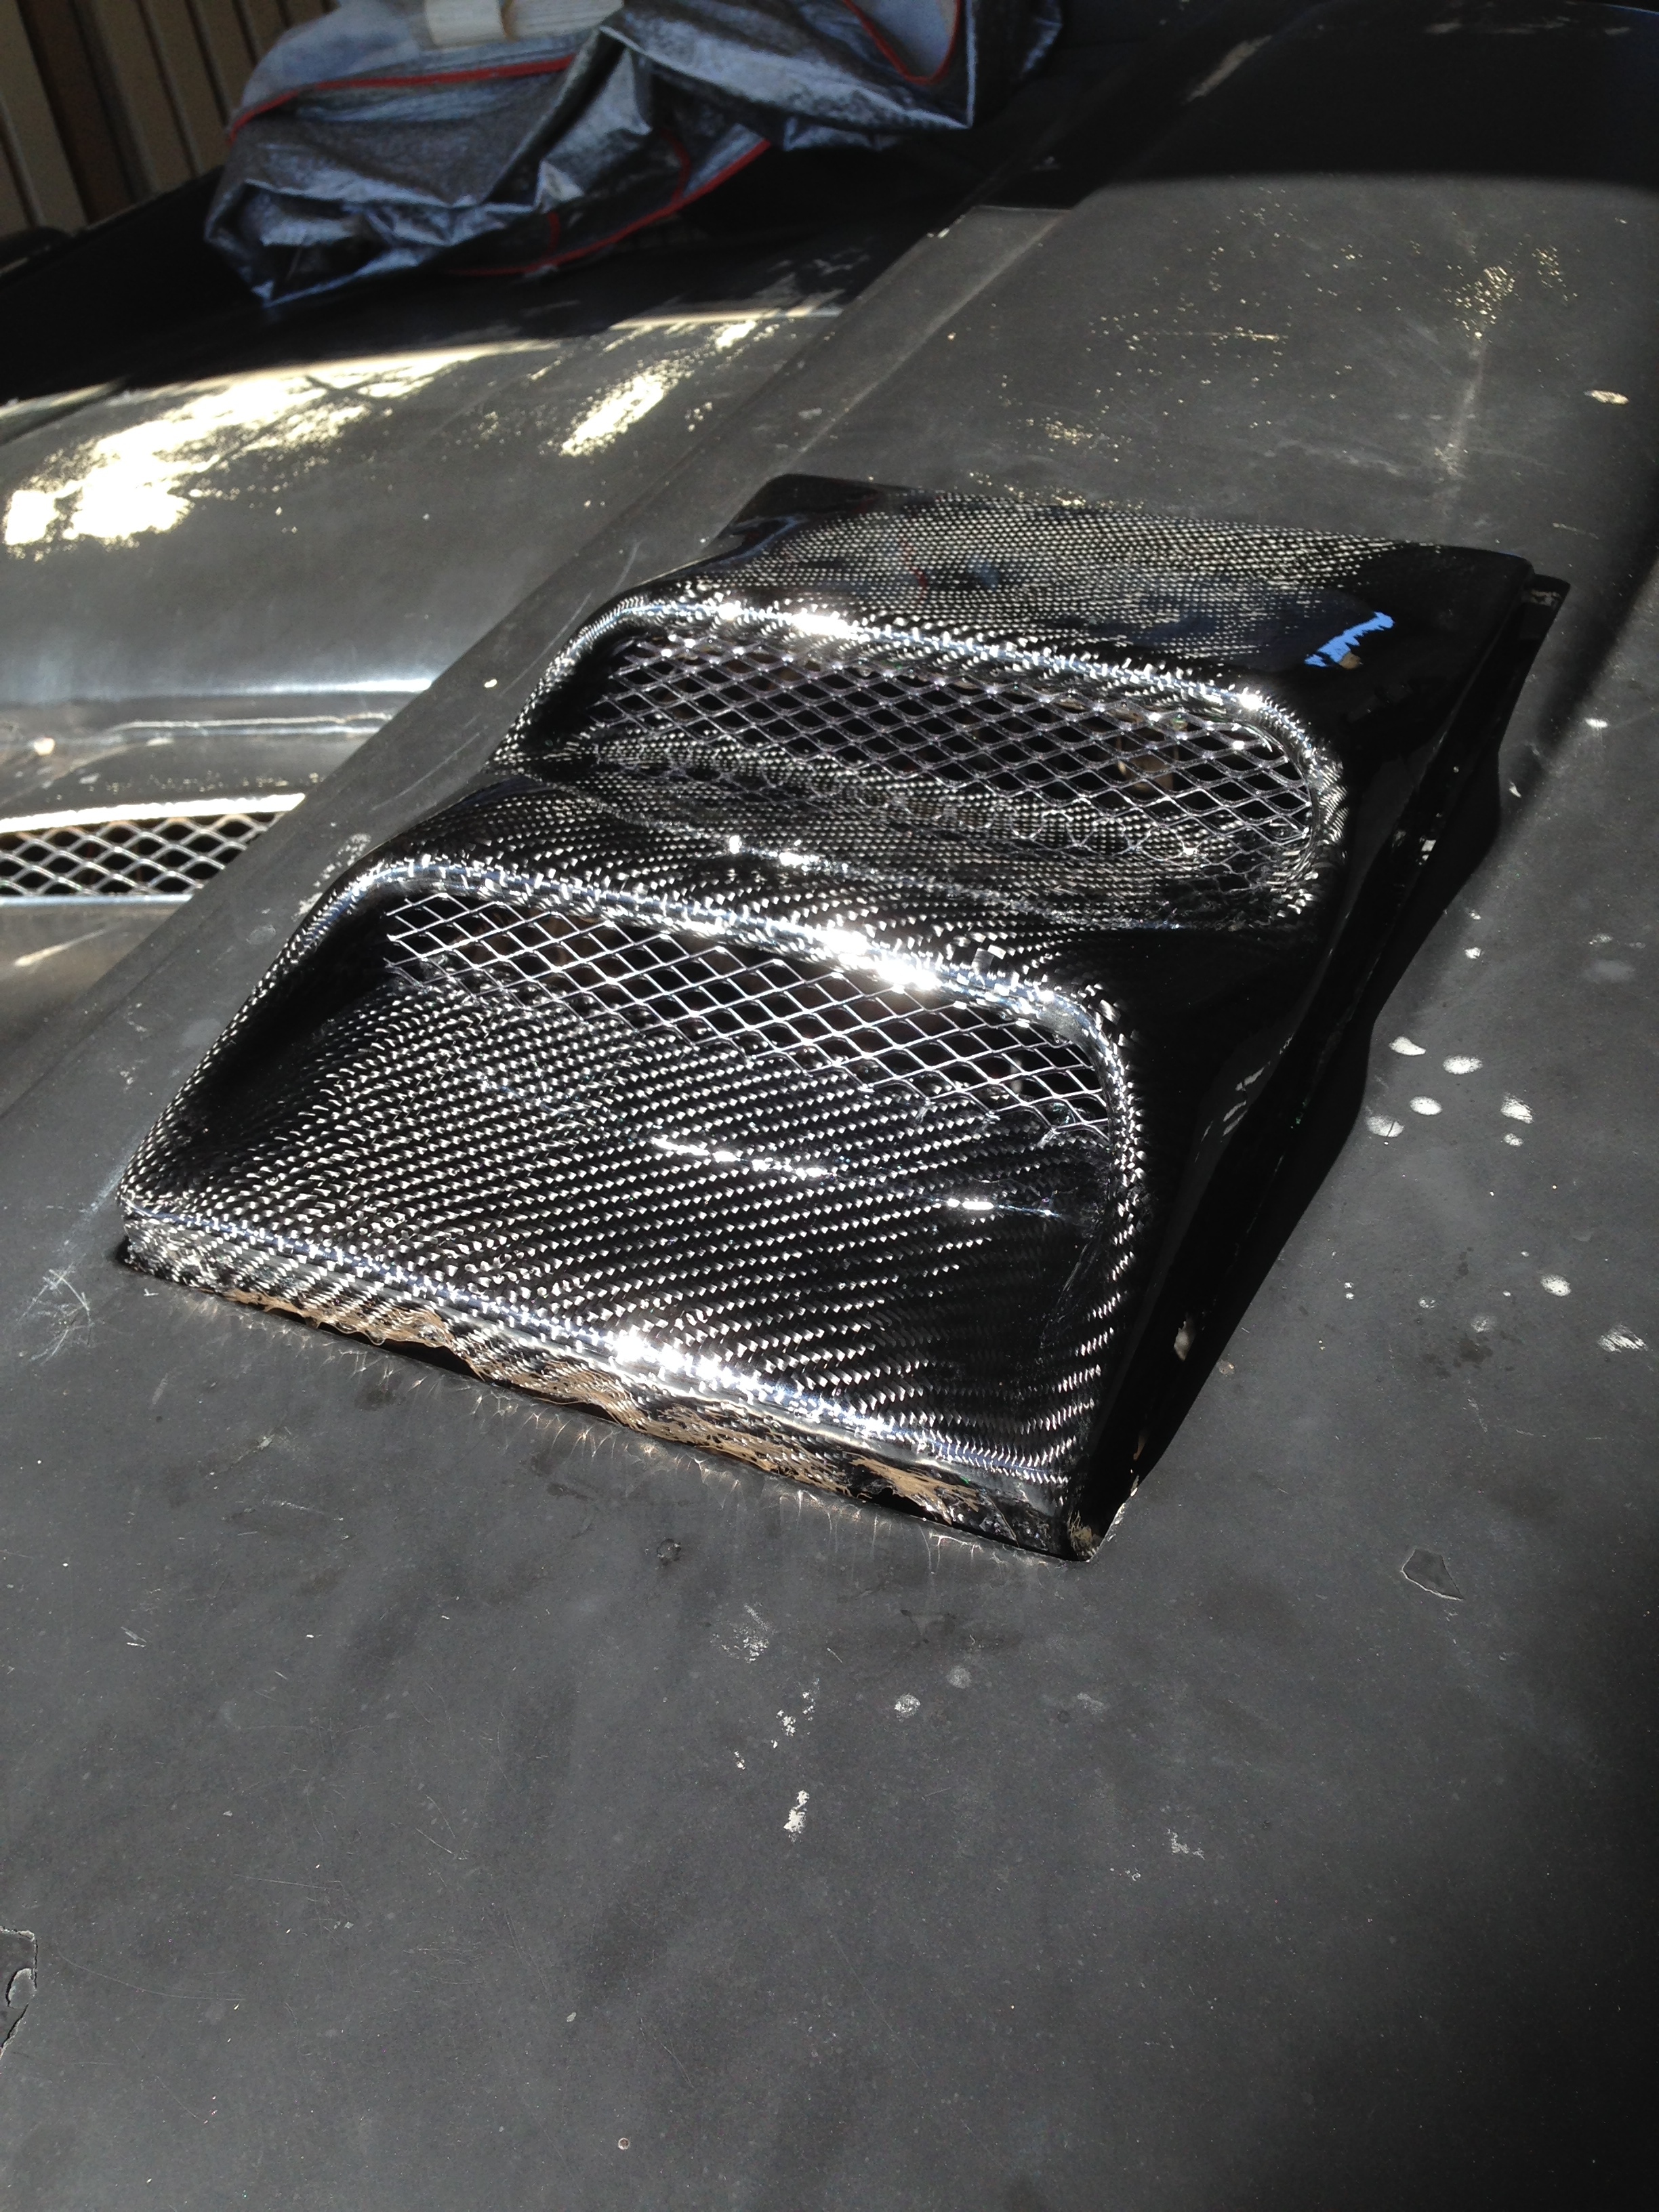
More sanding, more resin, and a couple of pieces of mesh later.


And a test fit into the car
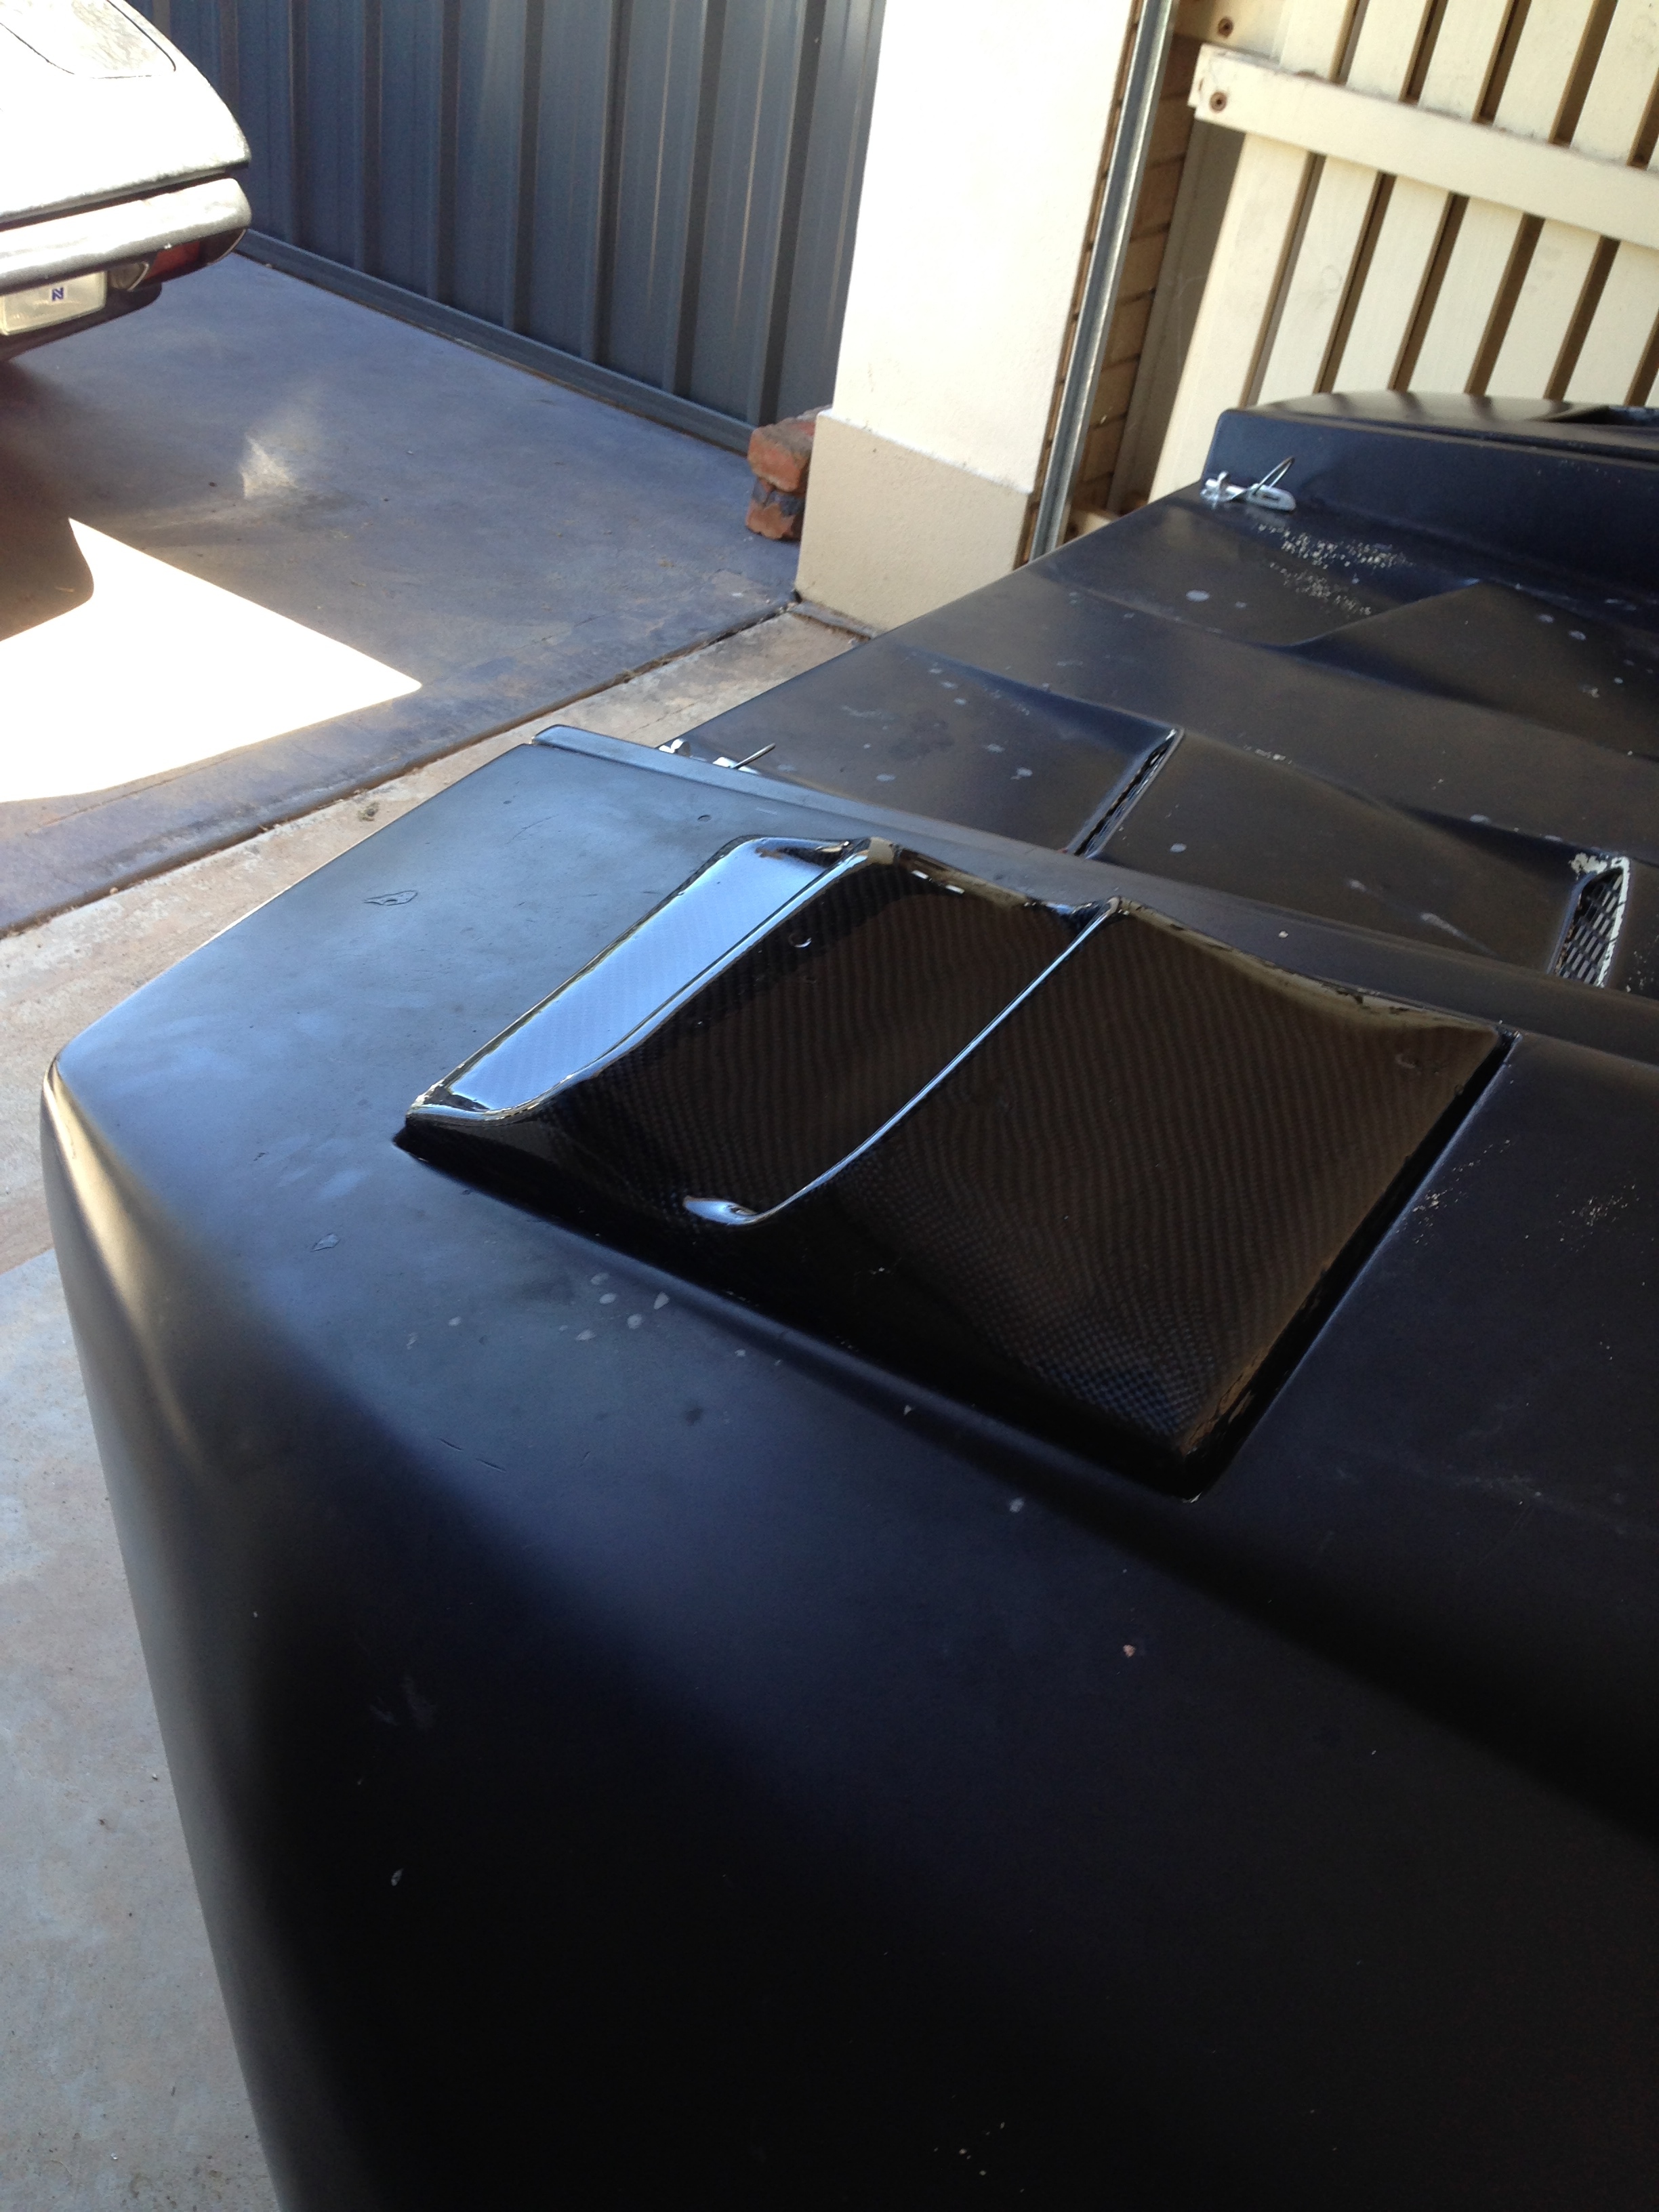

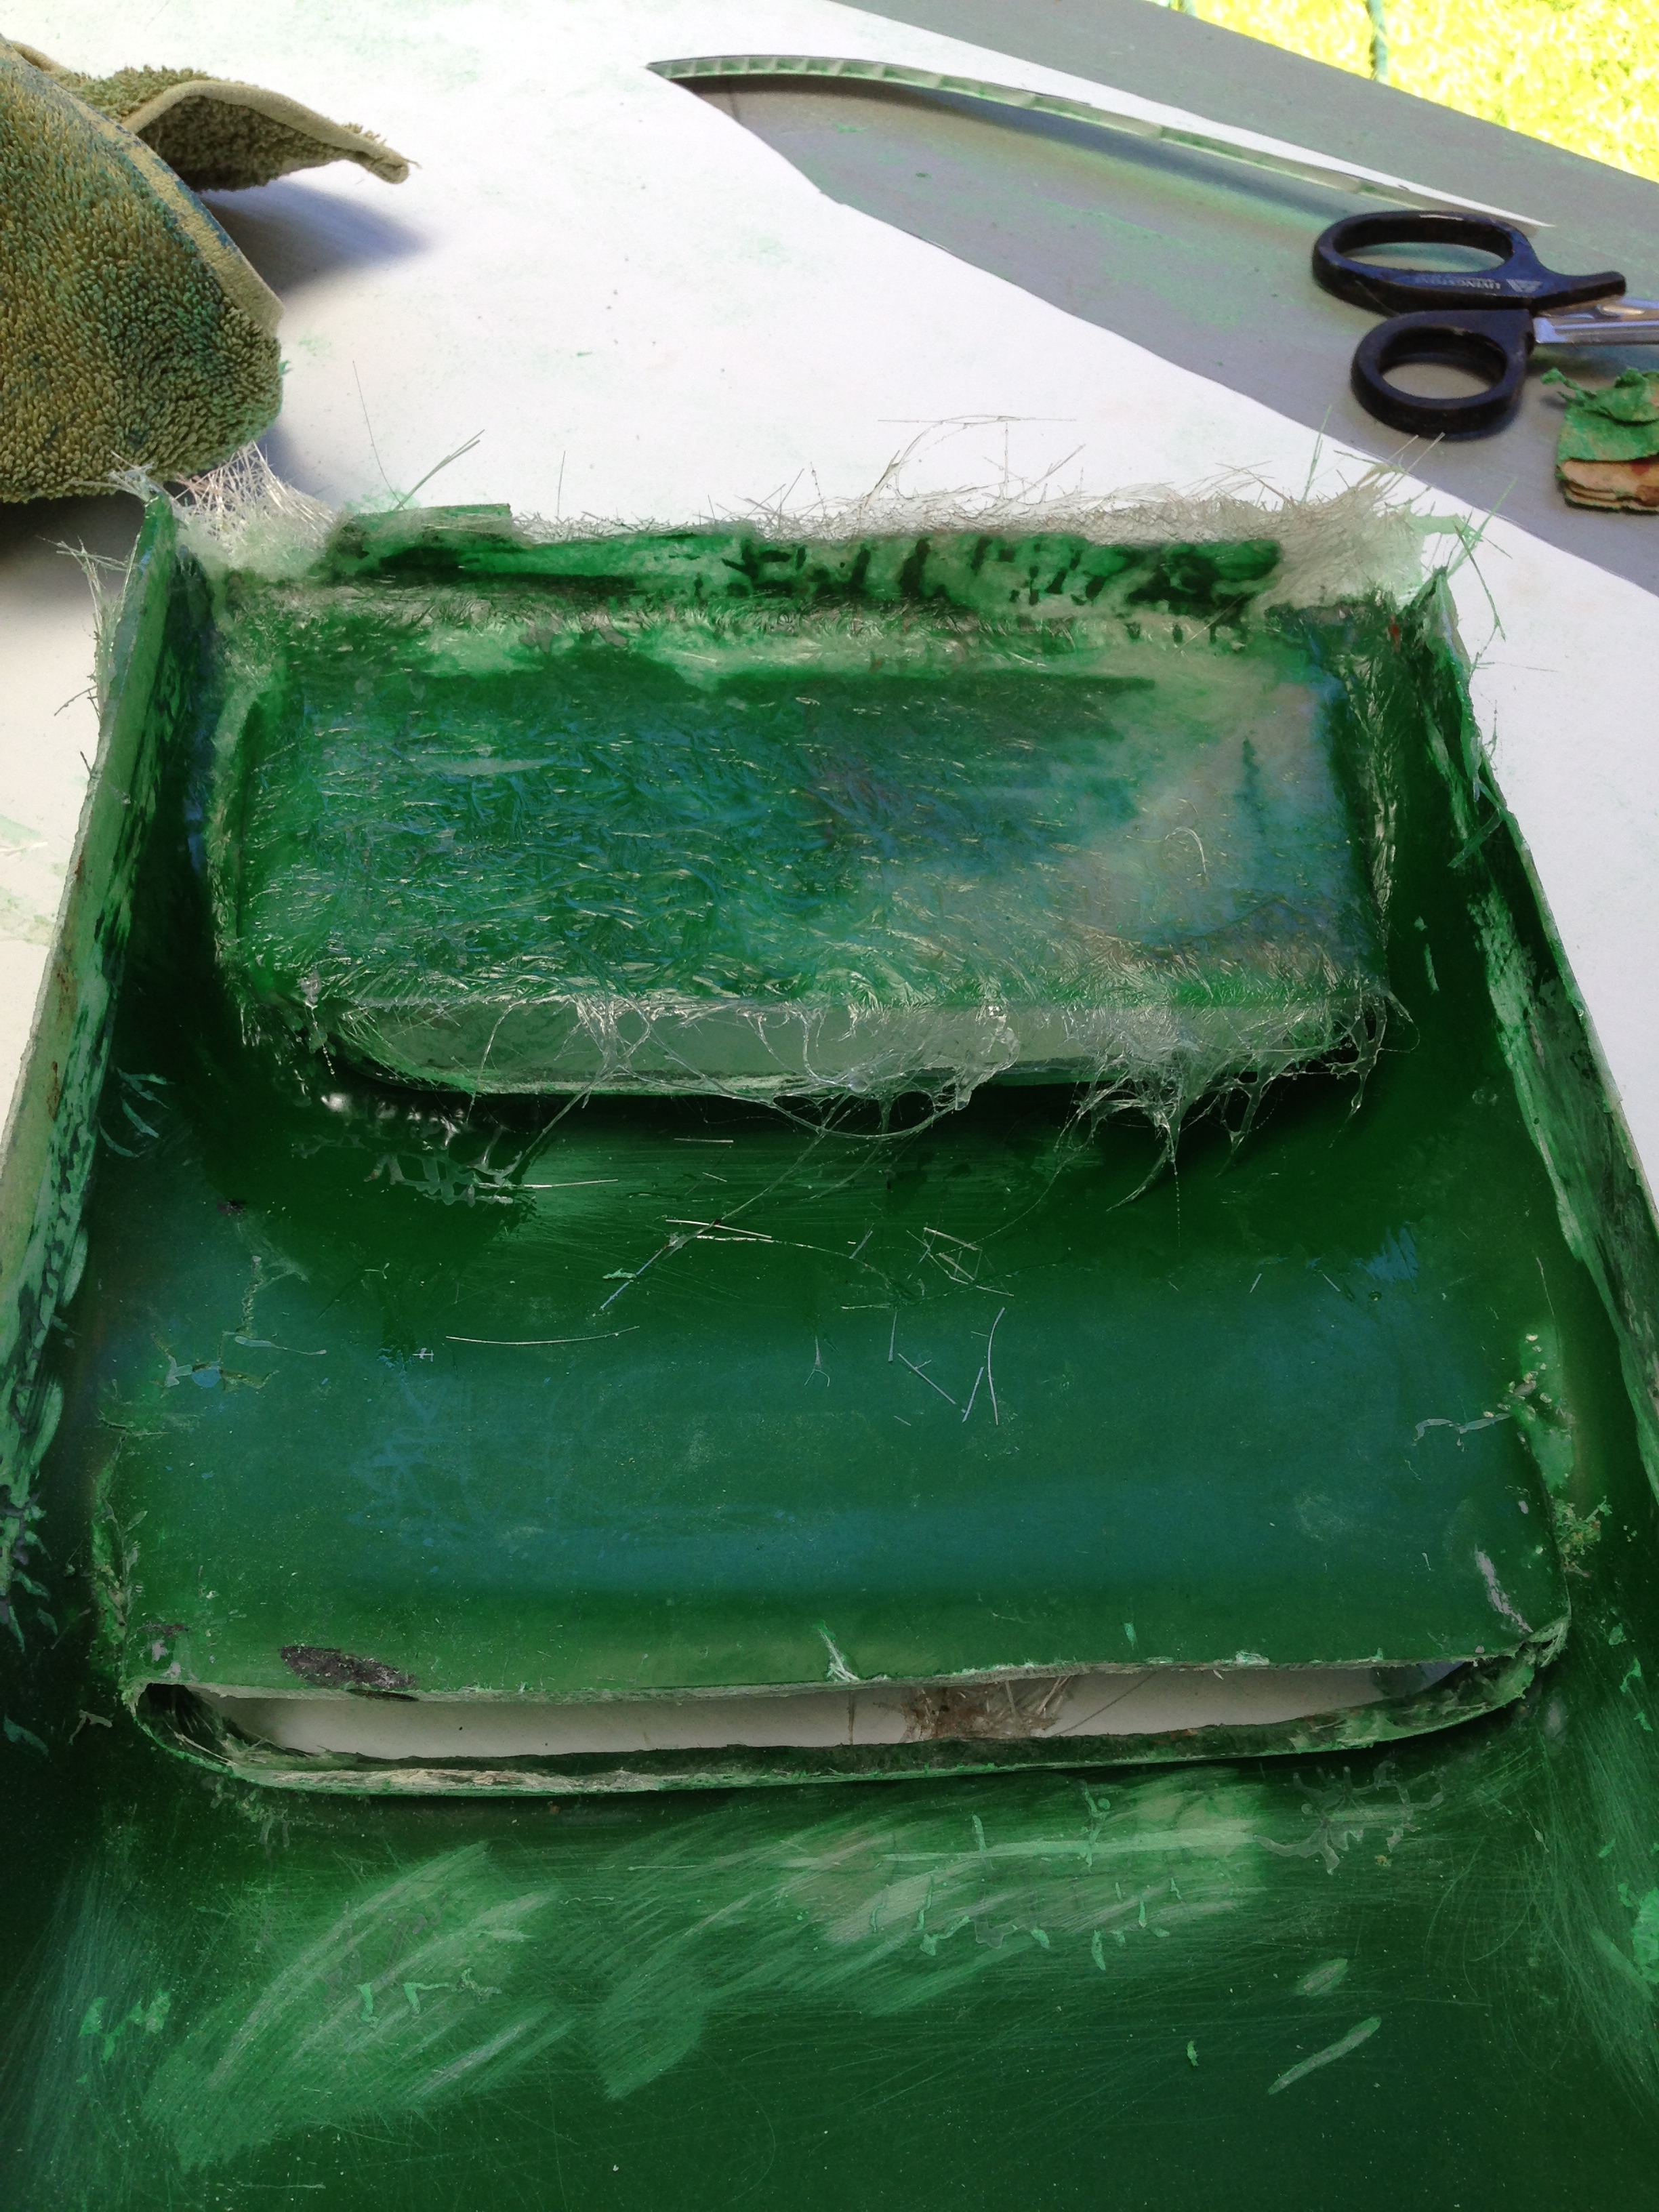
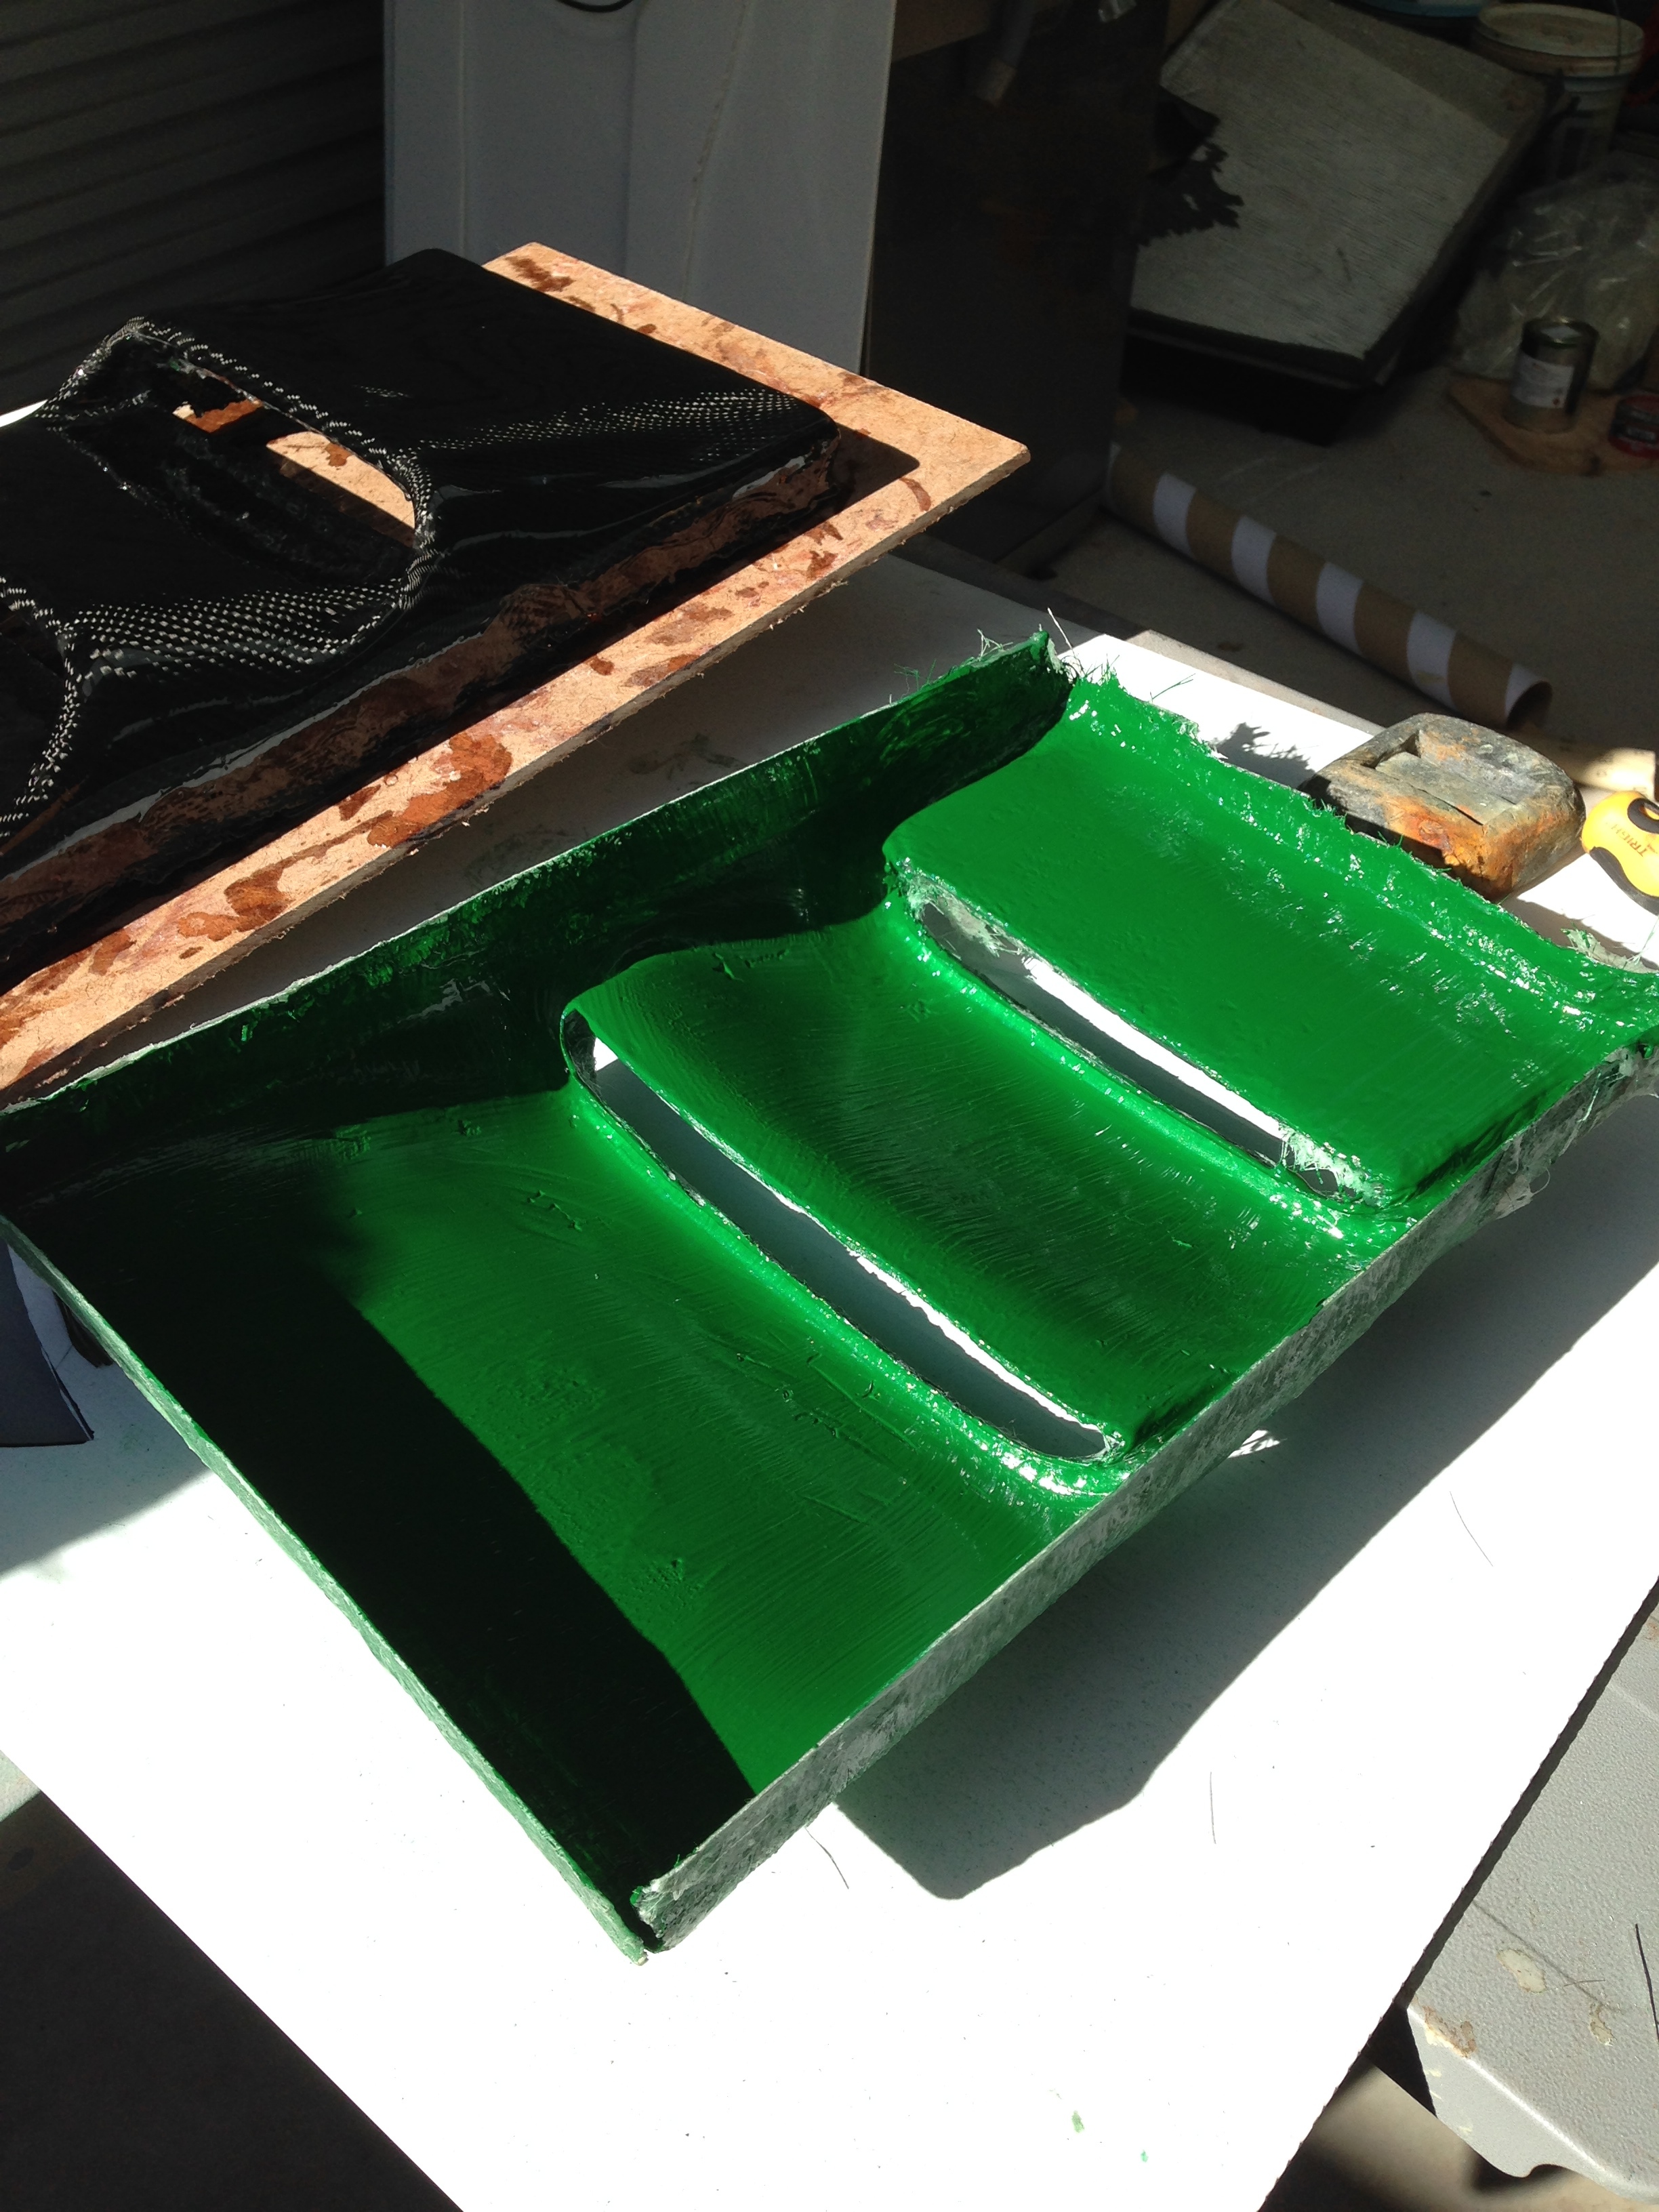
I will need to cut the base off the scoop to fit it correctly and create an internal frame to mount it to the car, but for now my focus is on trying to repair the mould and create another near-identical scoop. Below is the damaged mould and my efforts to repair it. We’ll see how it goes.

Cheers for looking, dan.
