
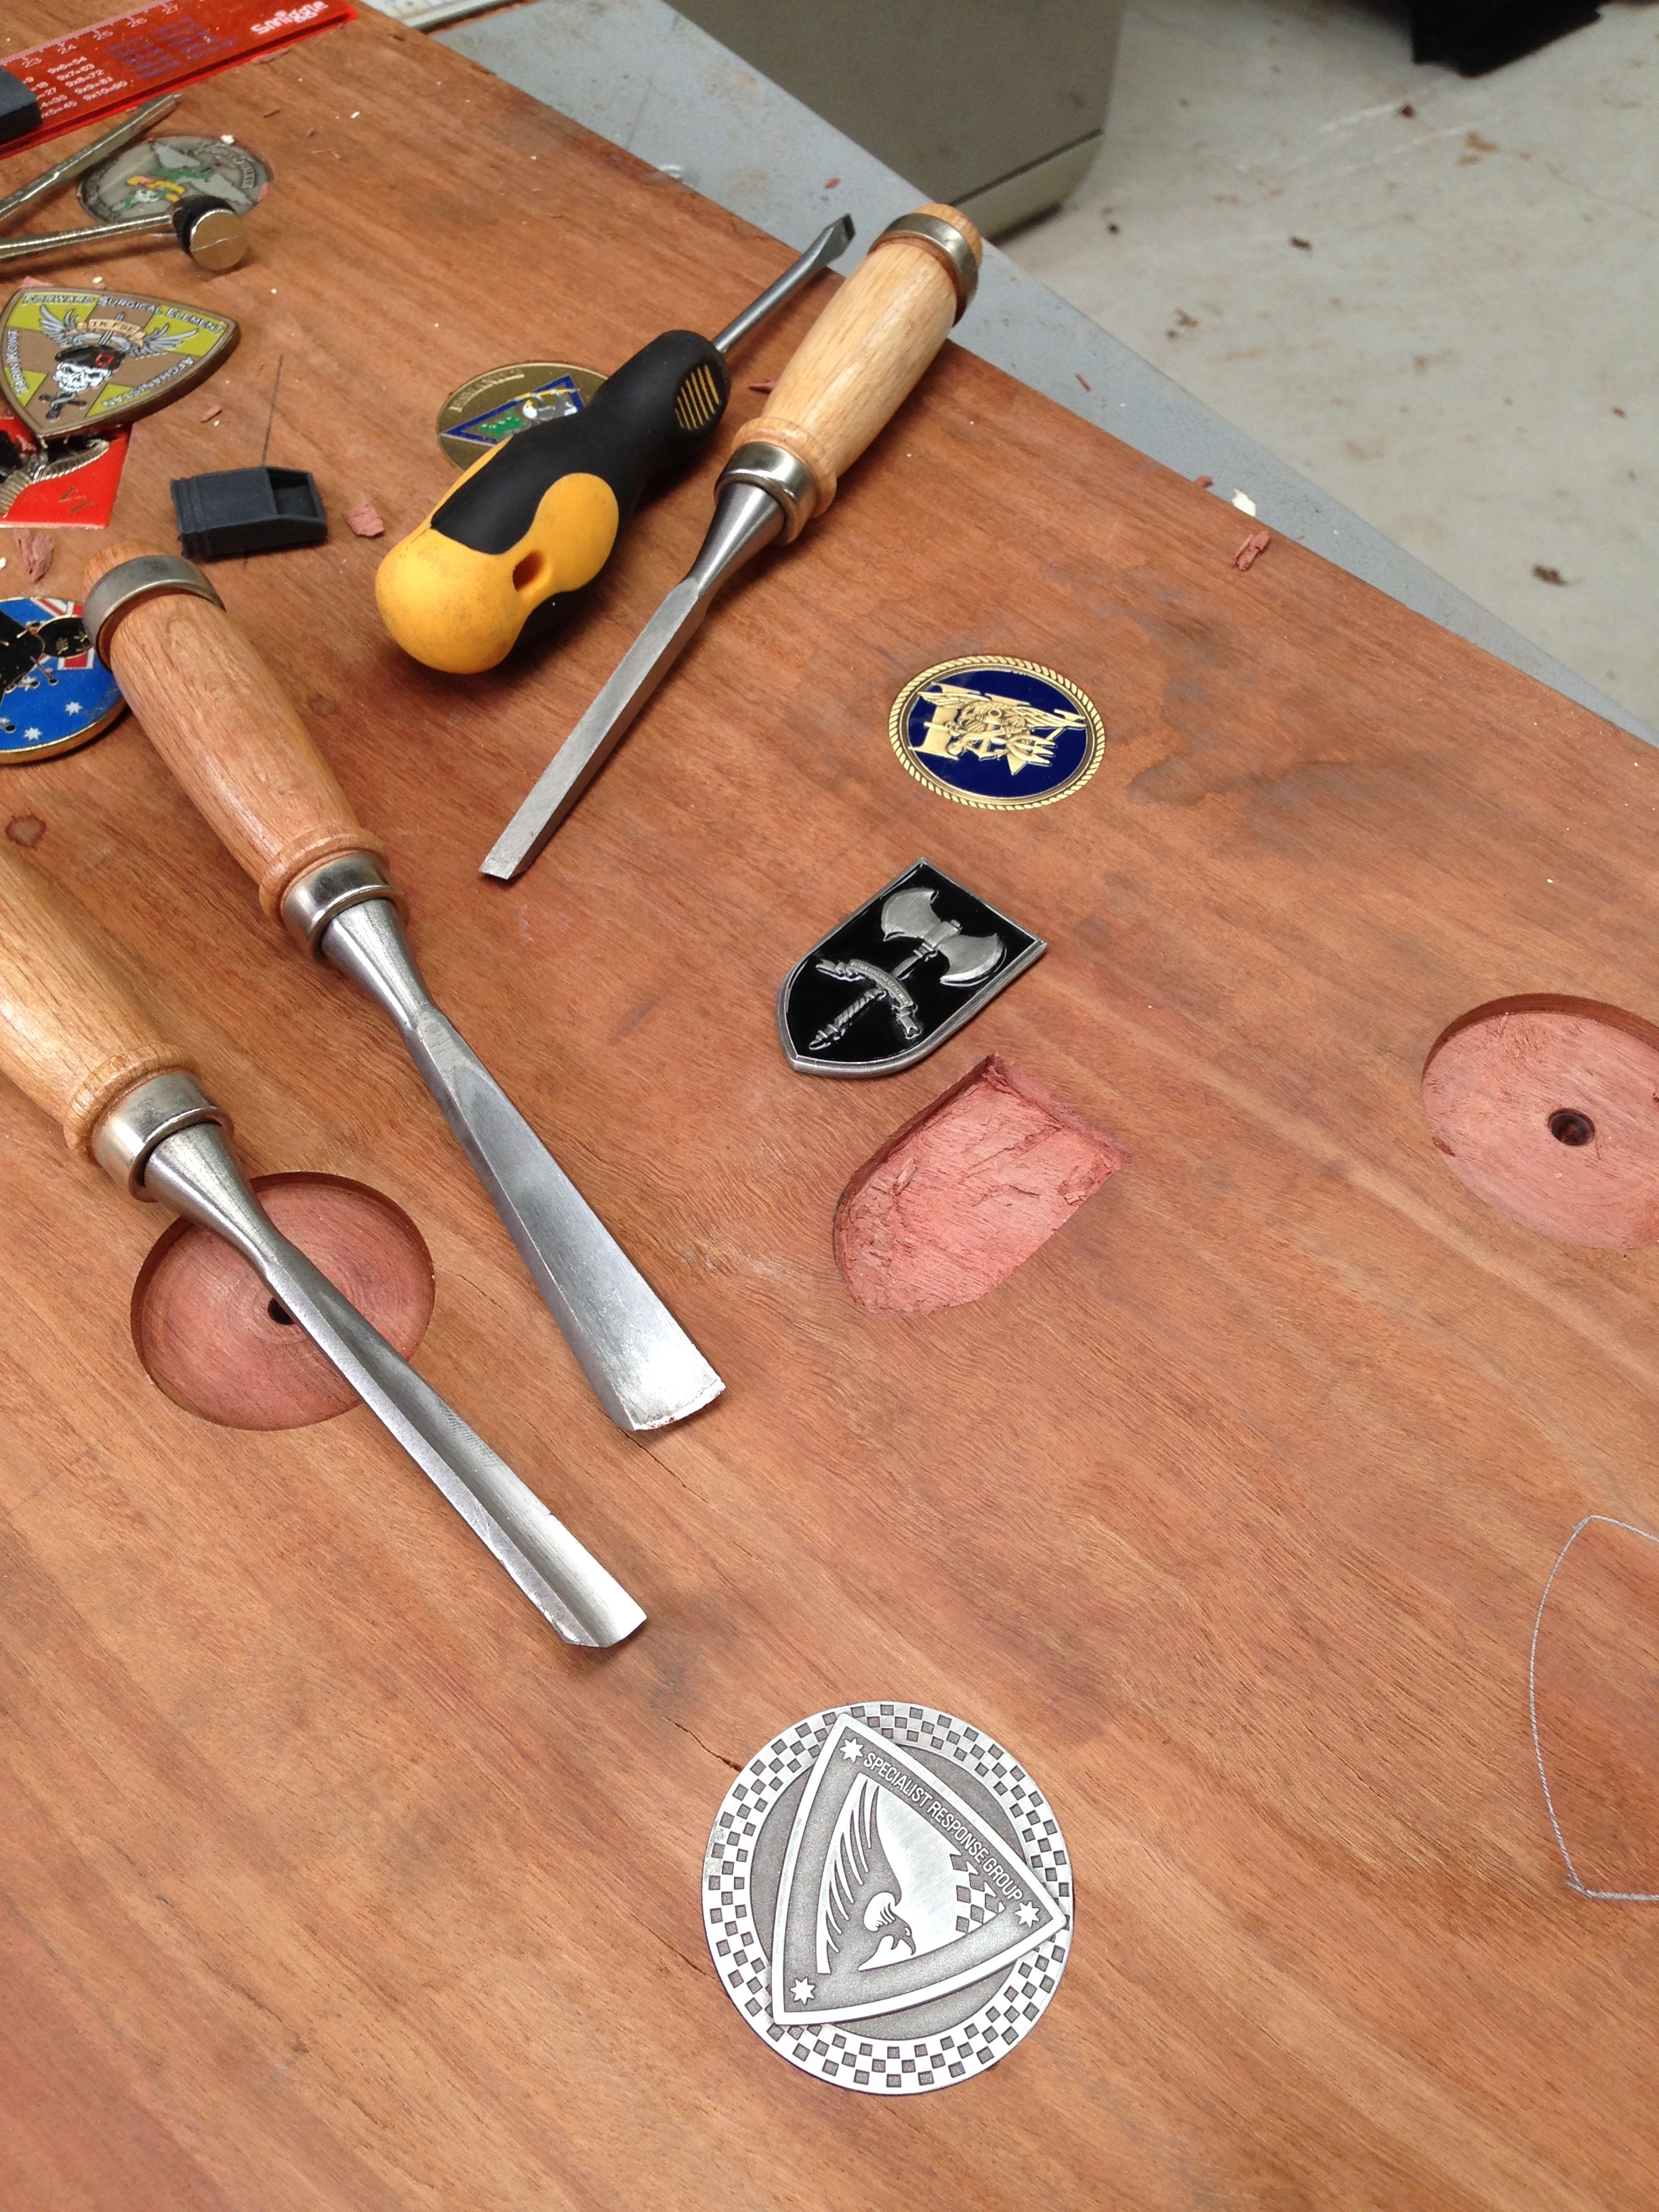
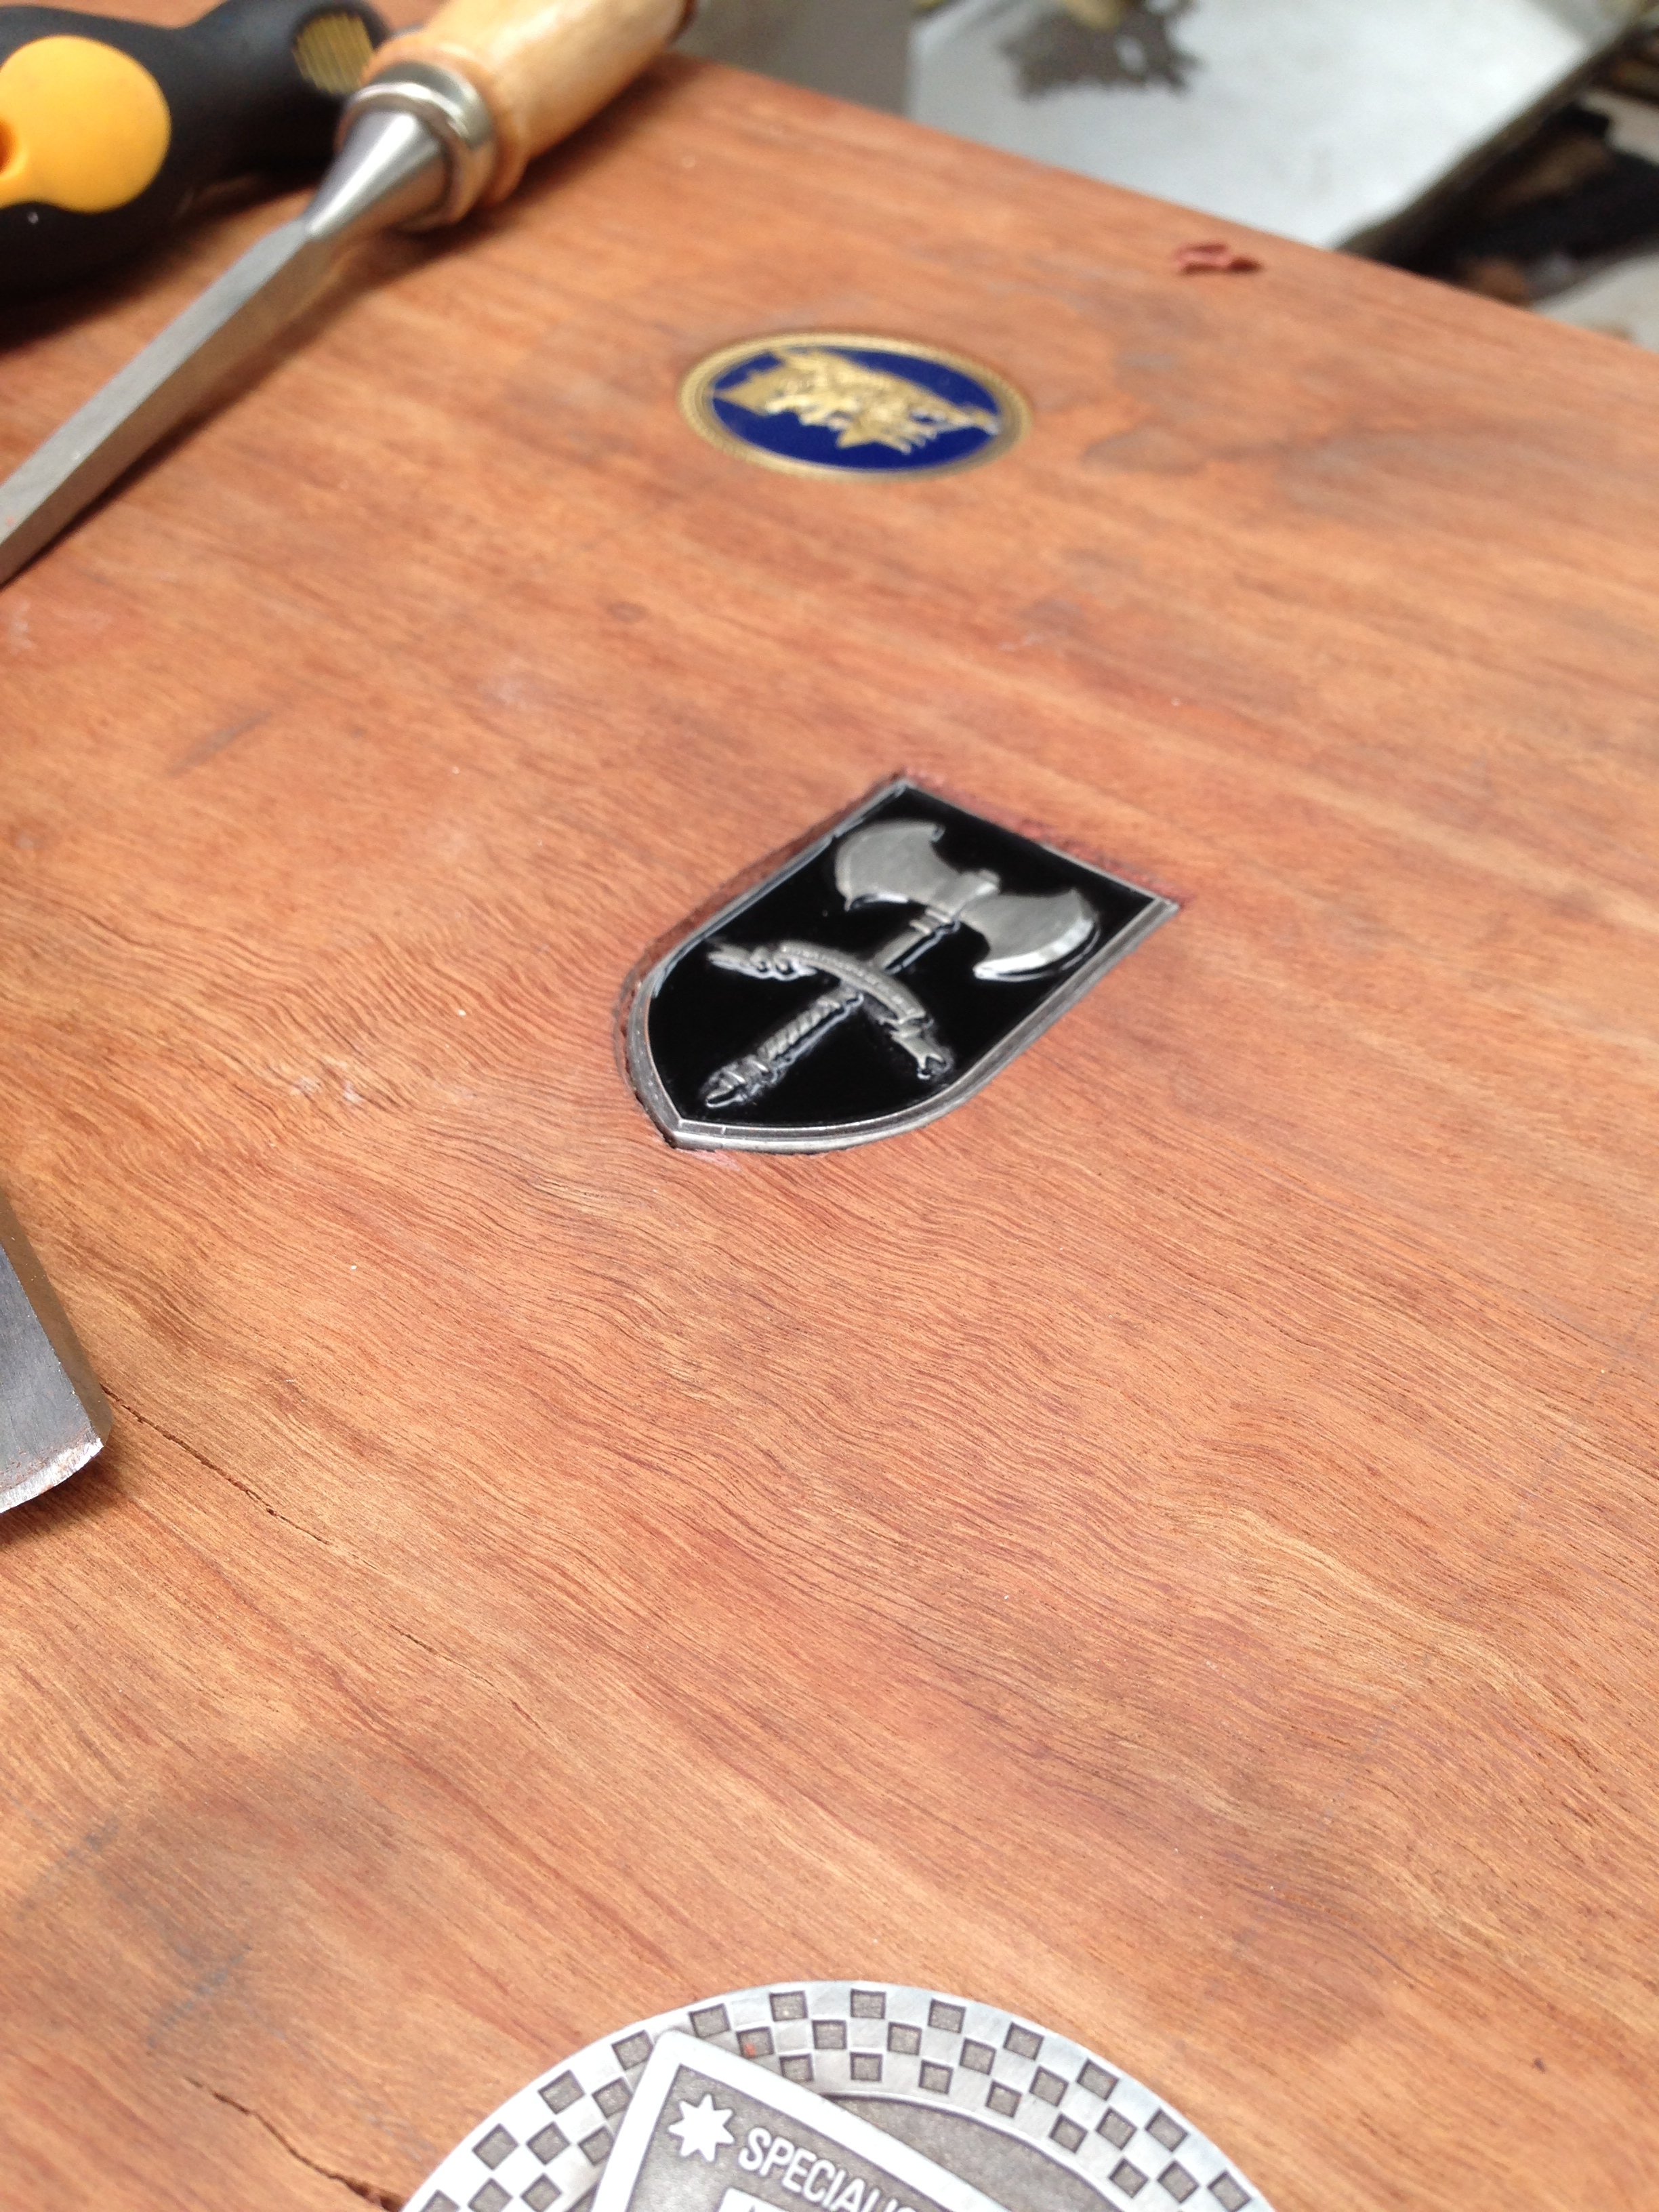
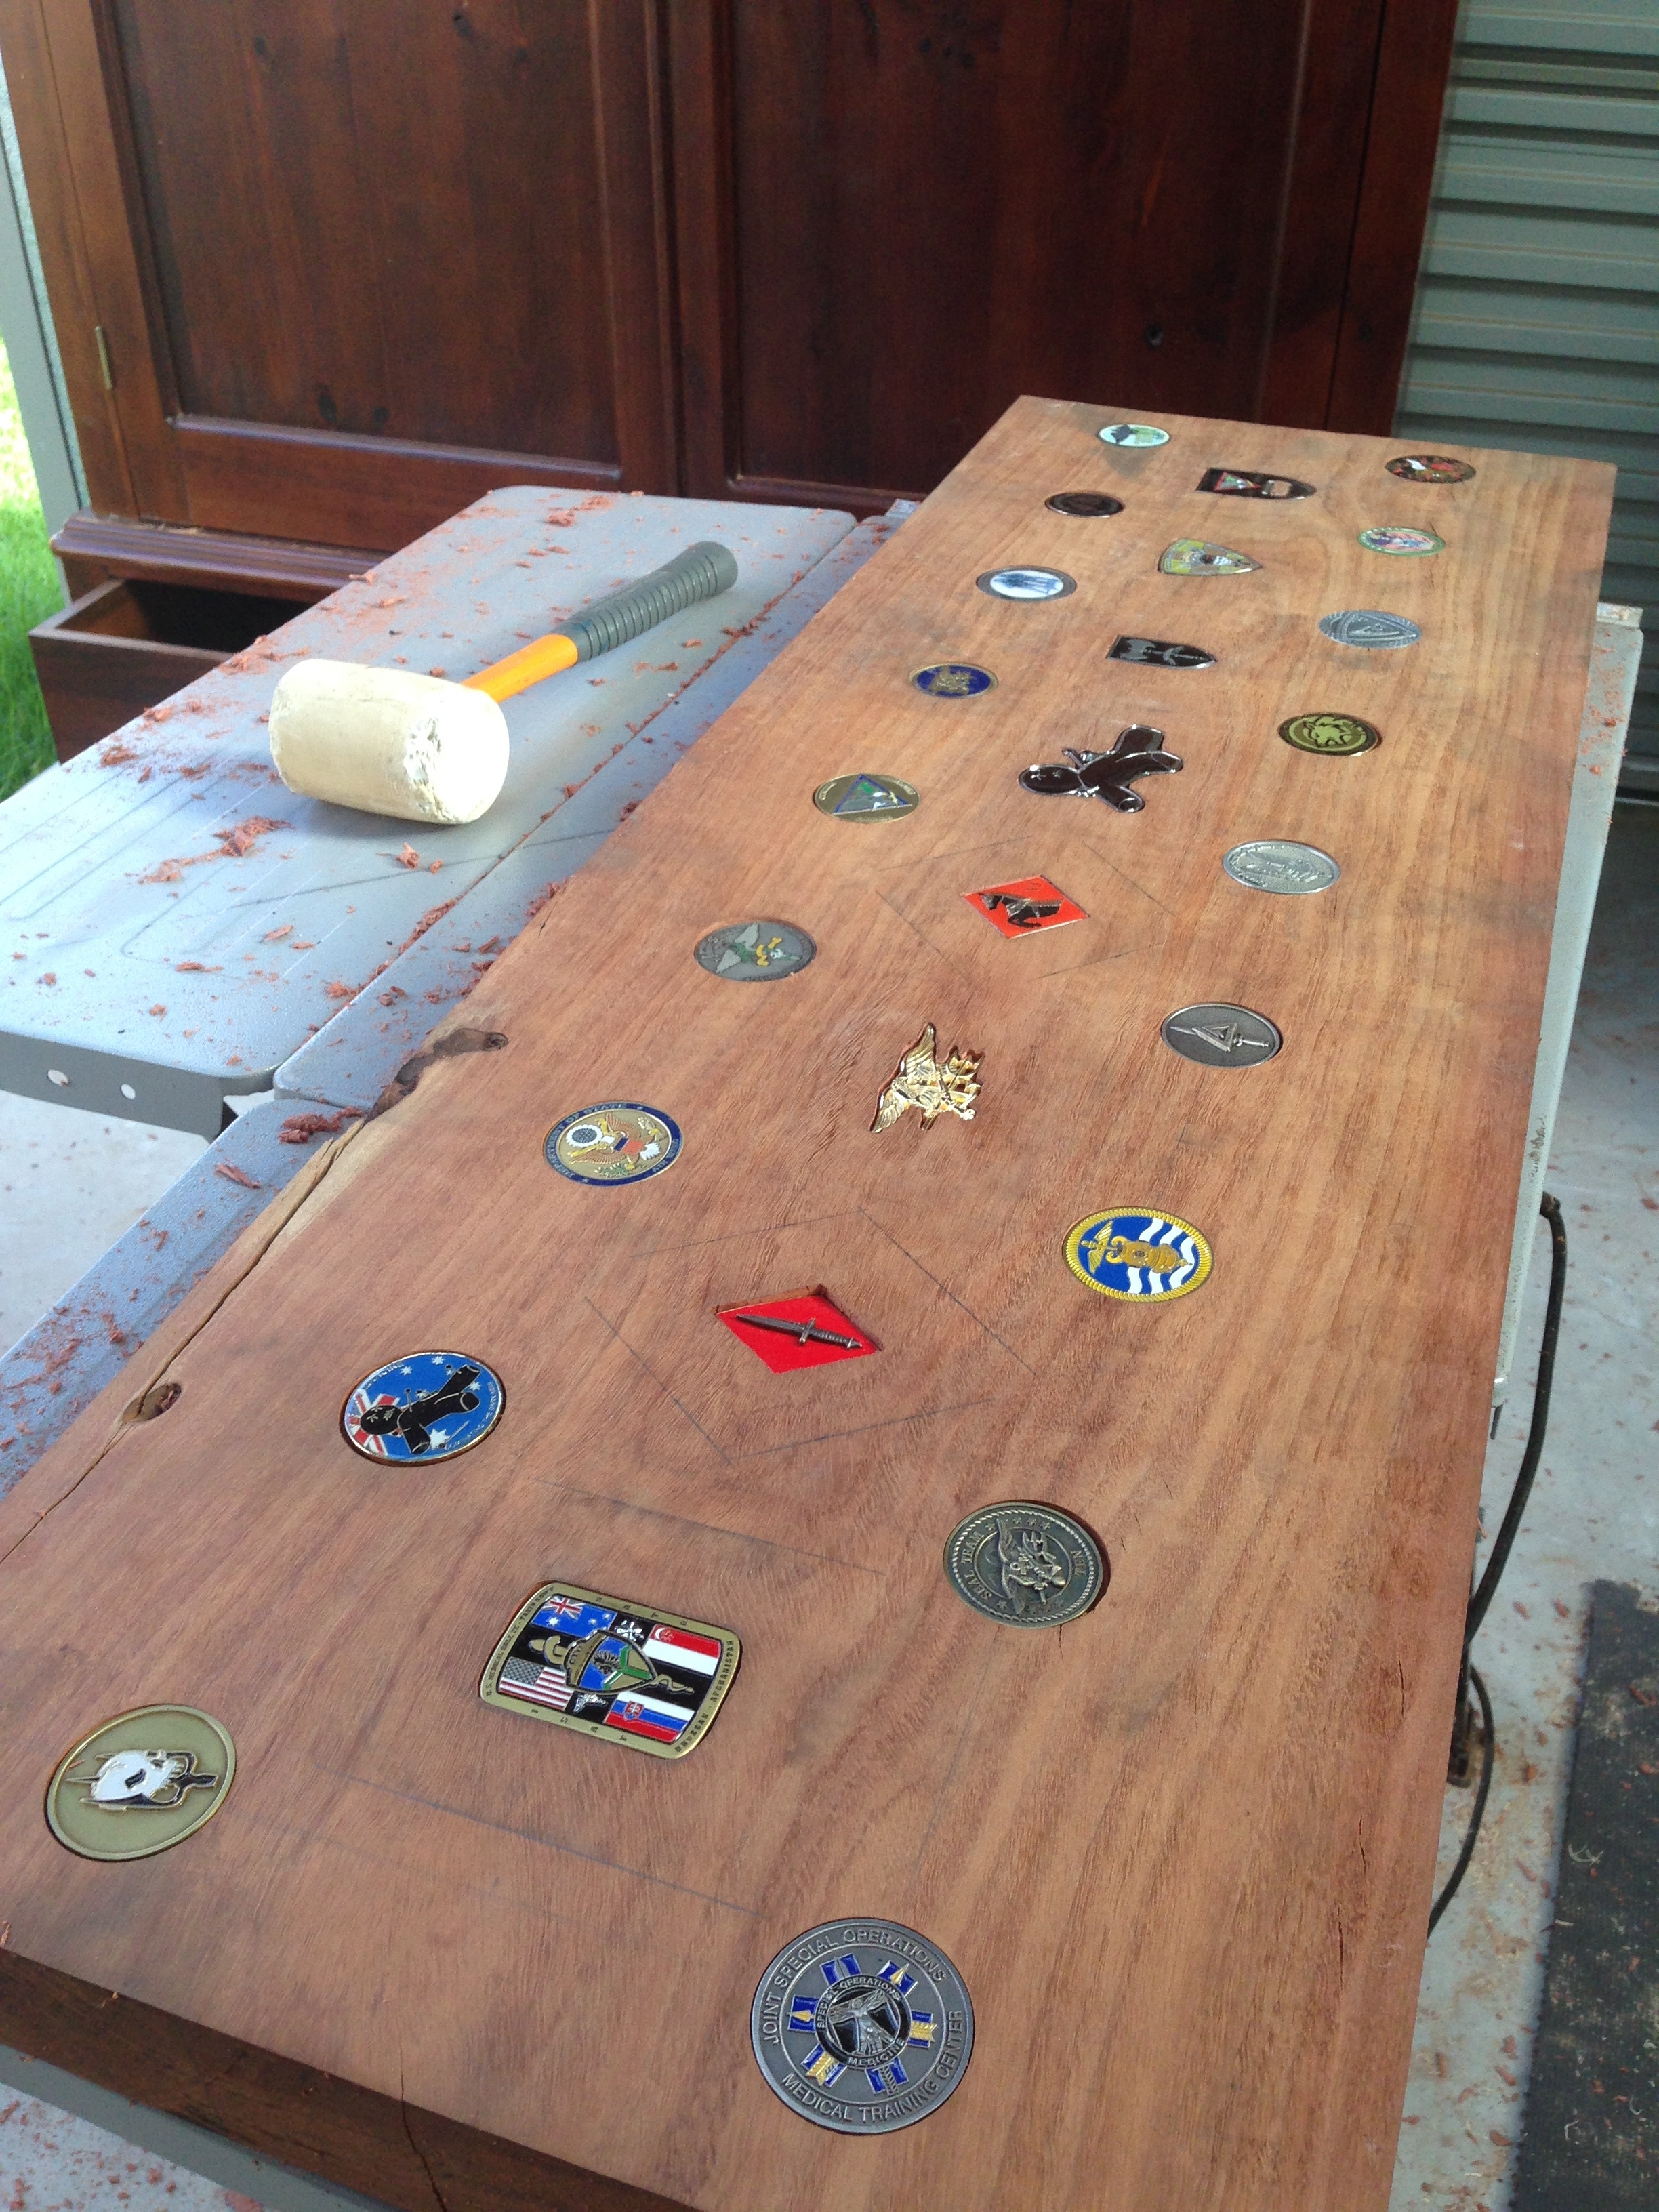
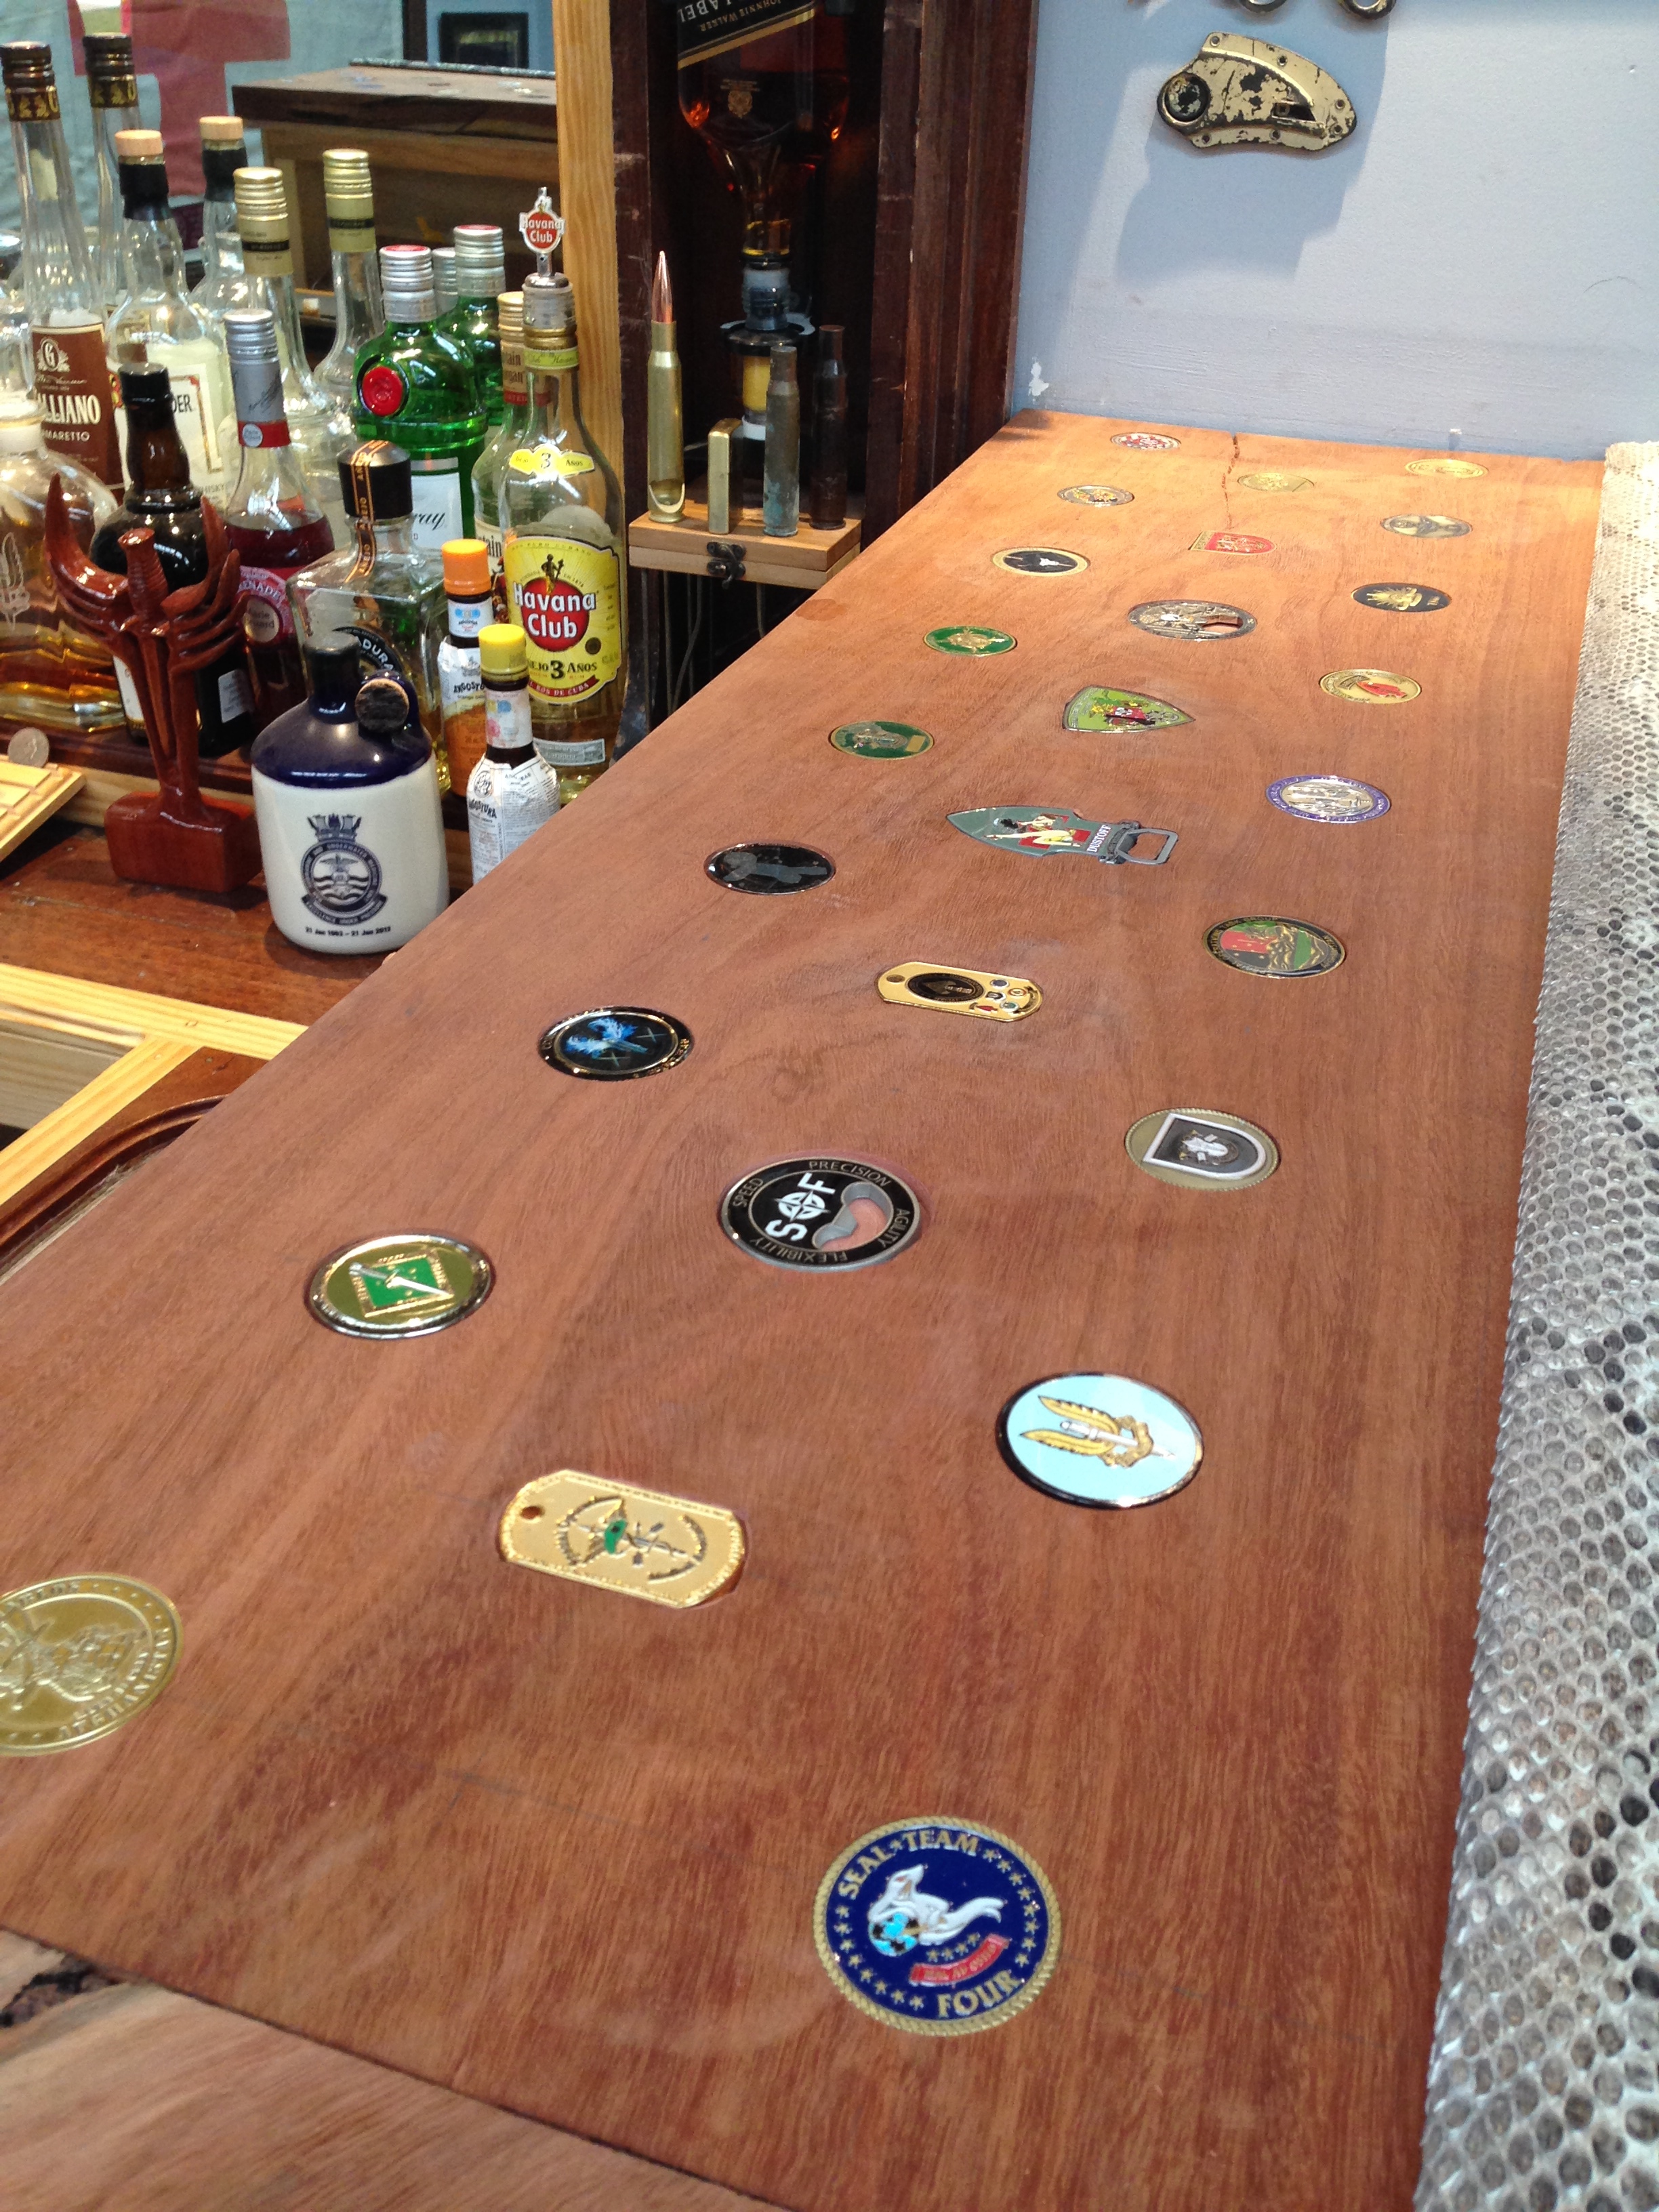
I finally managed to find a solid few hours to finish the inlay job of all the irregular shaped coins and badges into the bar top. Using a combination of Dremel, Forstner bits, and good old hammer and chisel, I worked my way from one end of the bar to the other and sunk all 53 items into it!


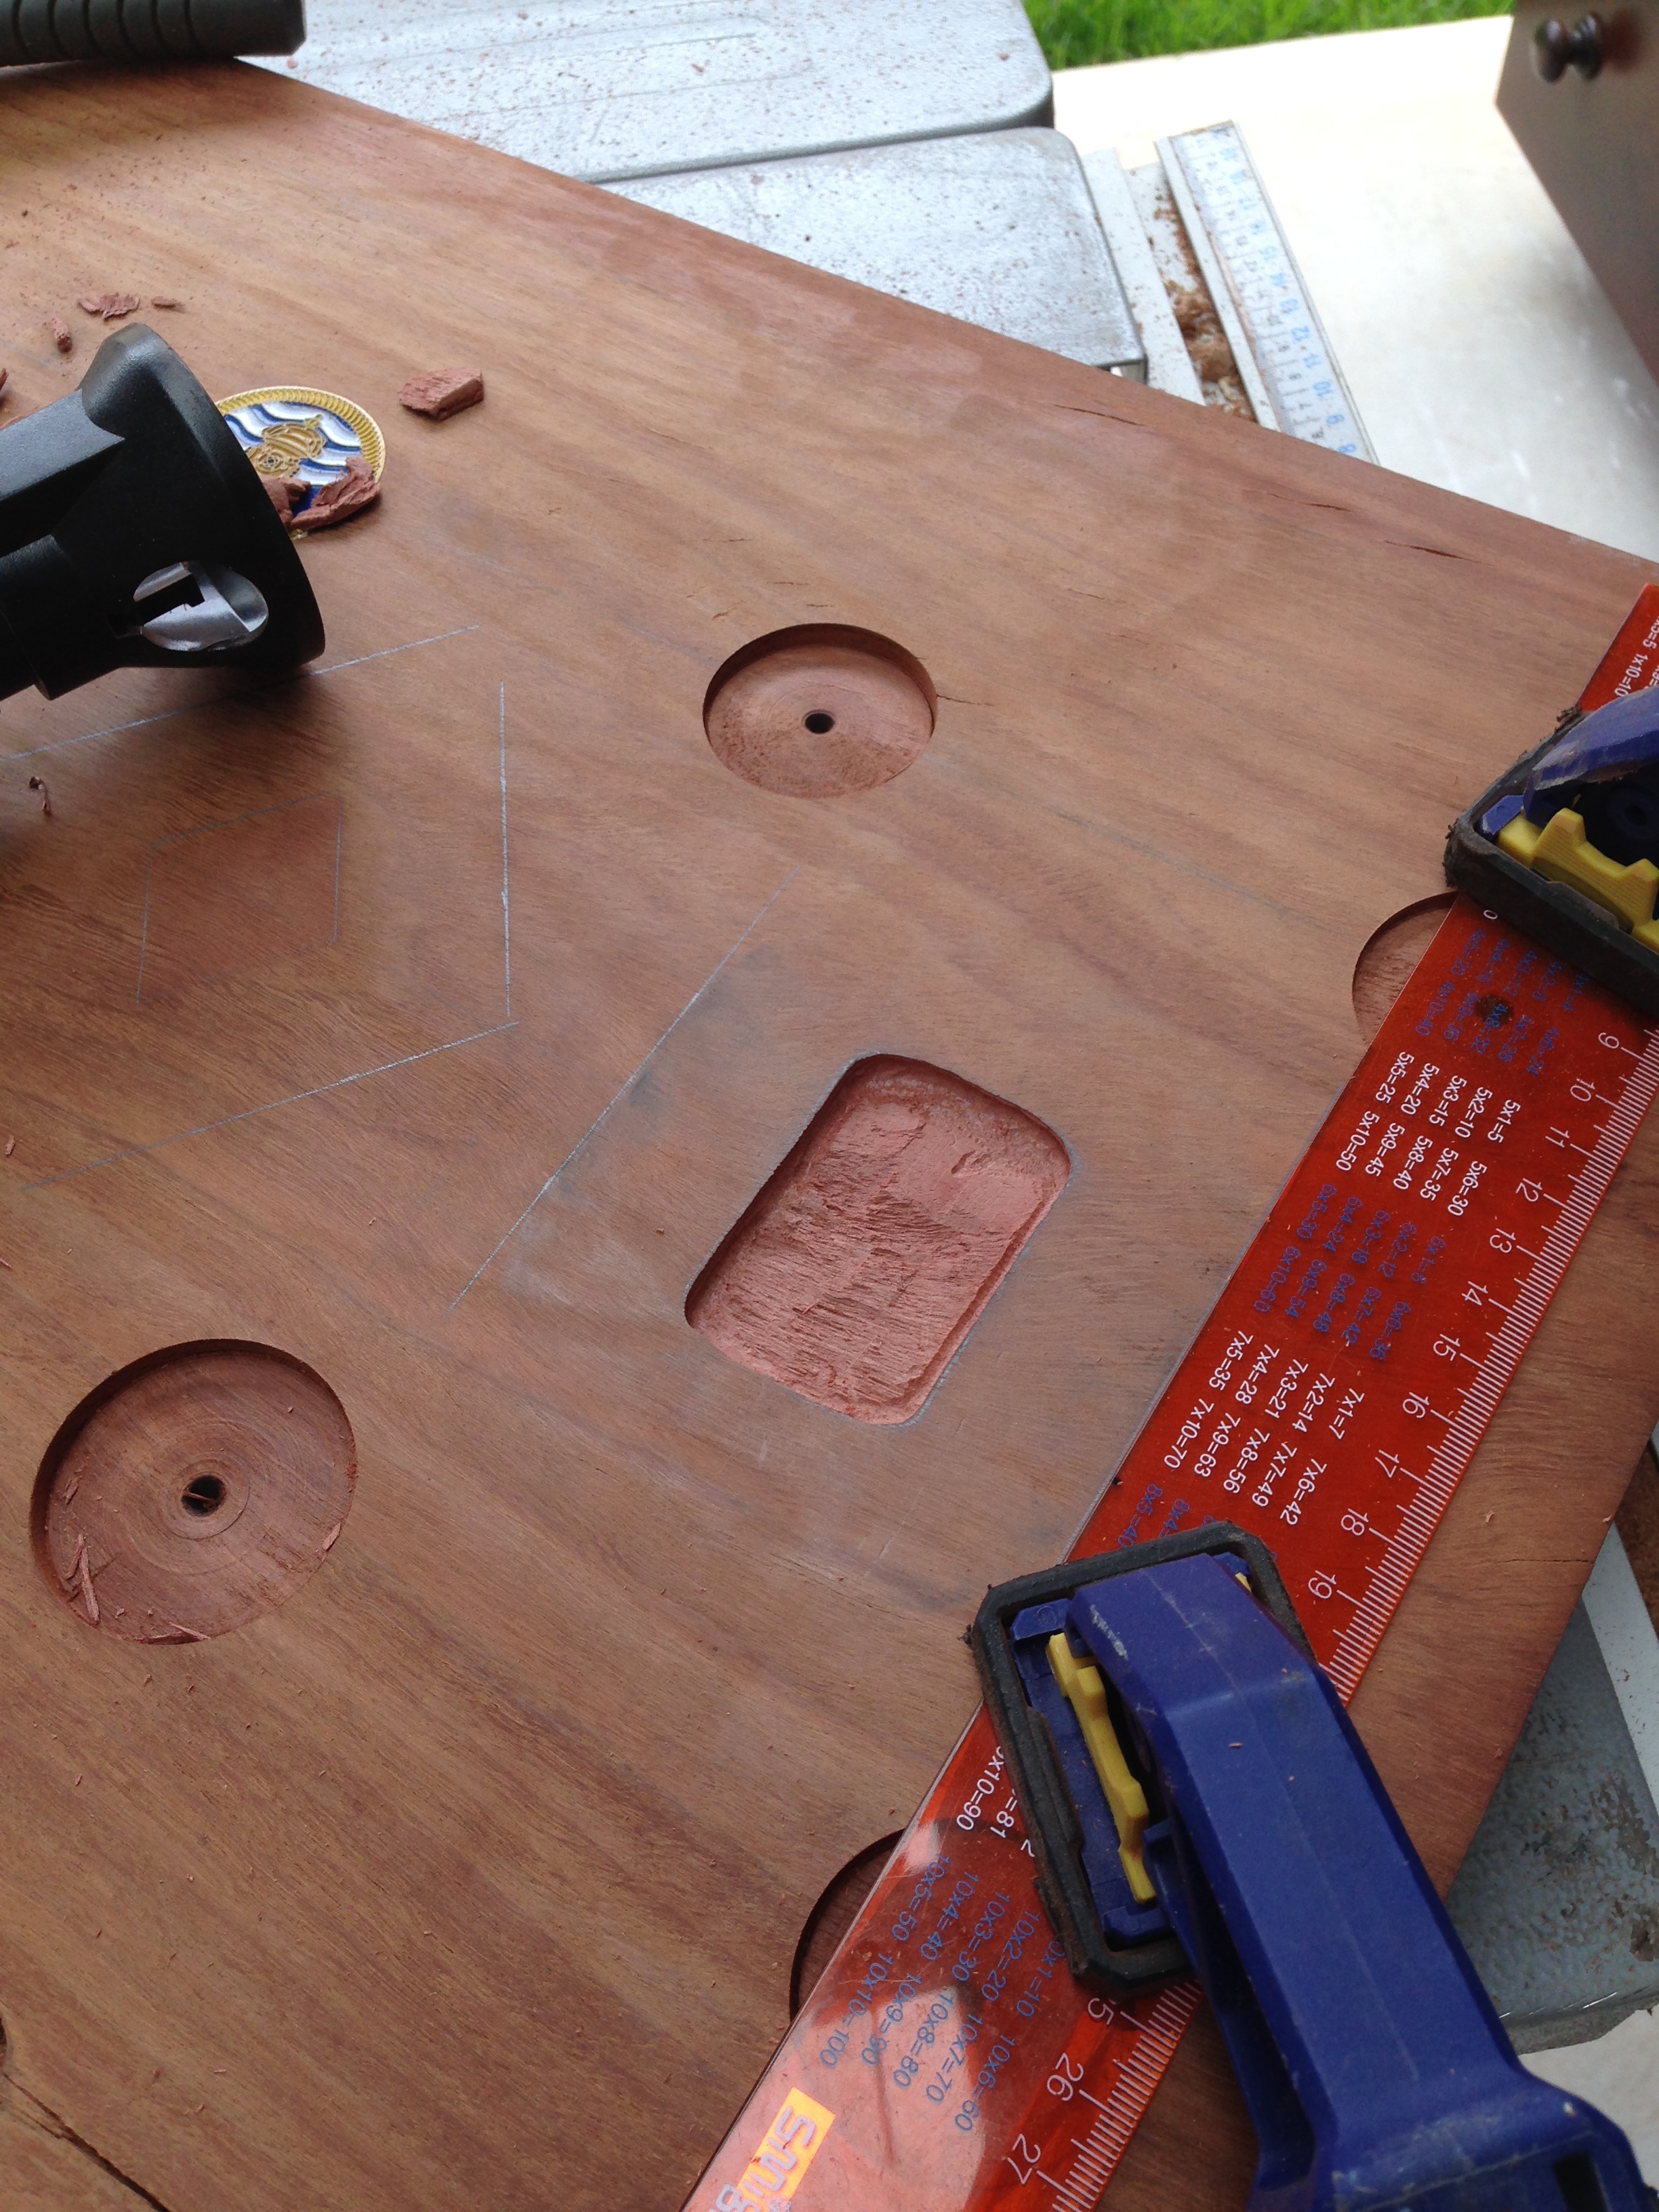


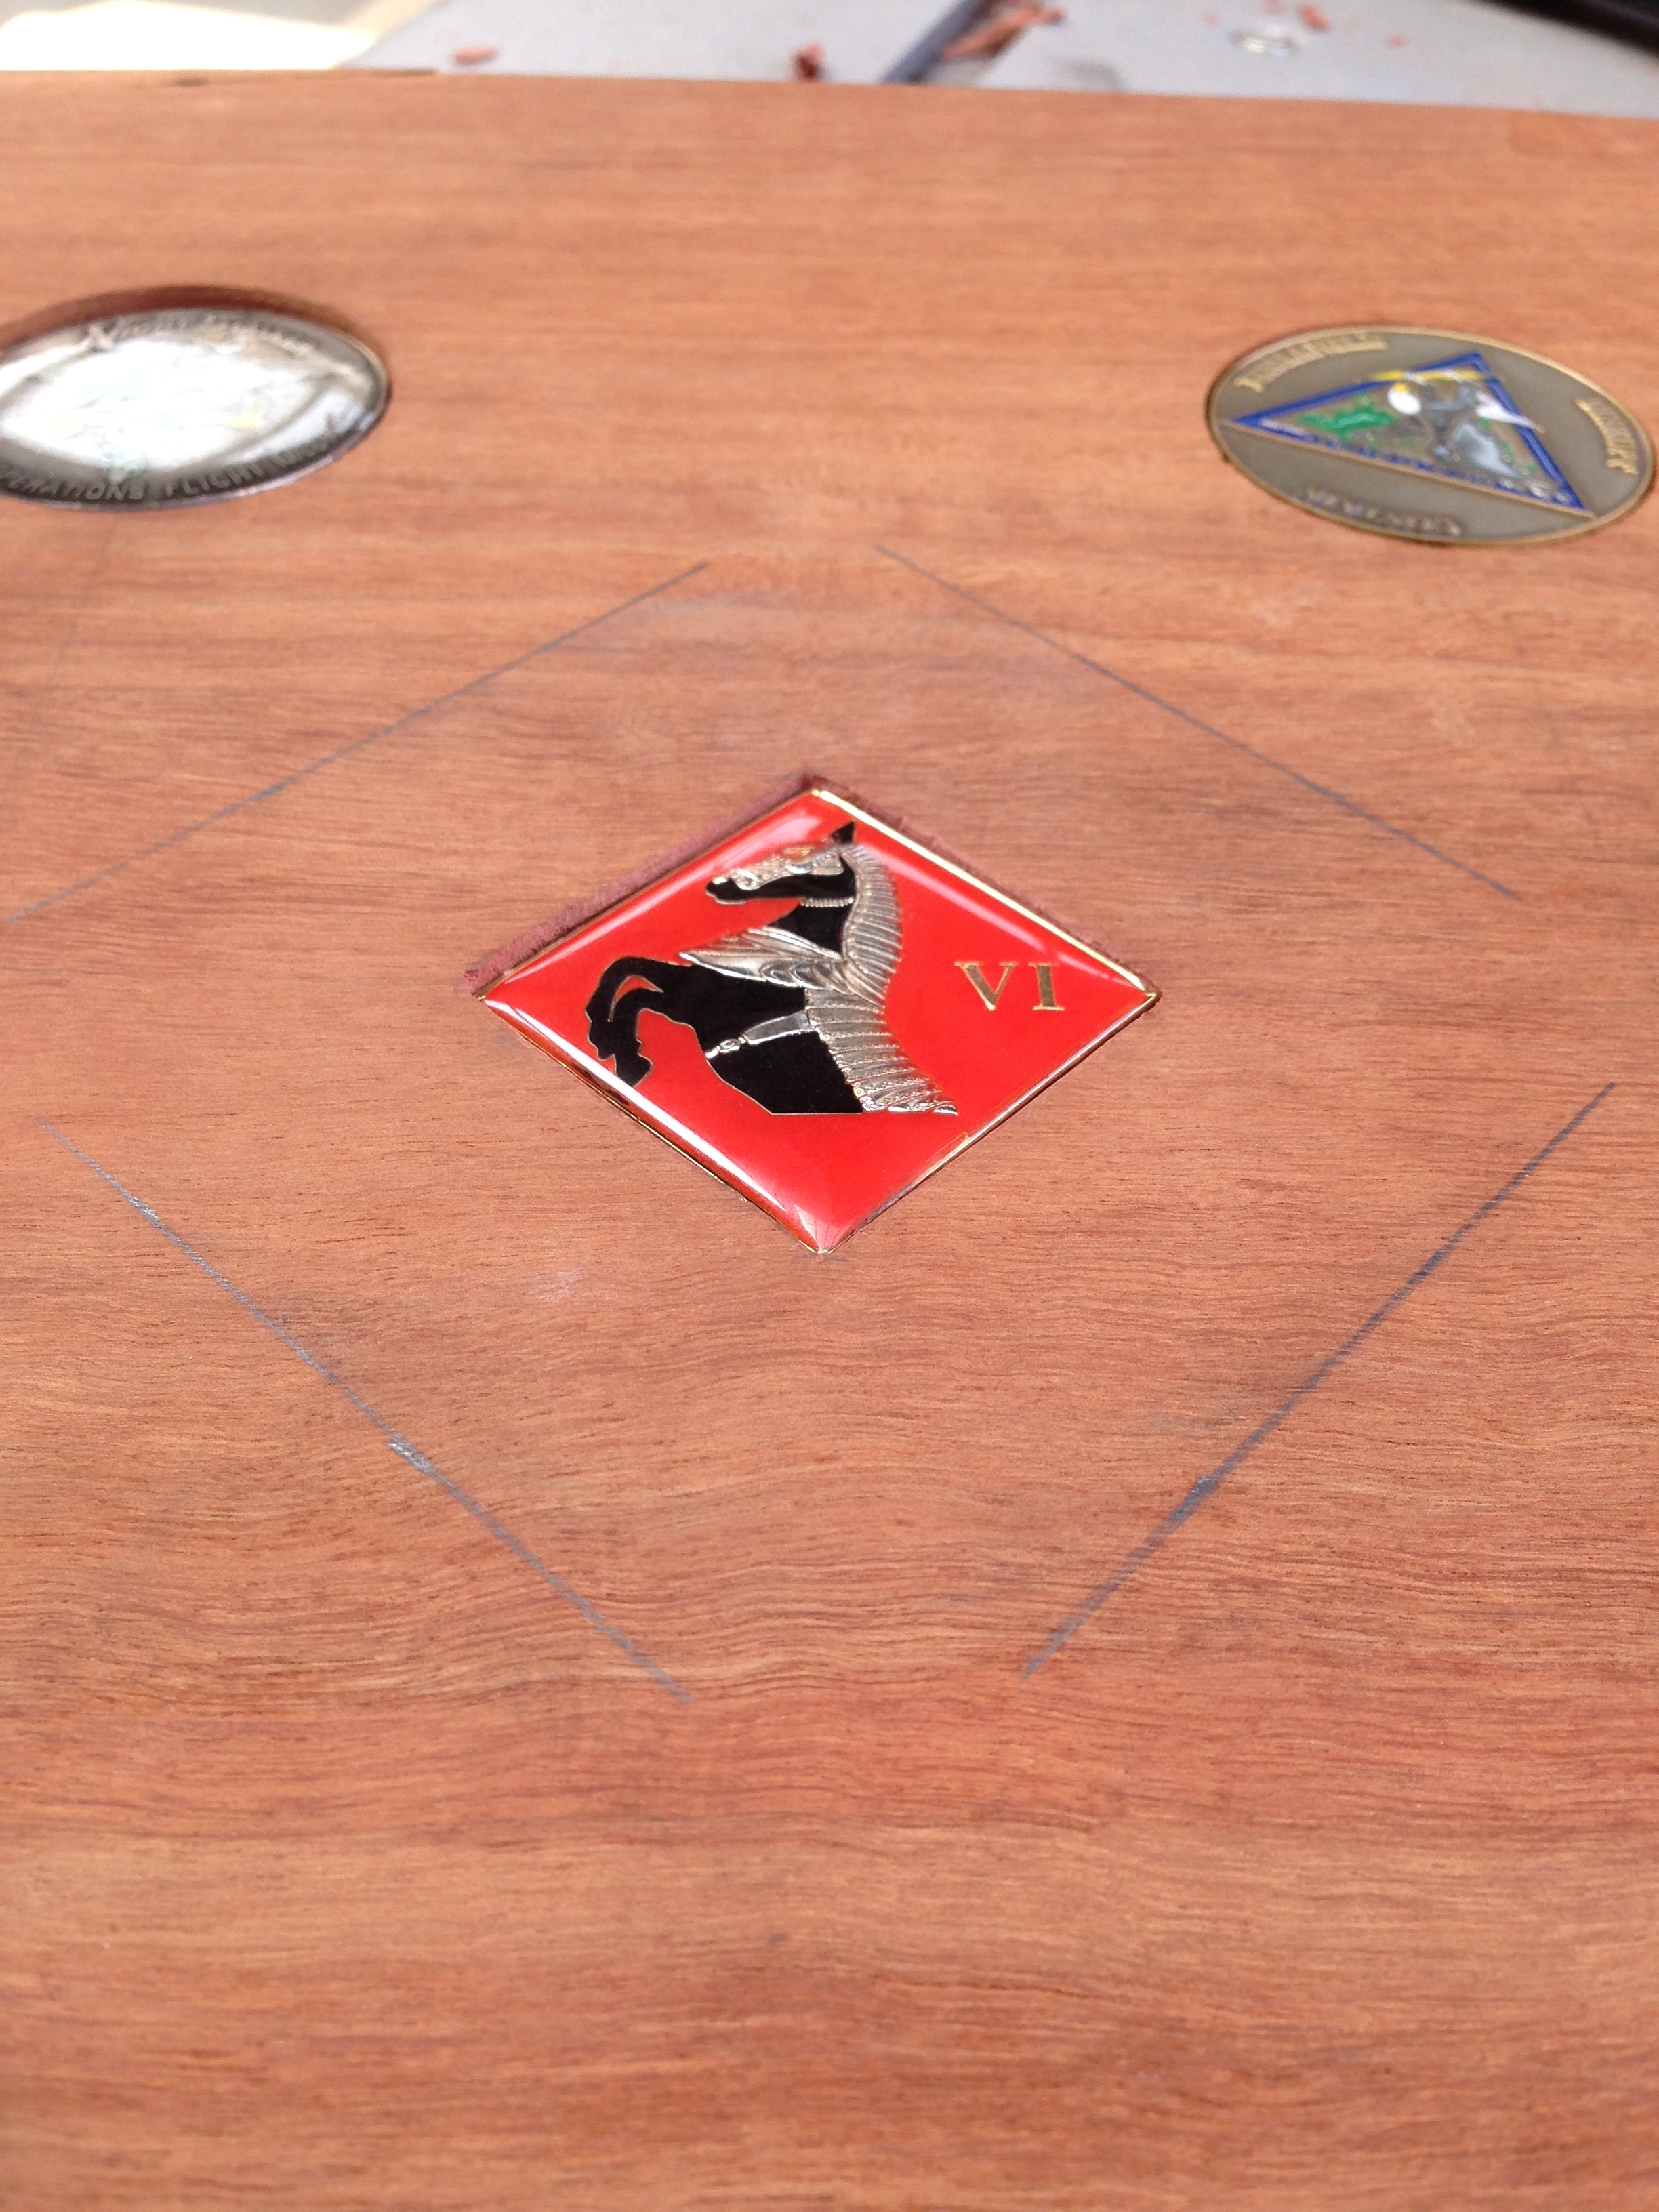

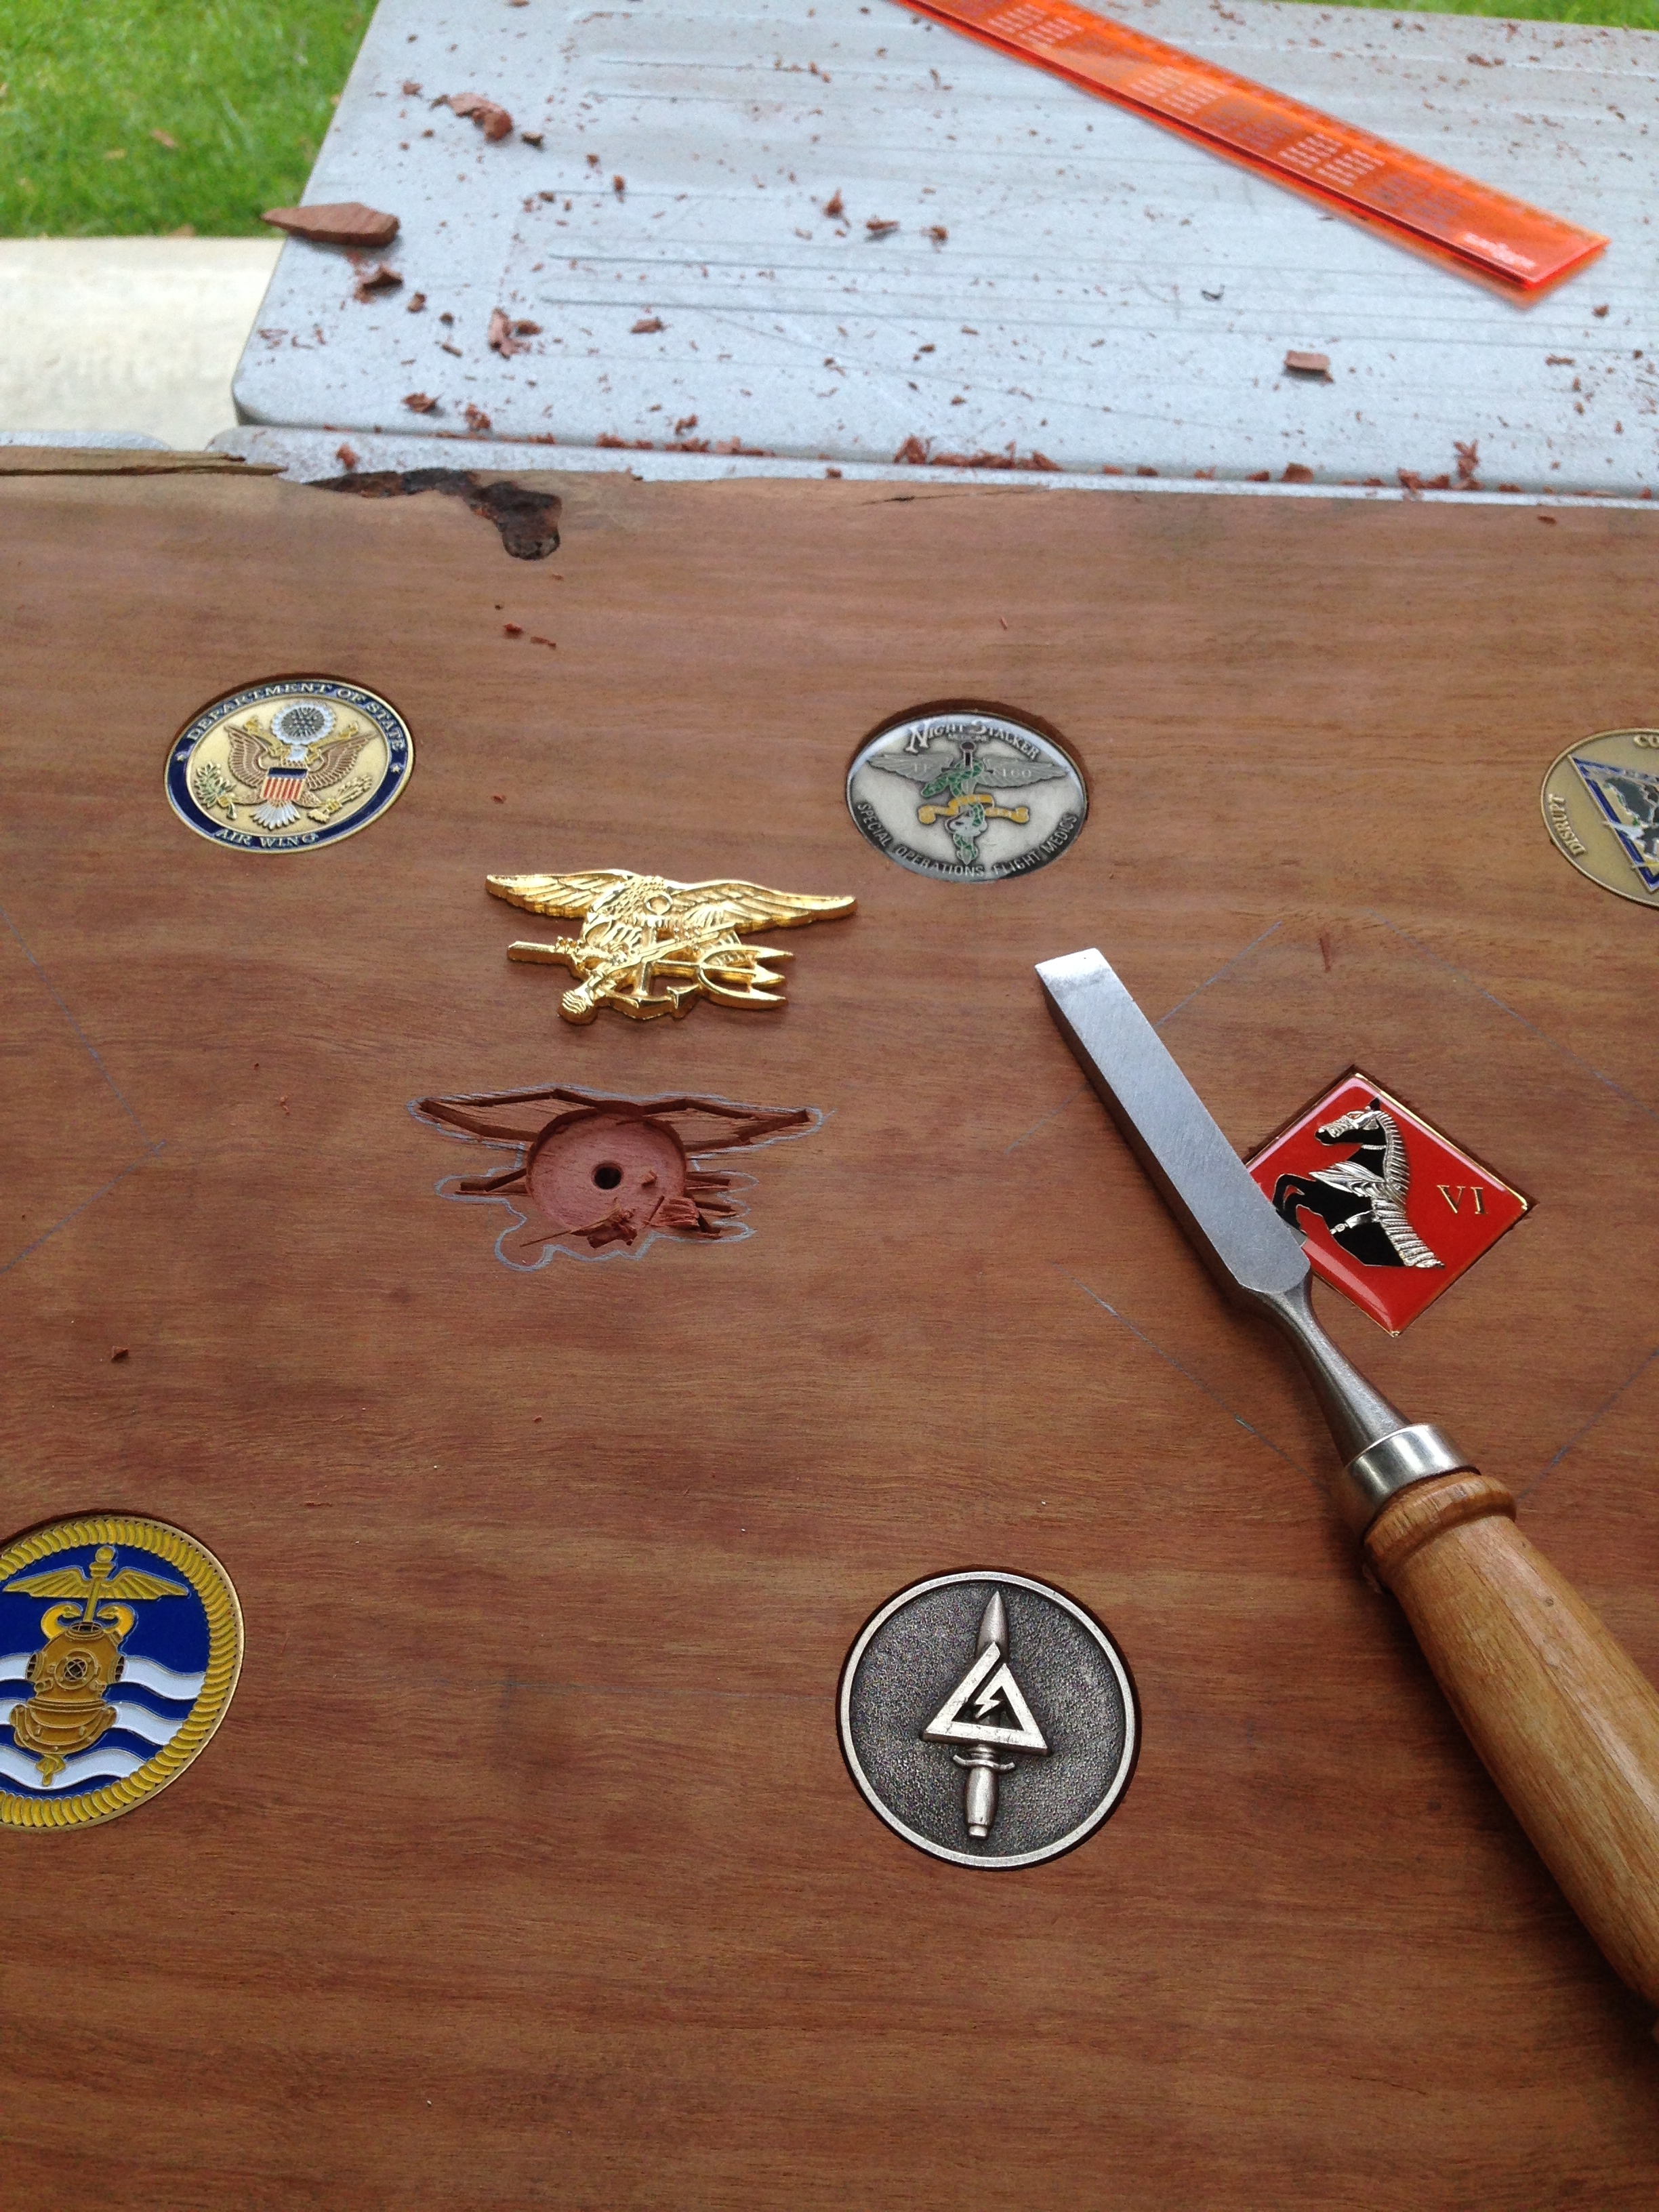
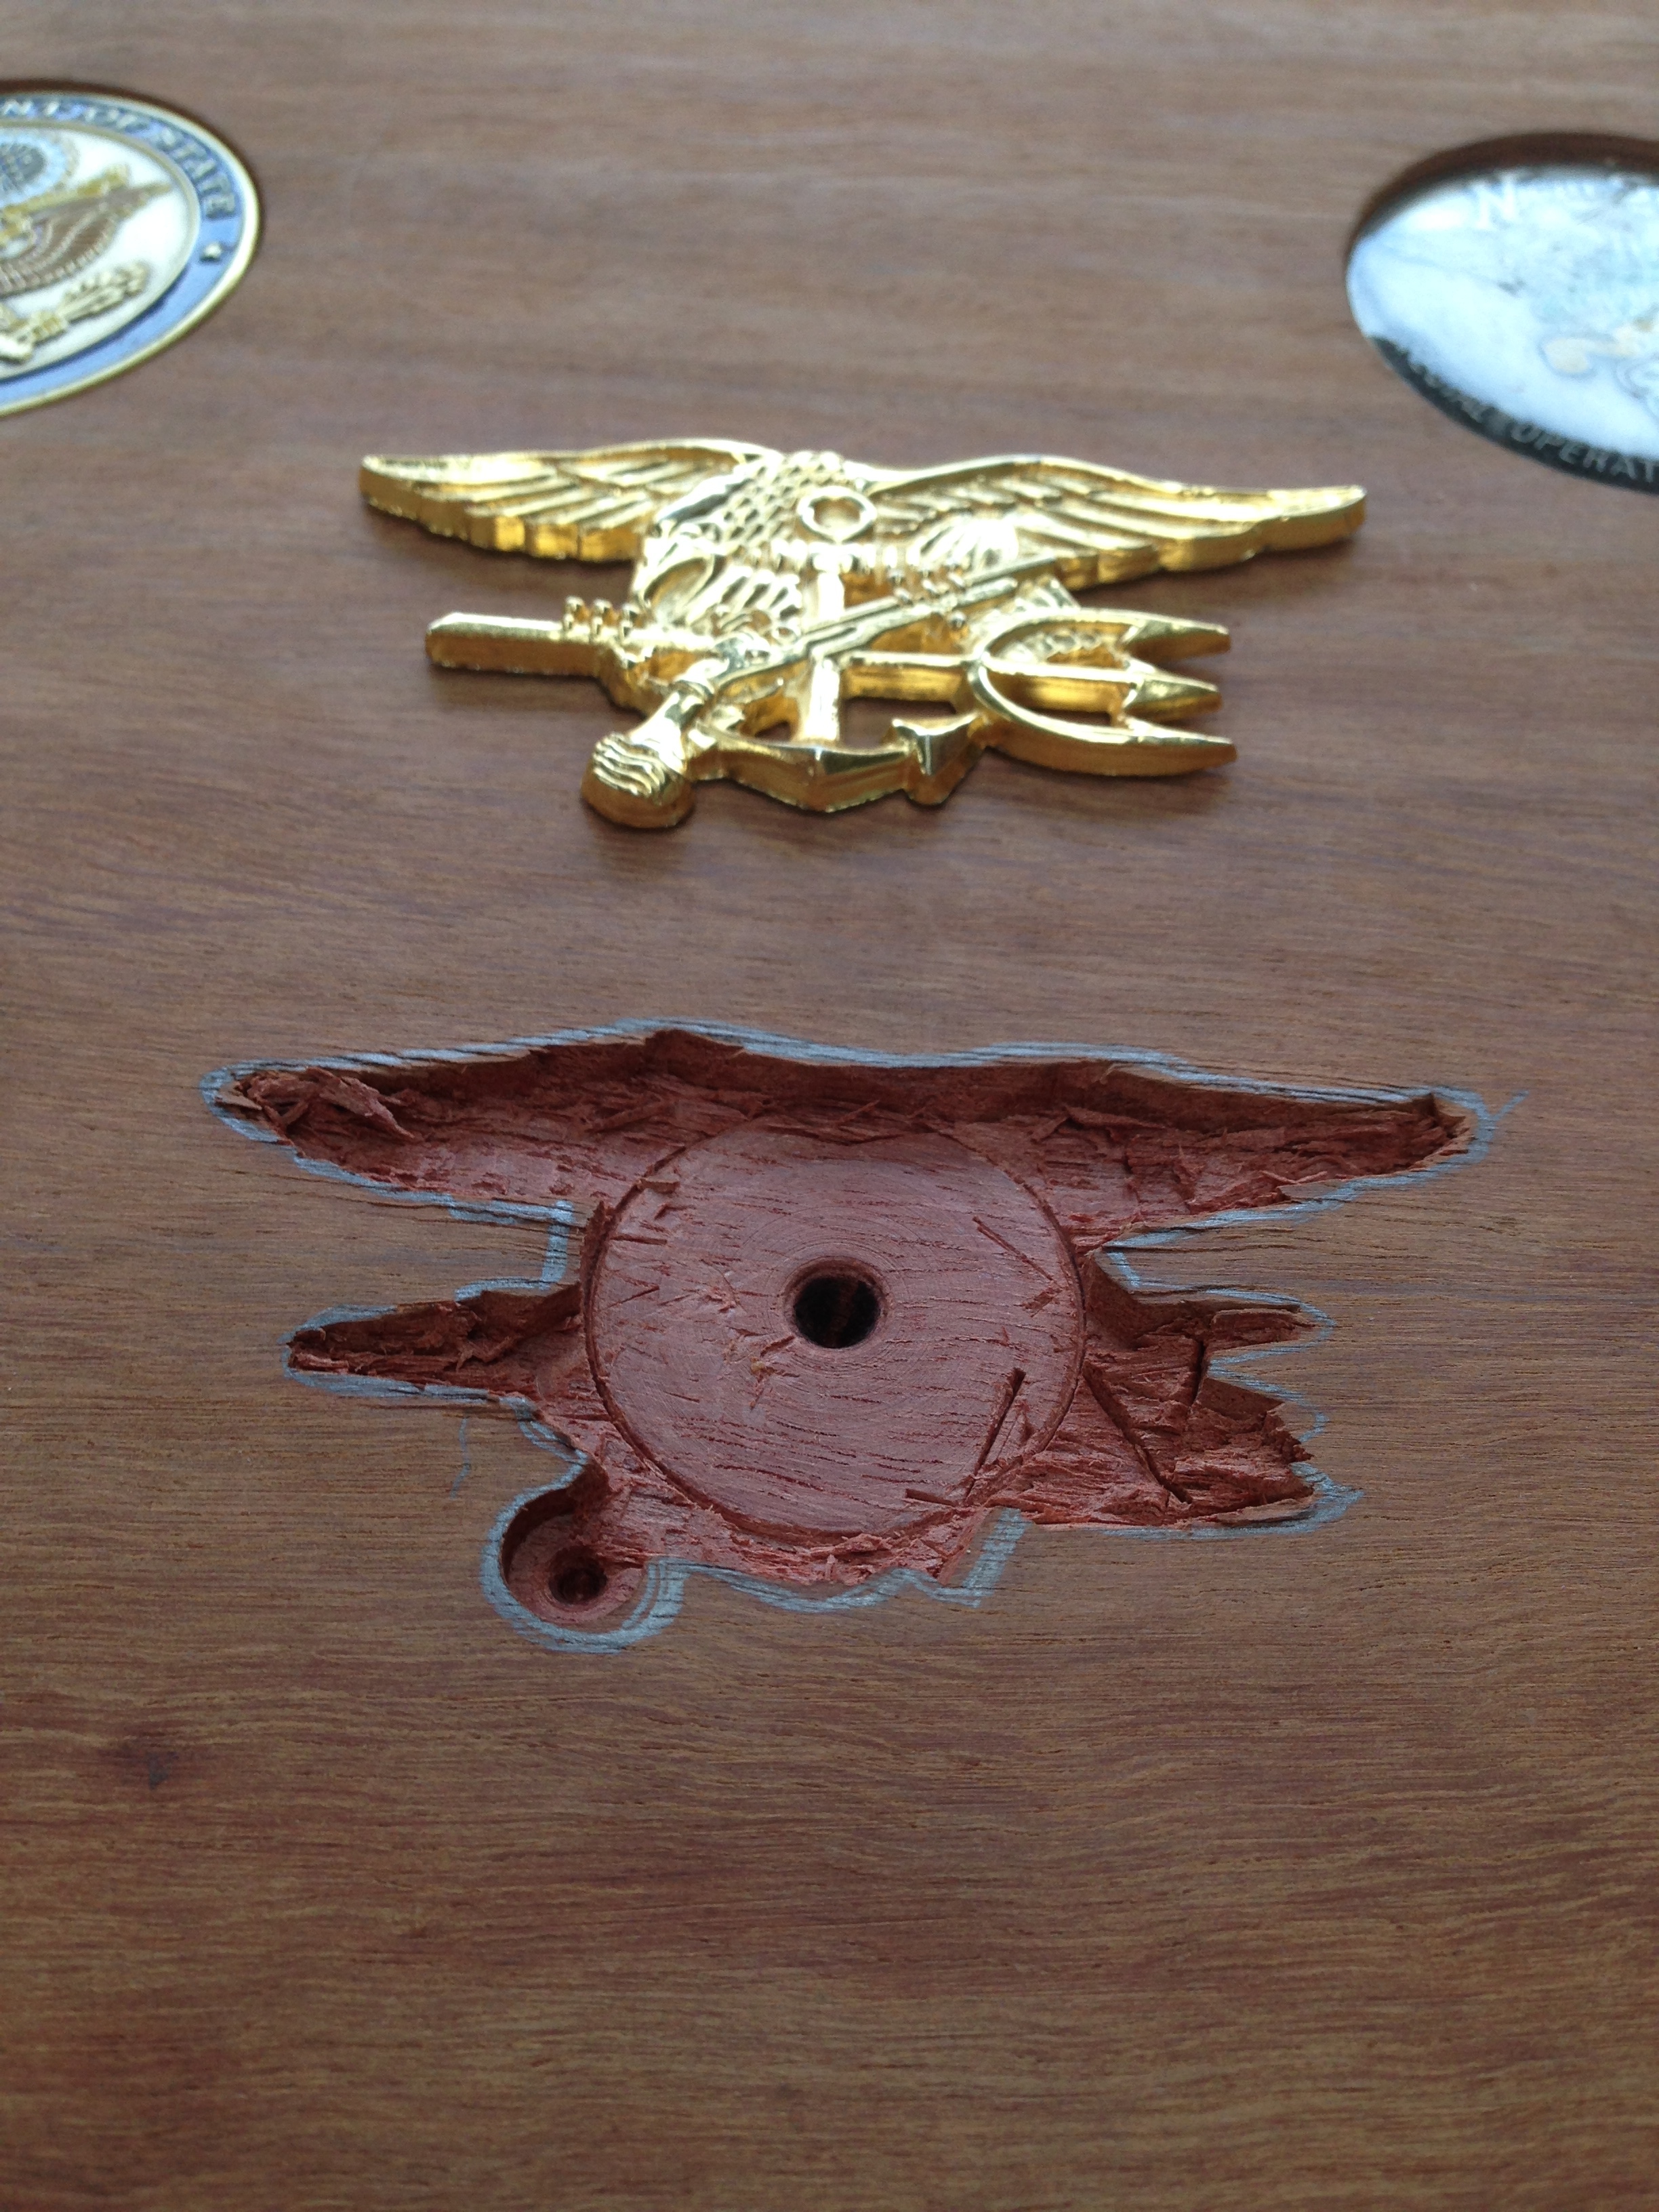
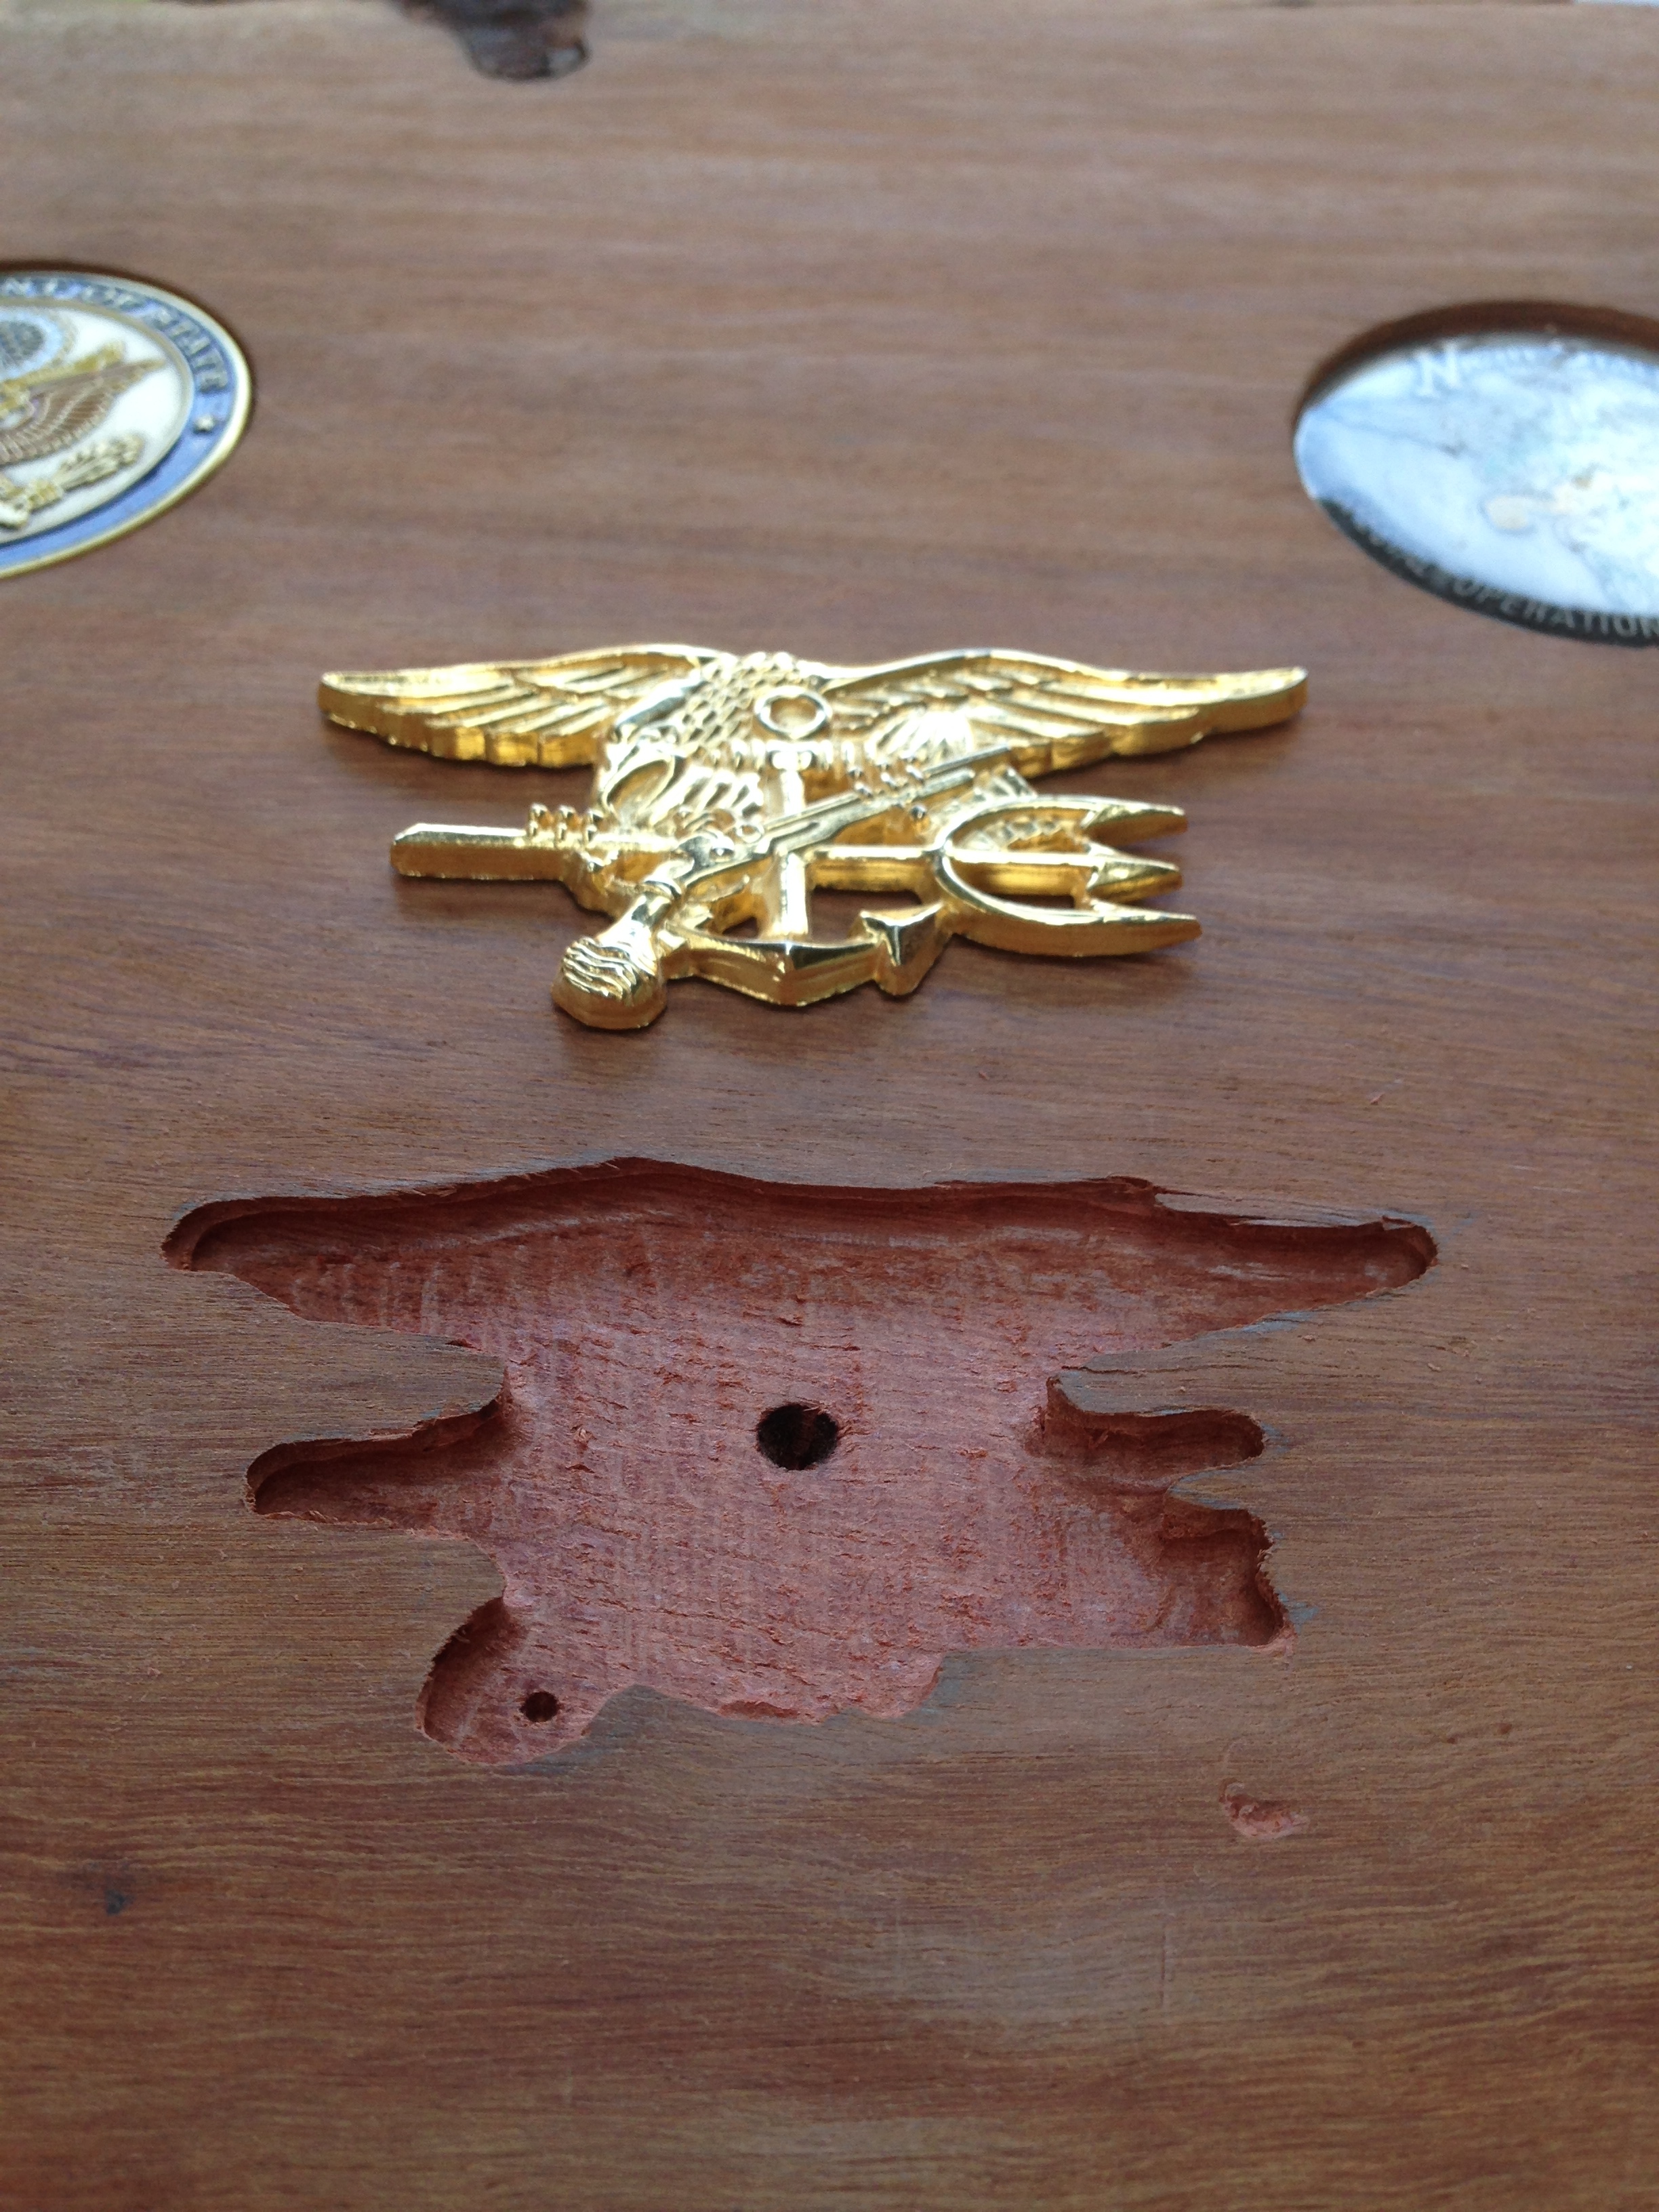
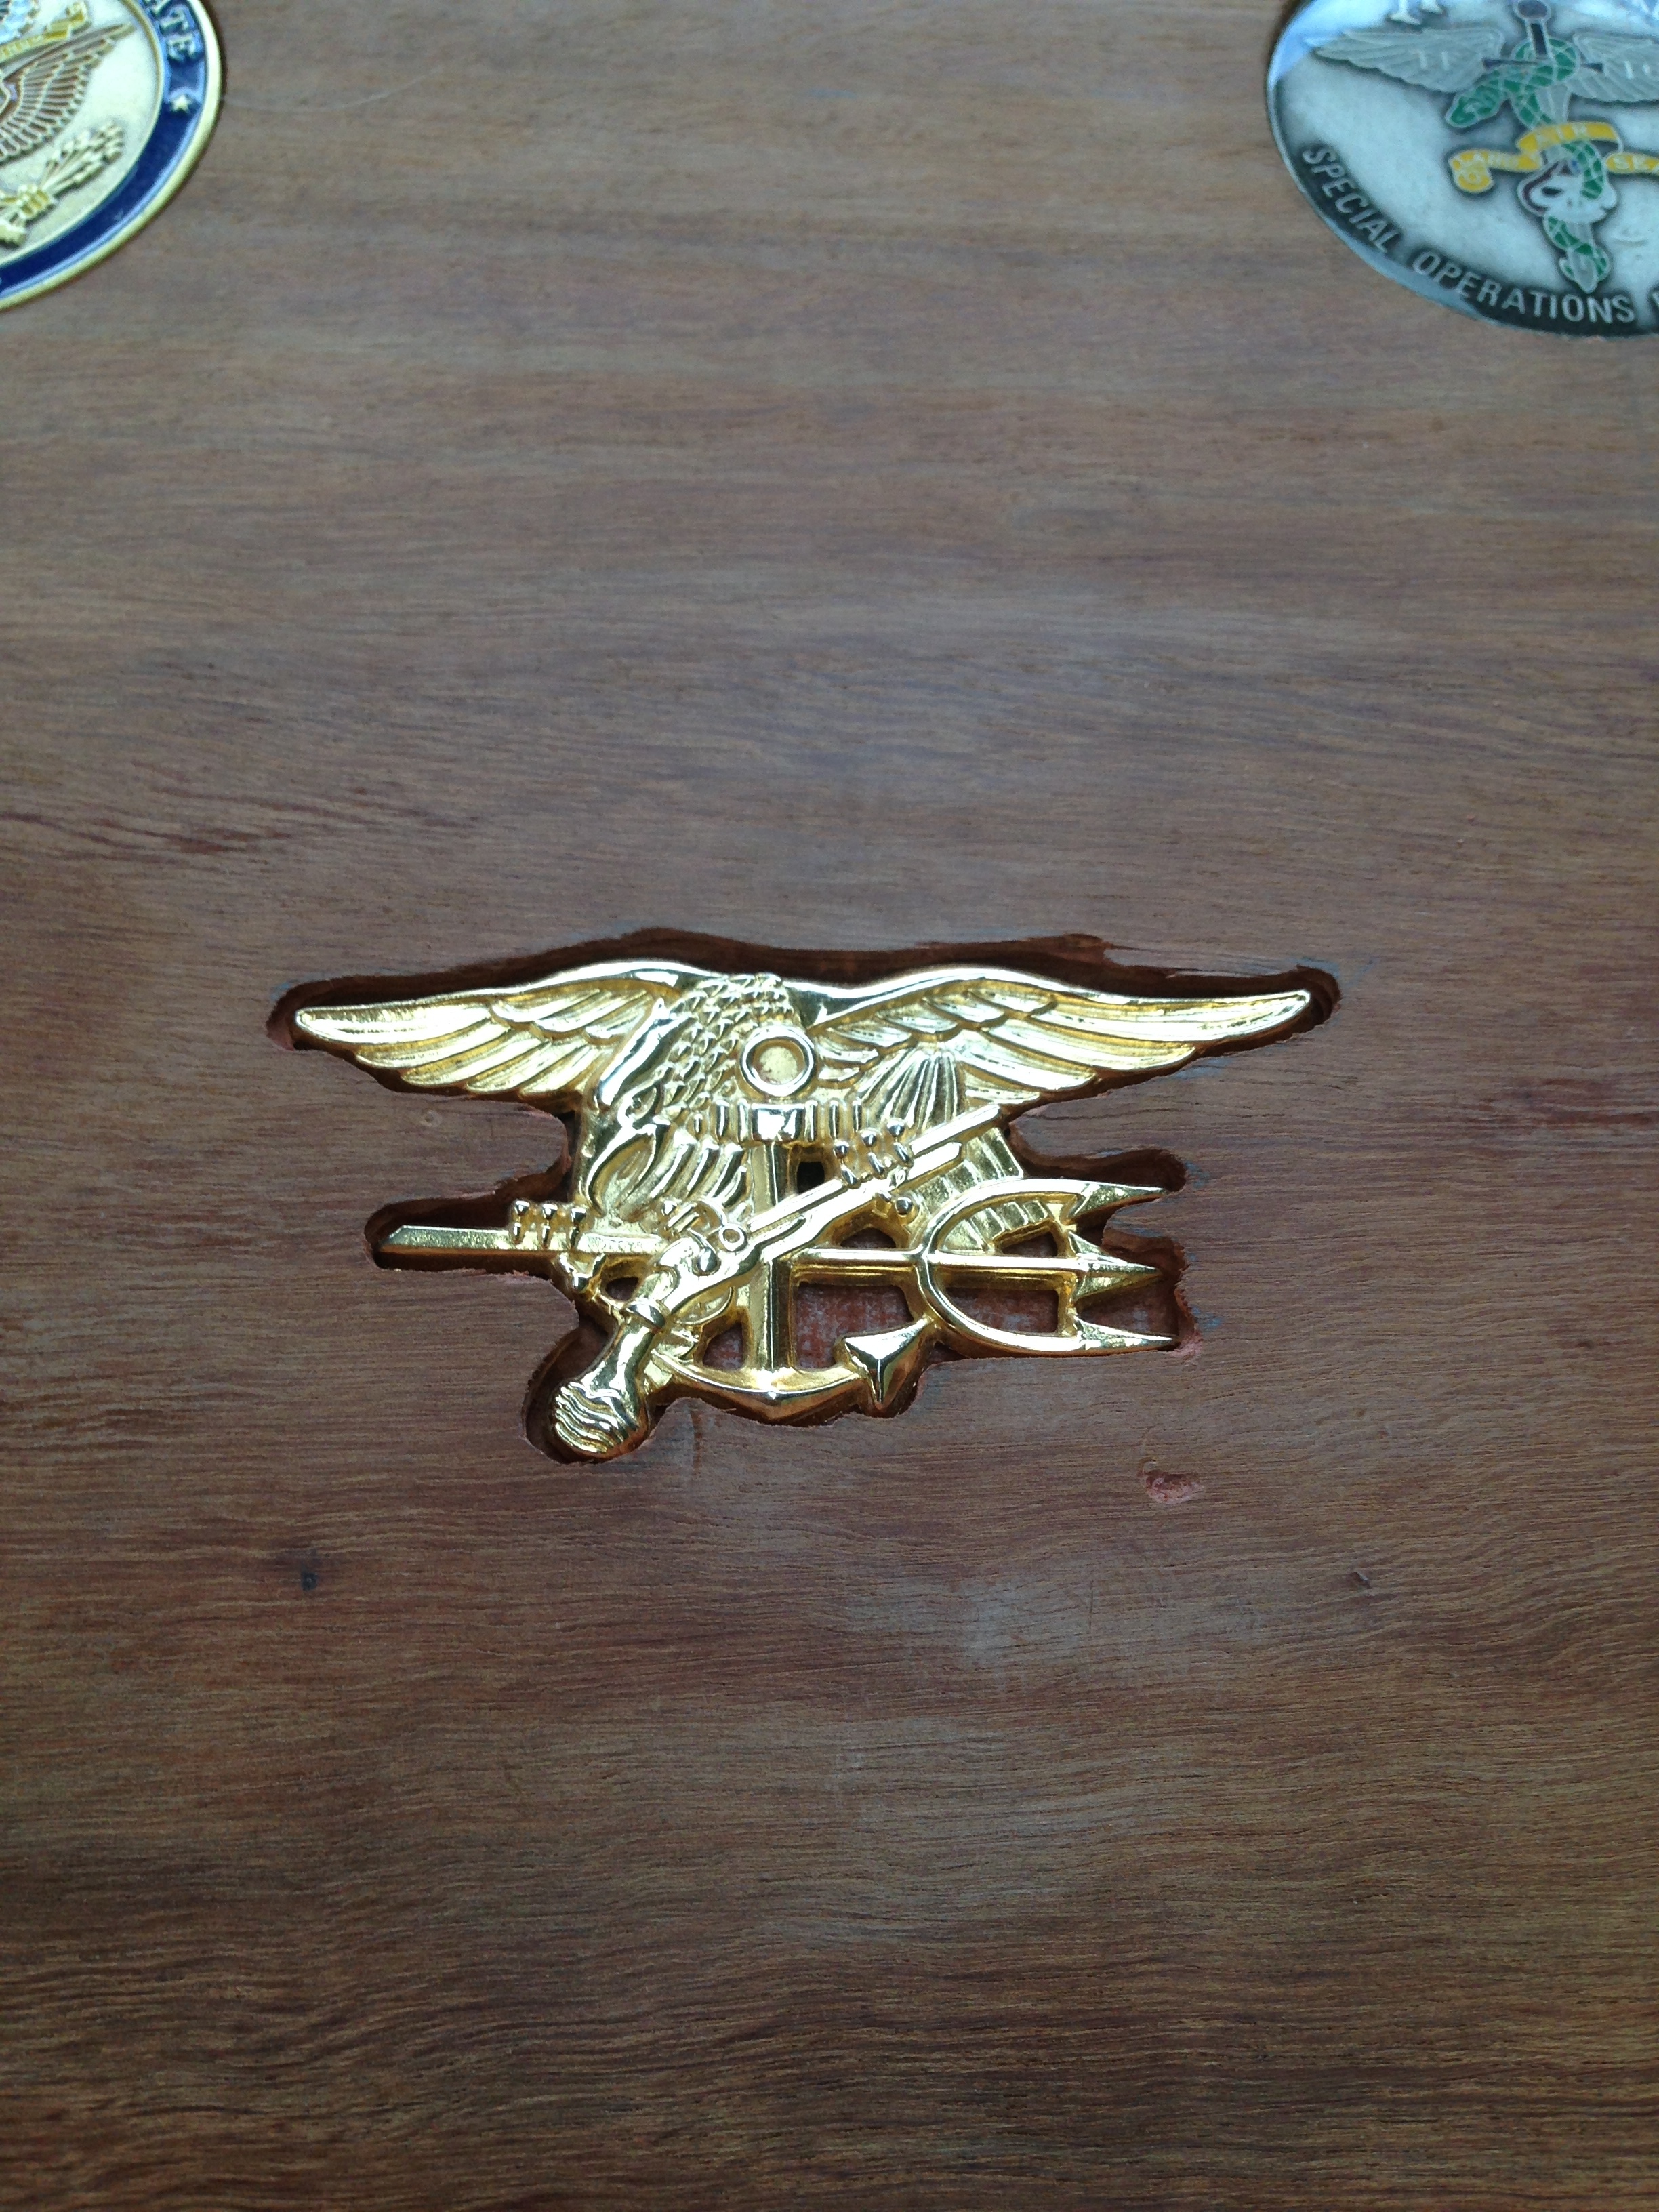
This SEAL Trident was a little challenging, but by taking the bulk in the middle out with a Forstner bit, it didn’t leave much work to be done with a chisel, and then after a tidy with the Dremel, I achieved a pretty good fit.

One side down, one to go.


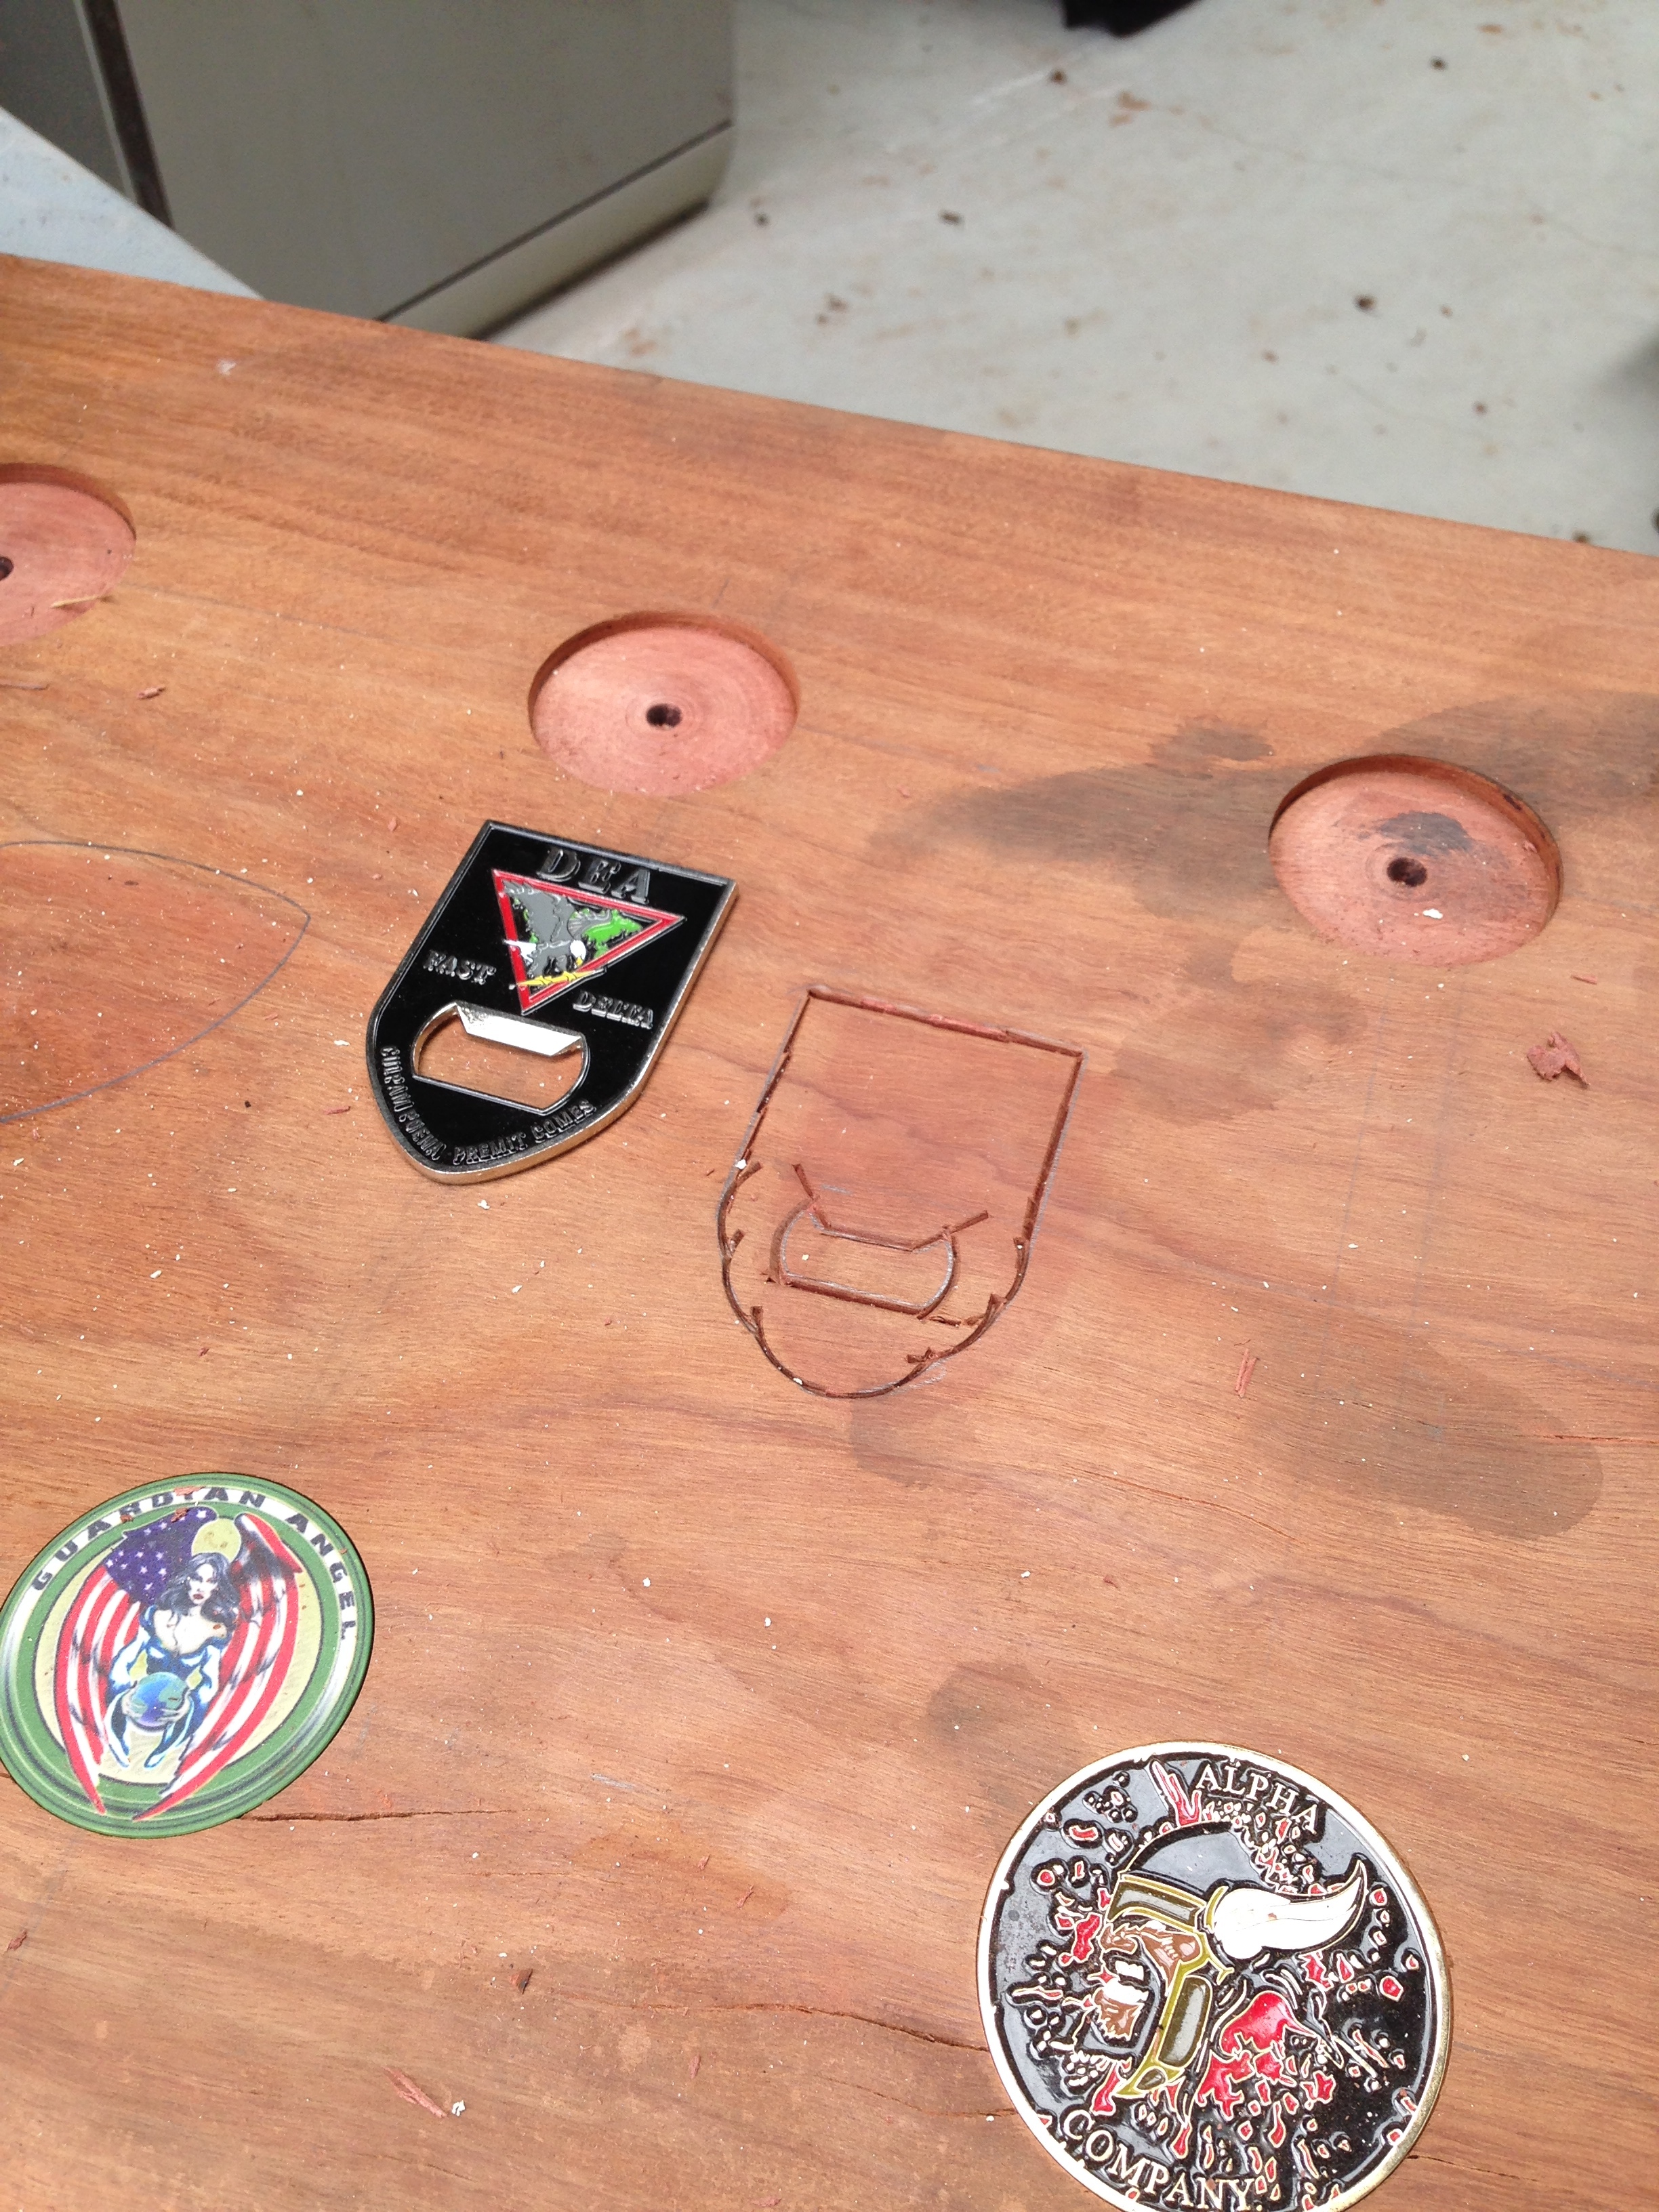
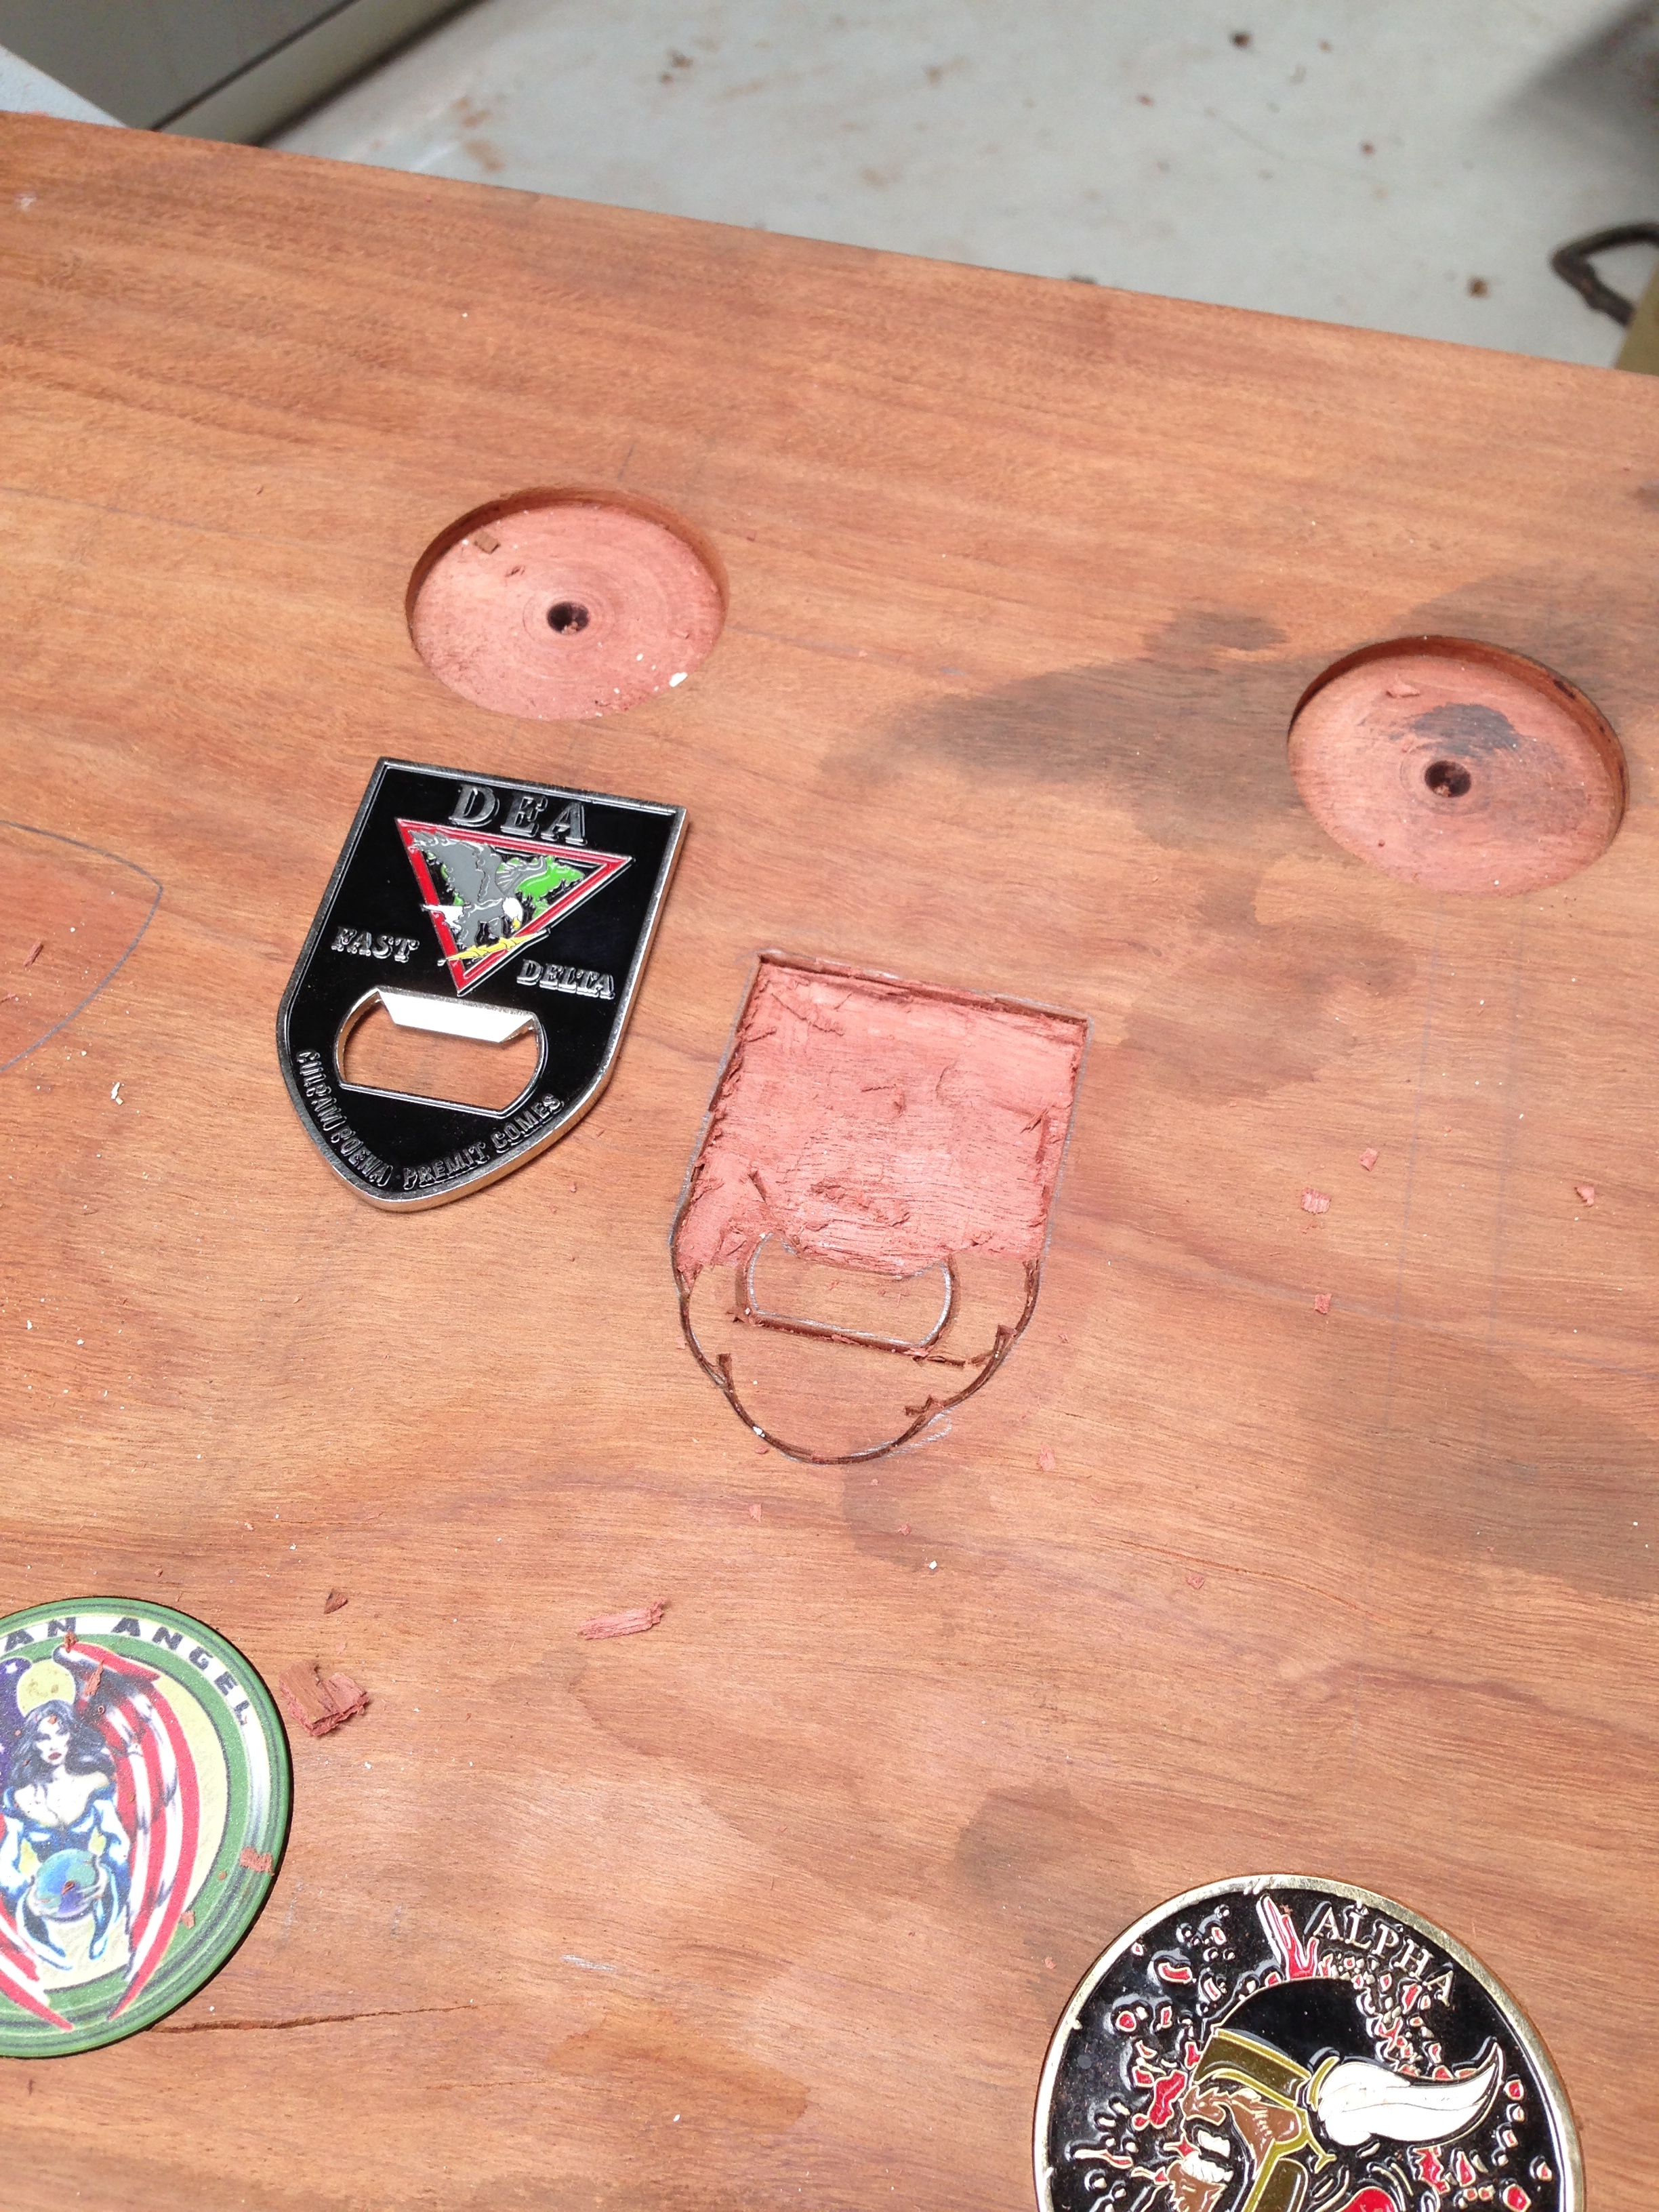
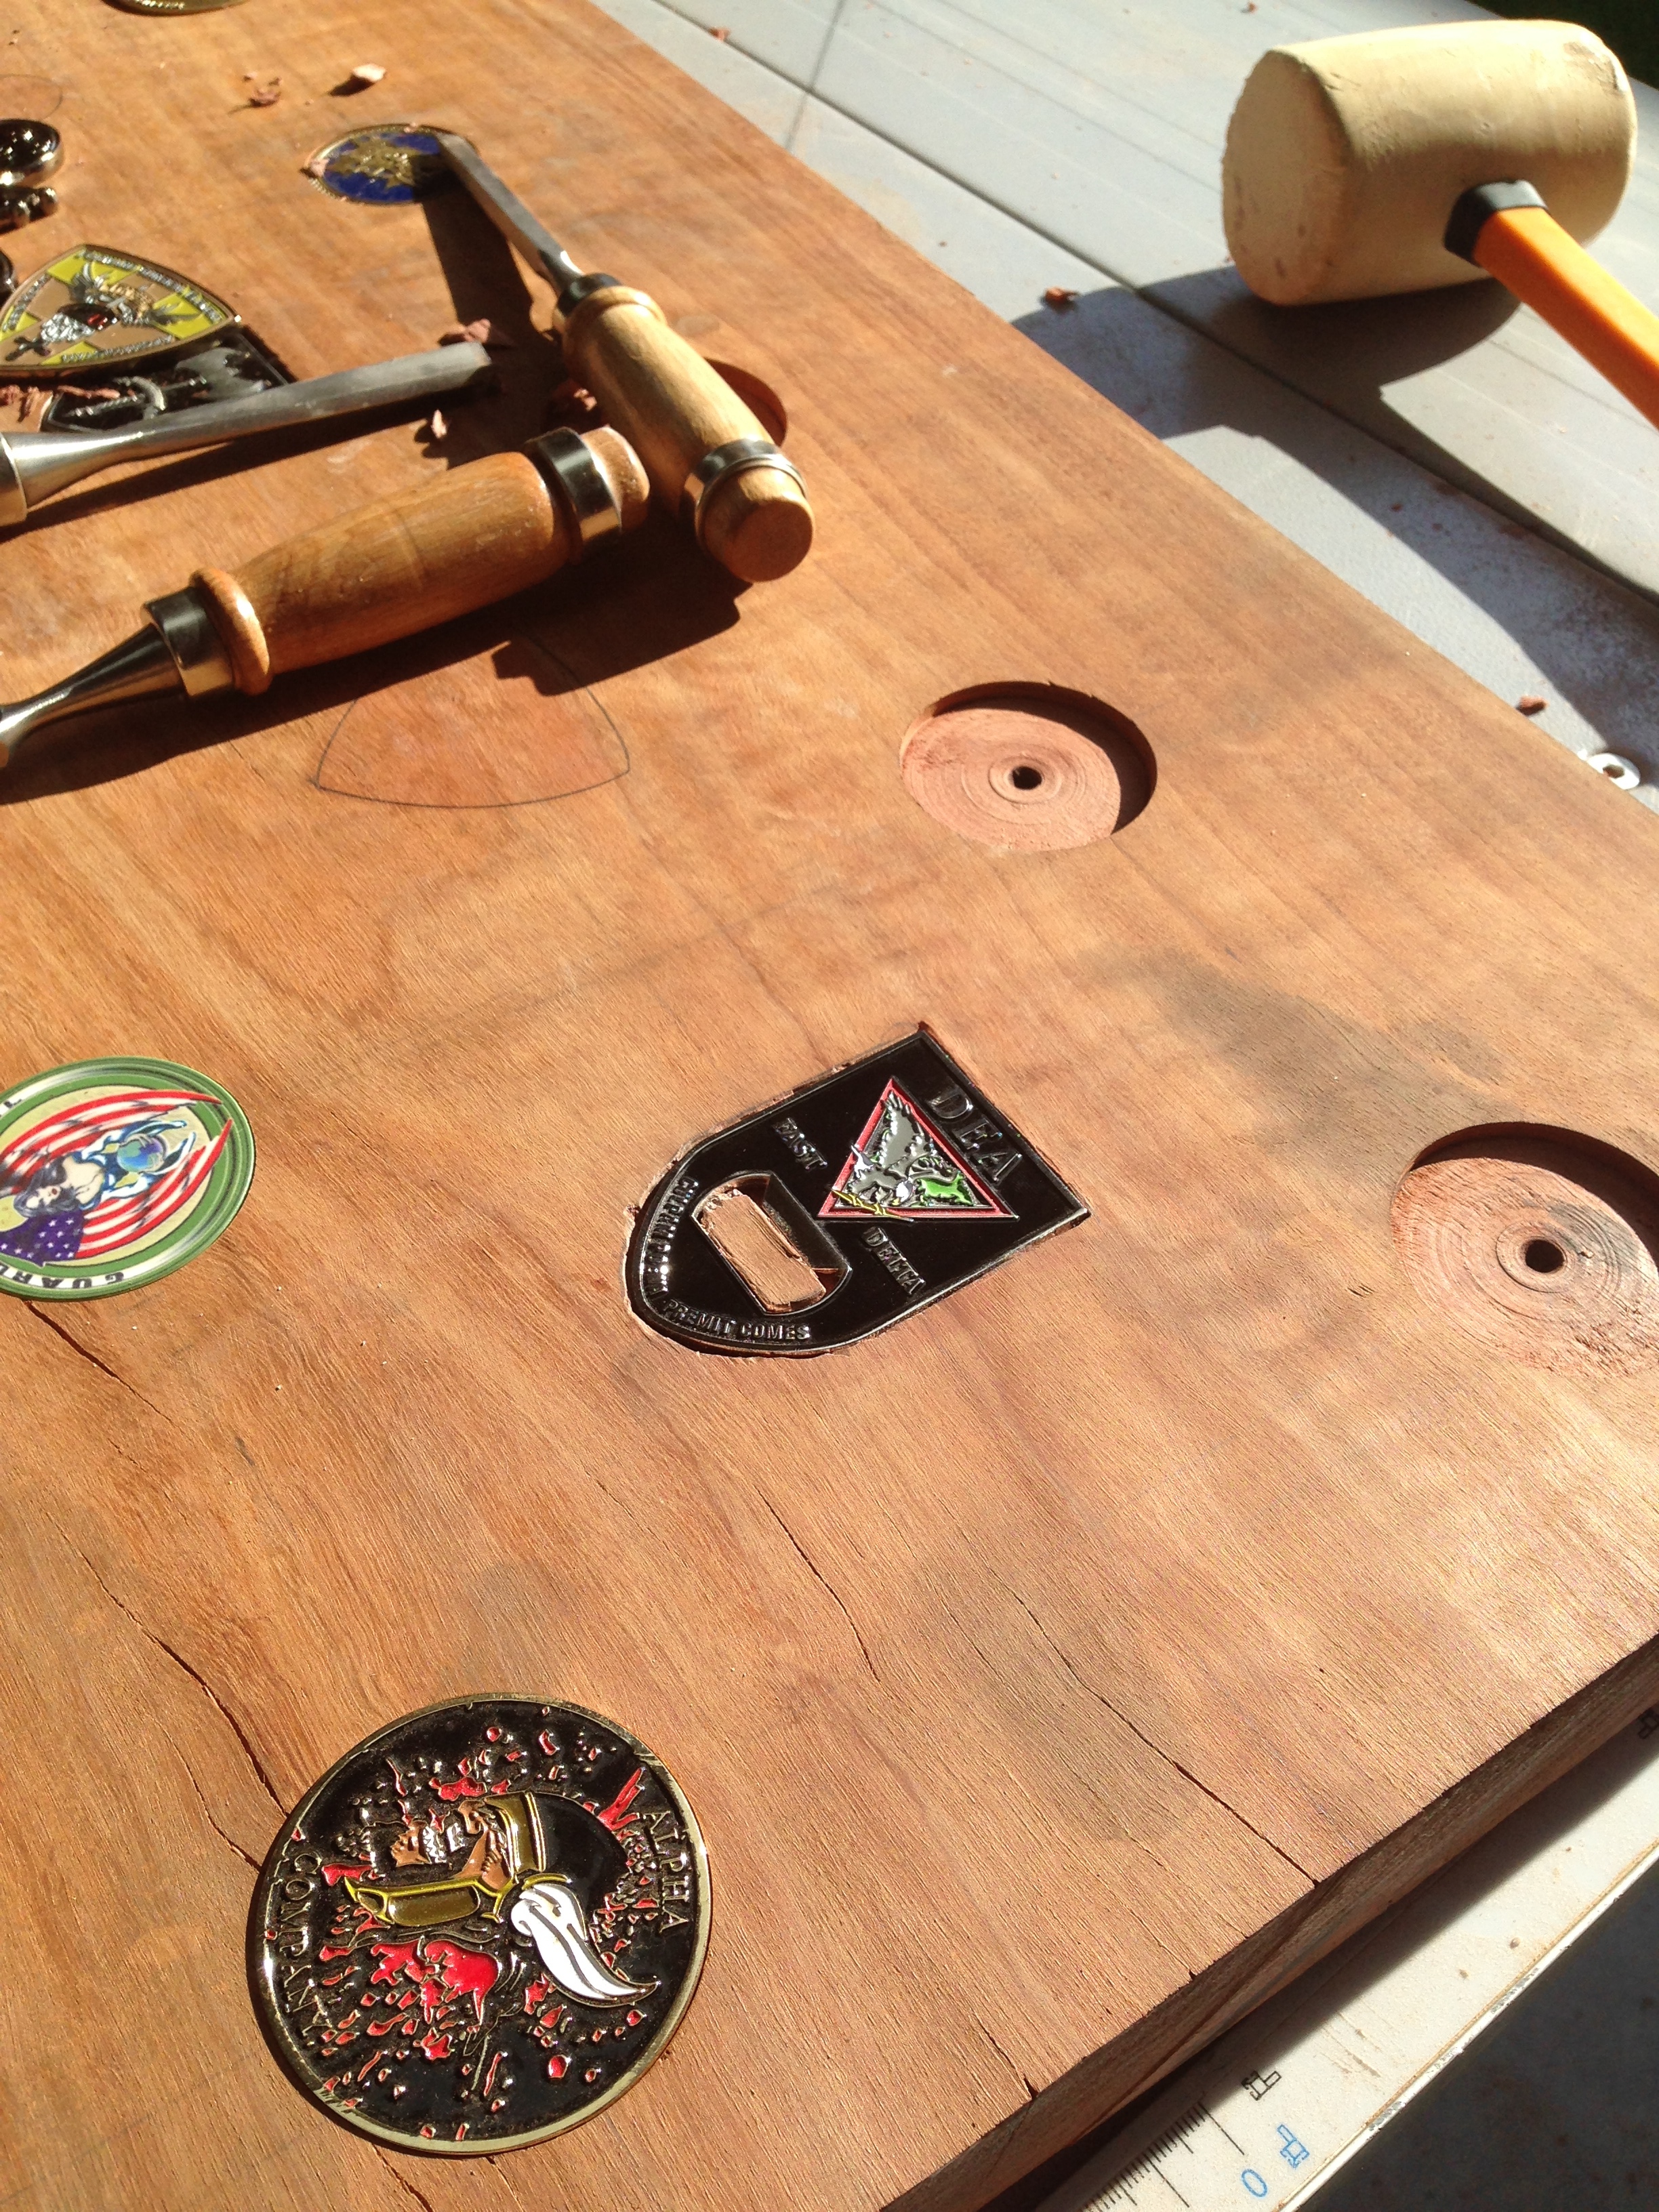
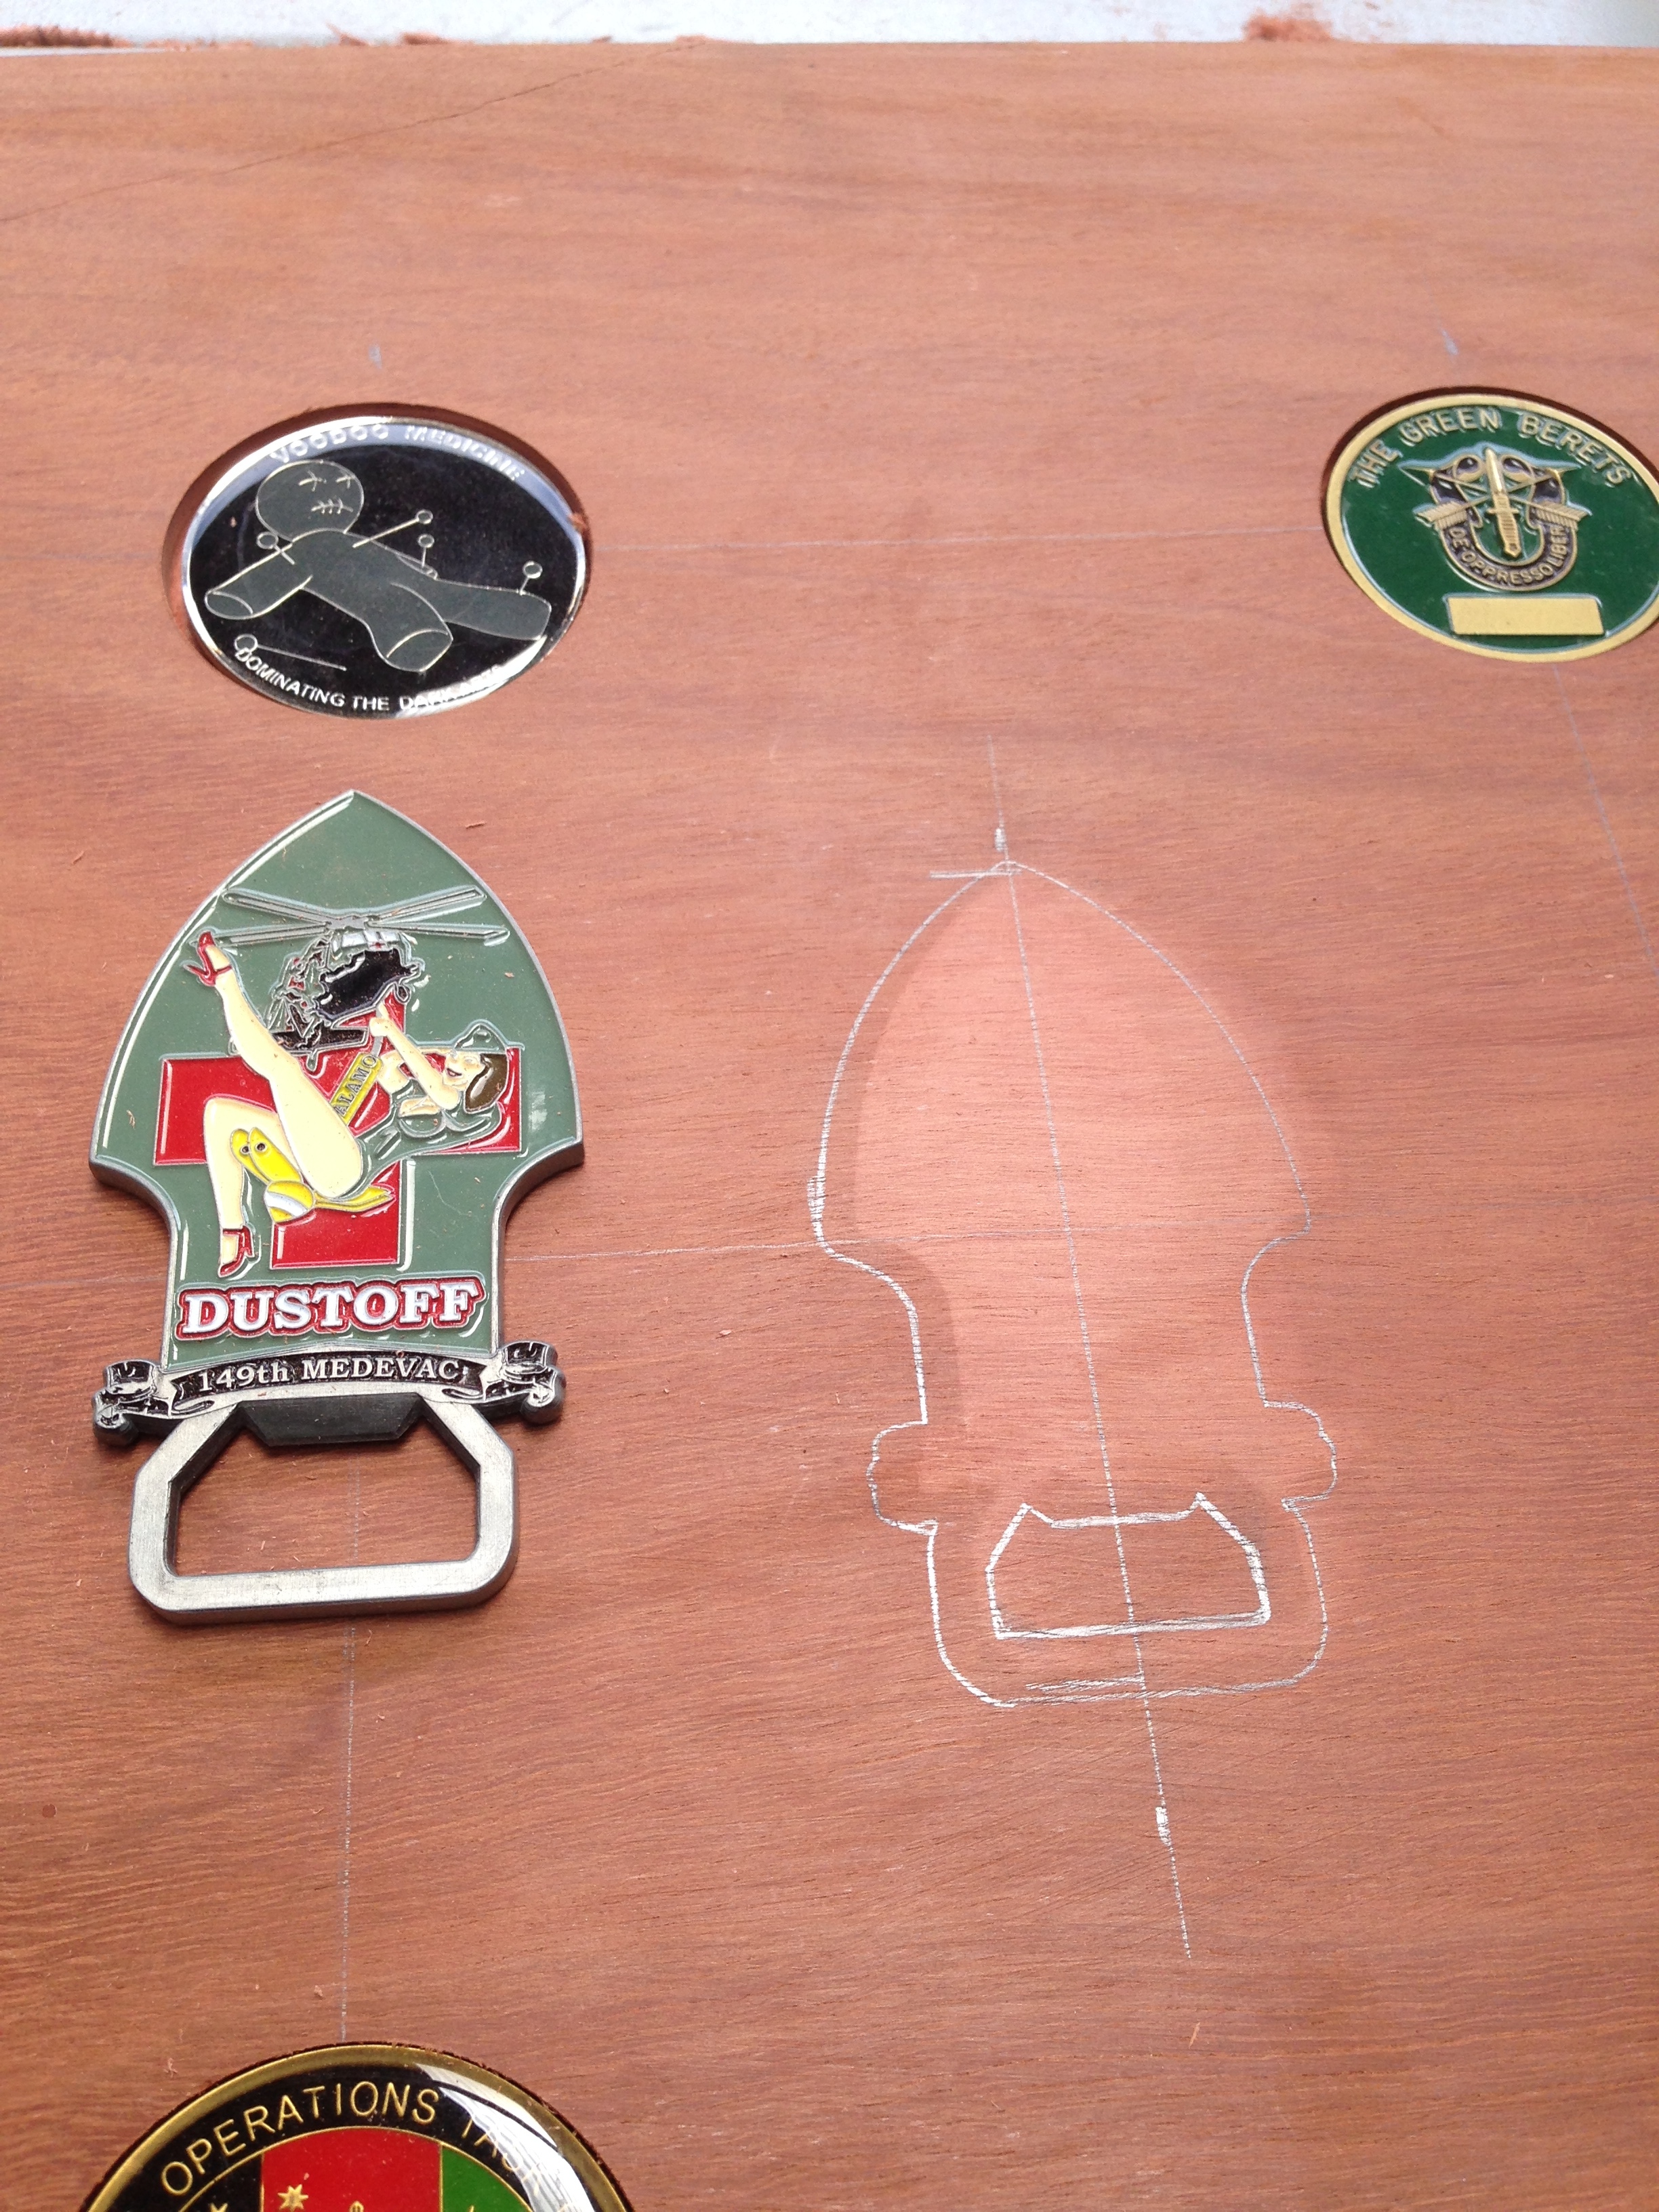
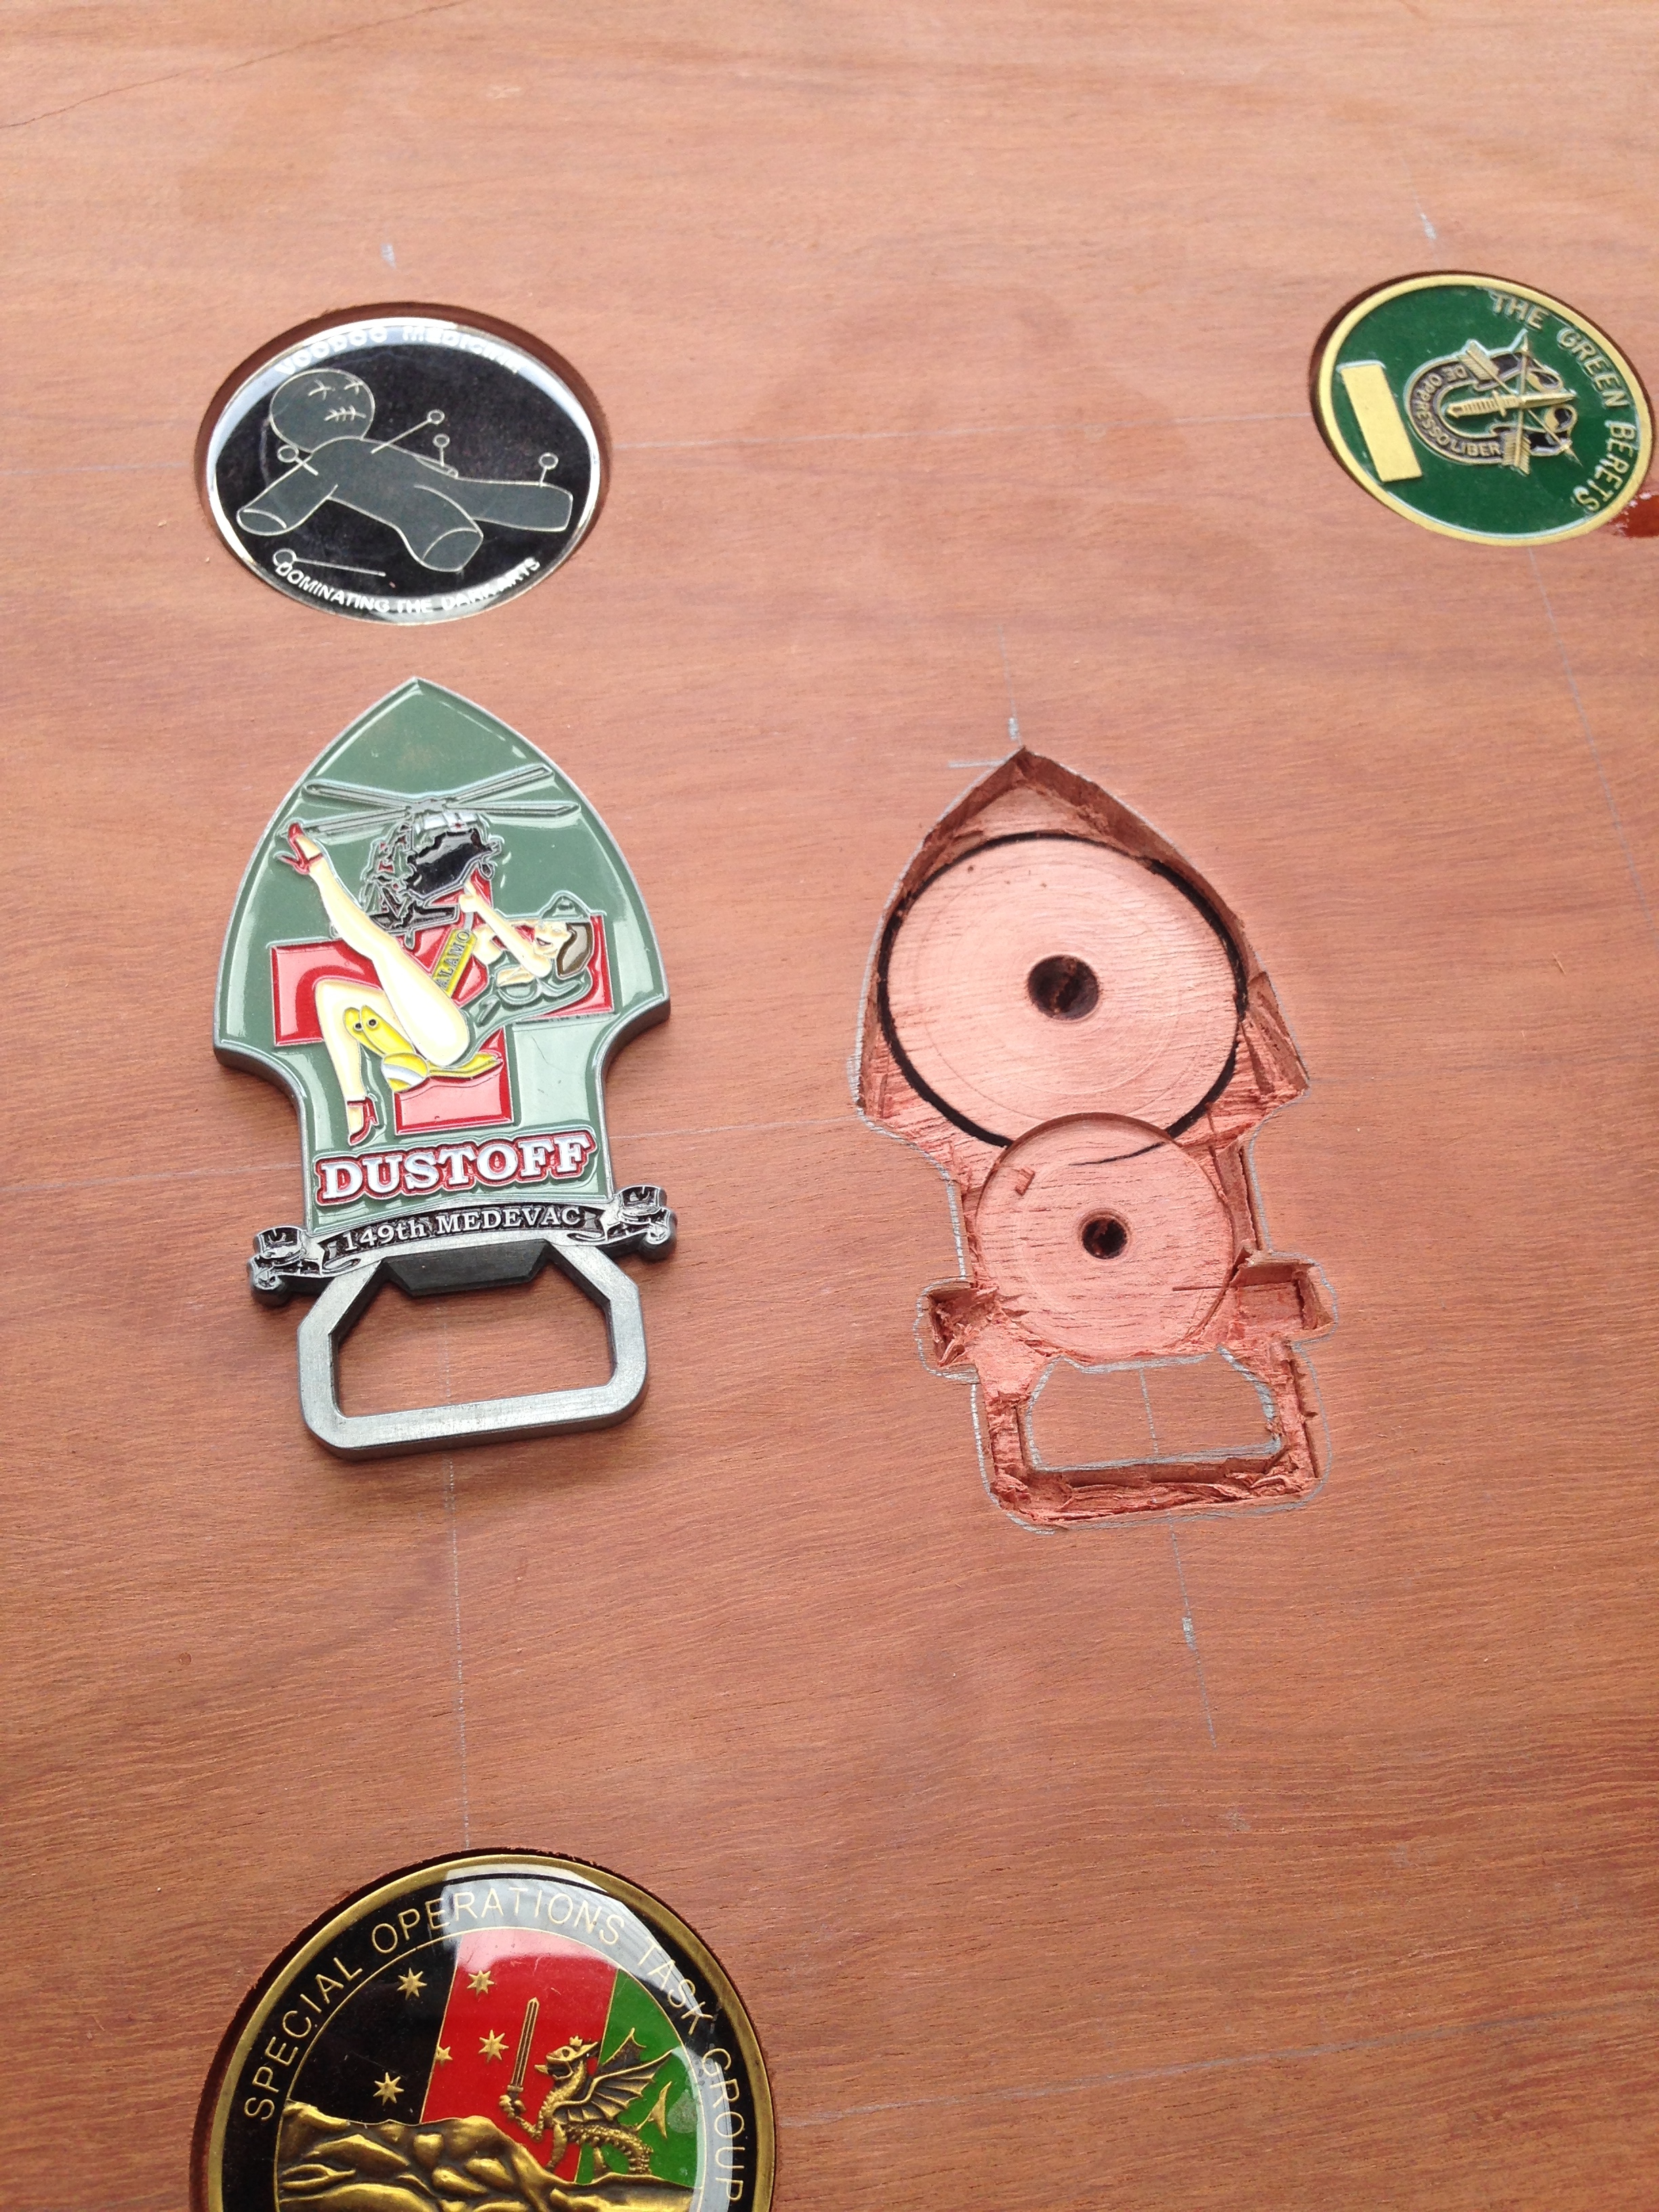
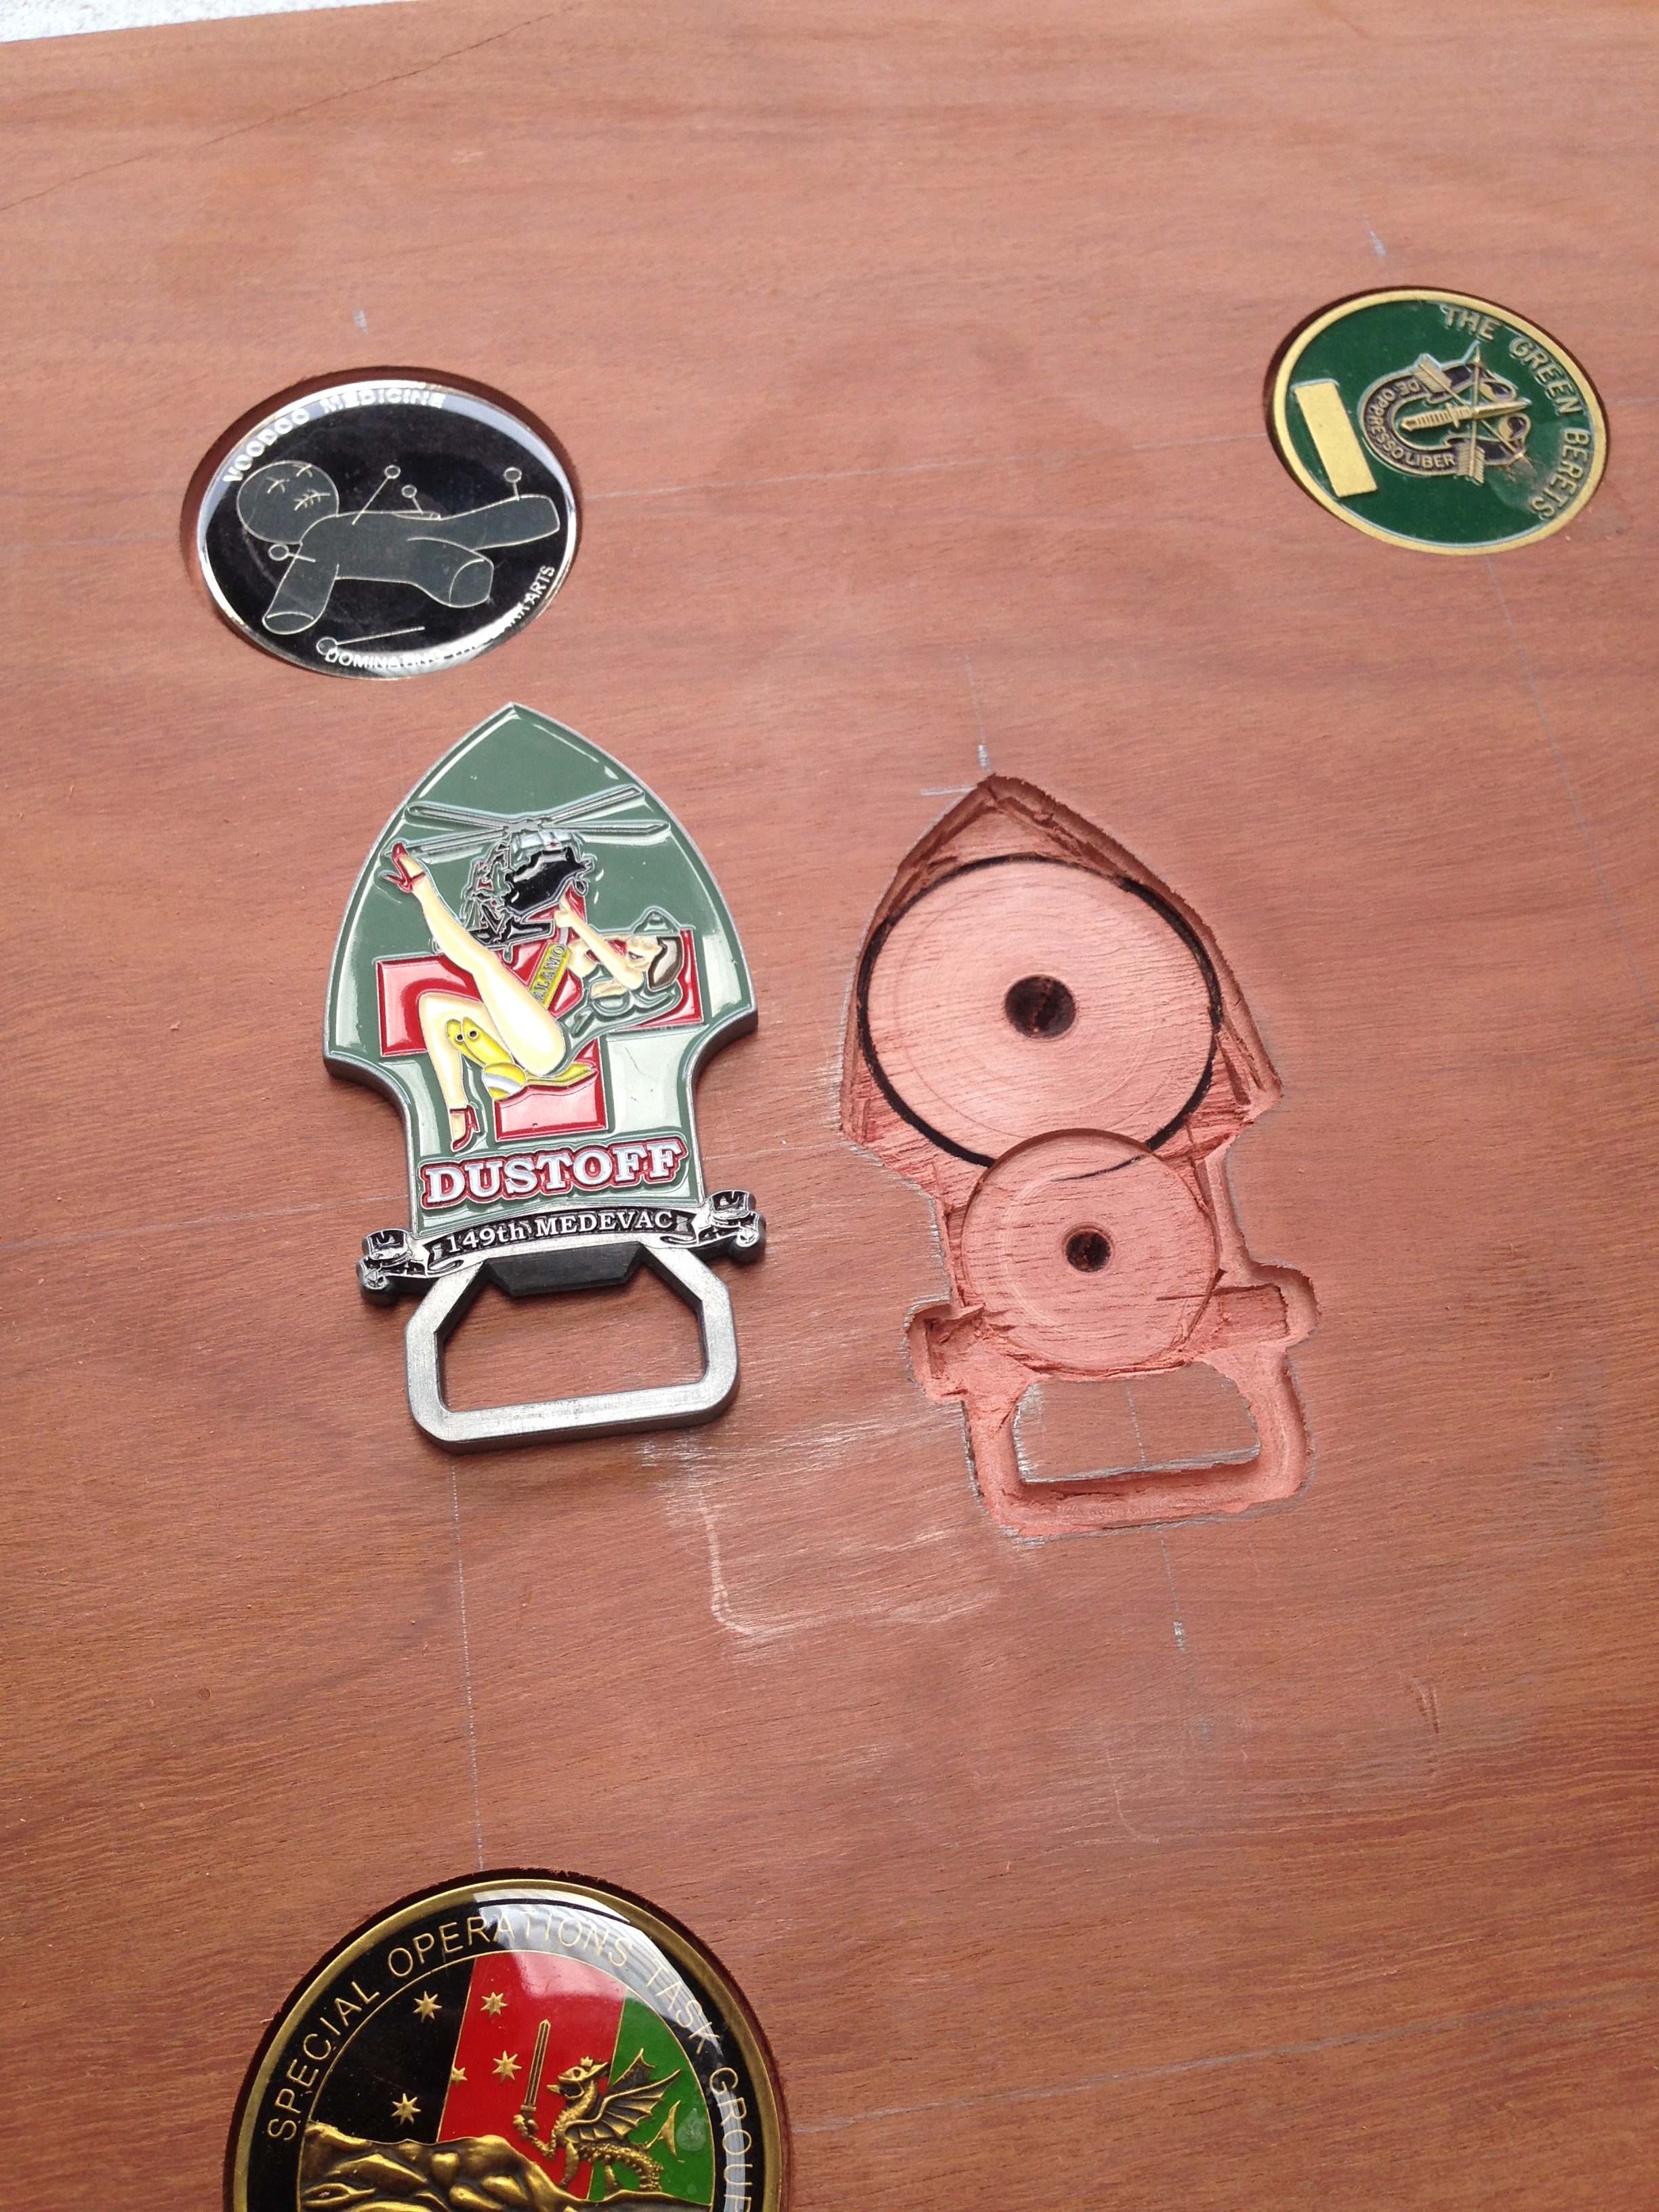
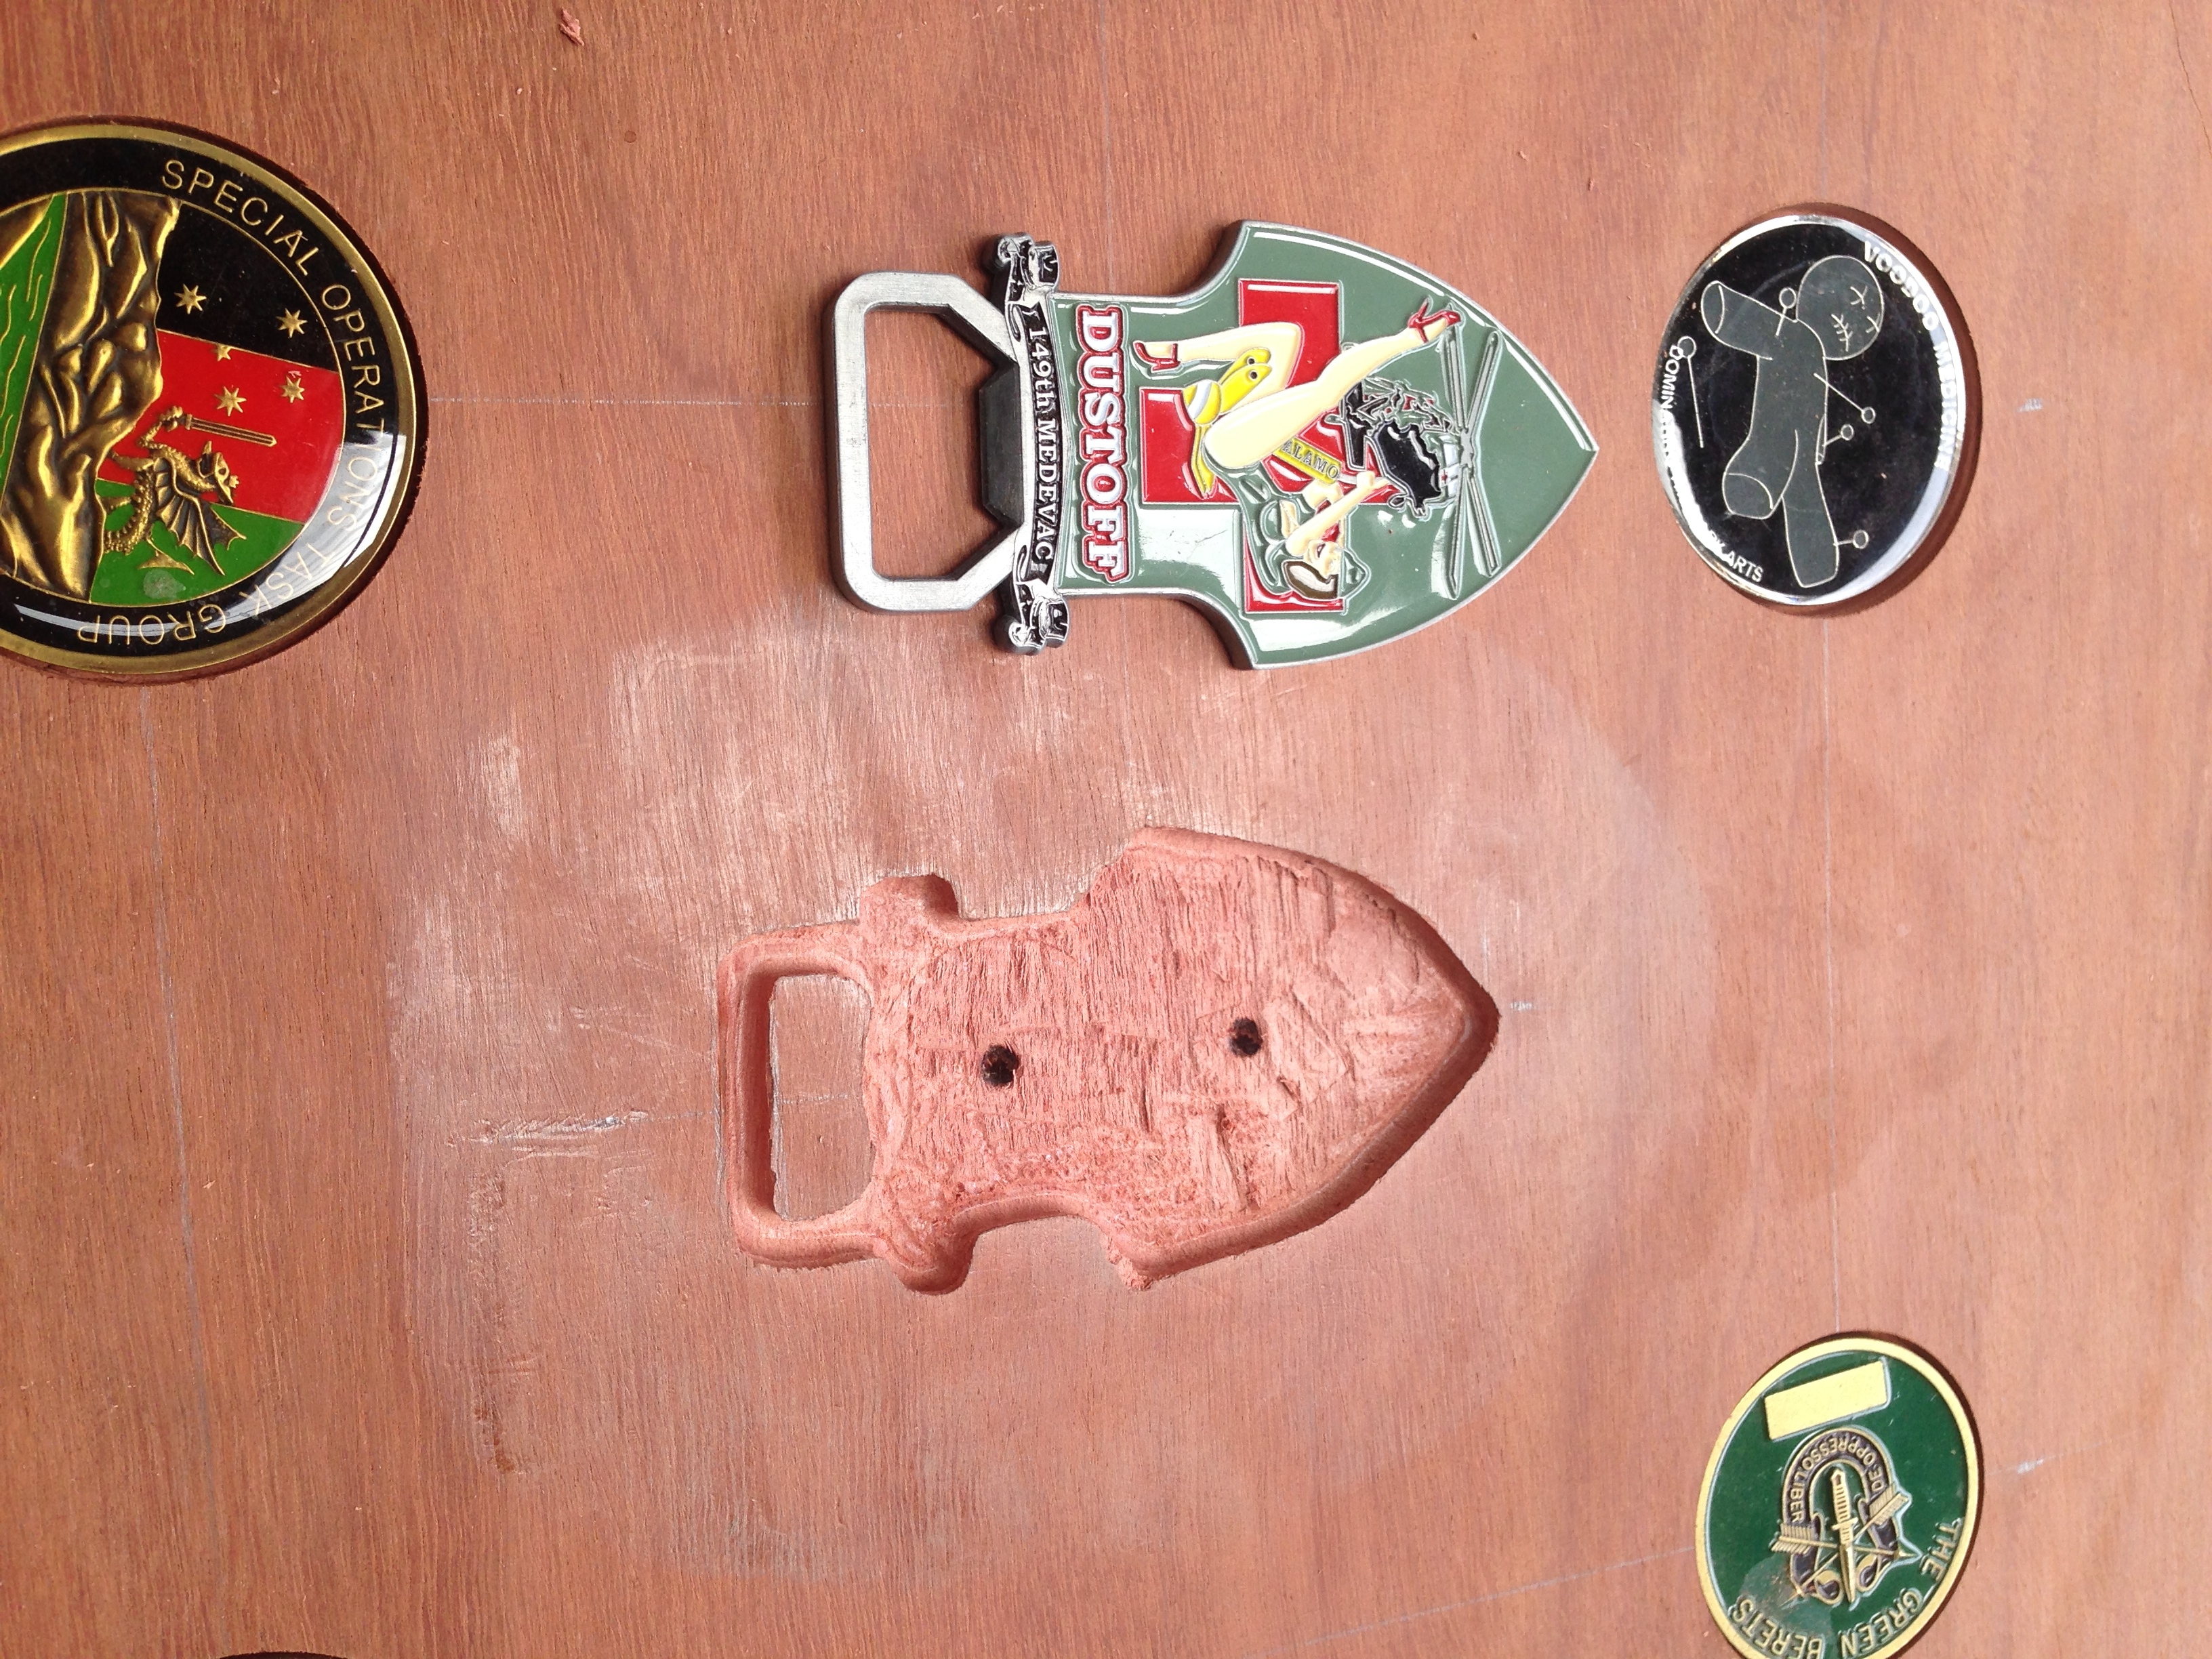
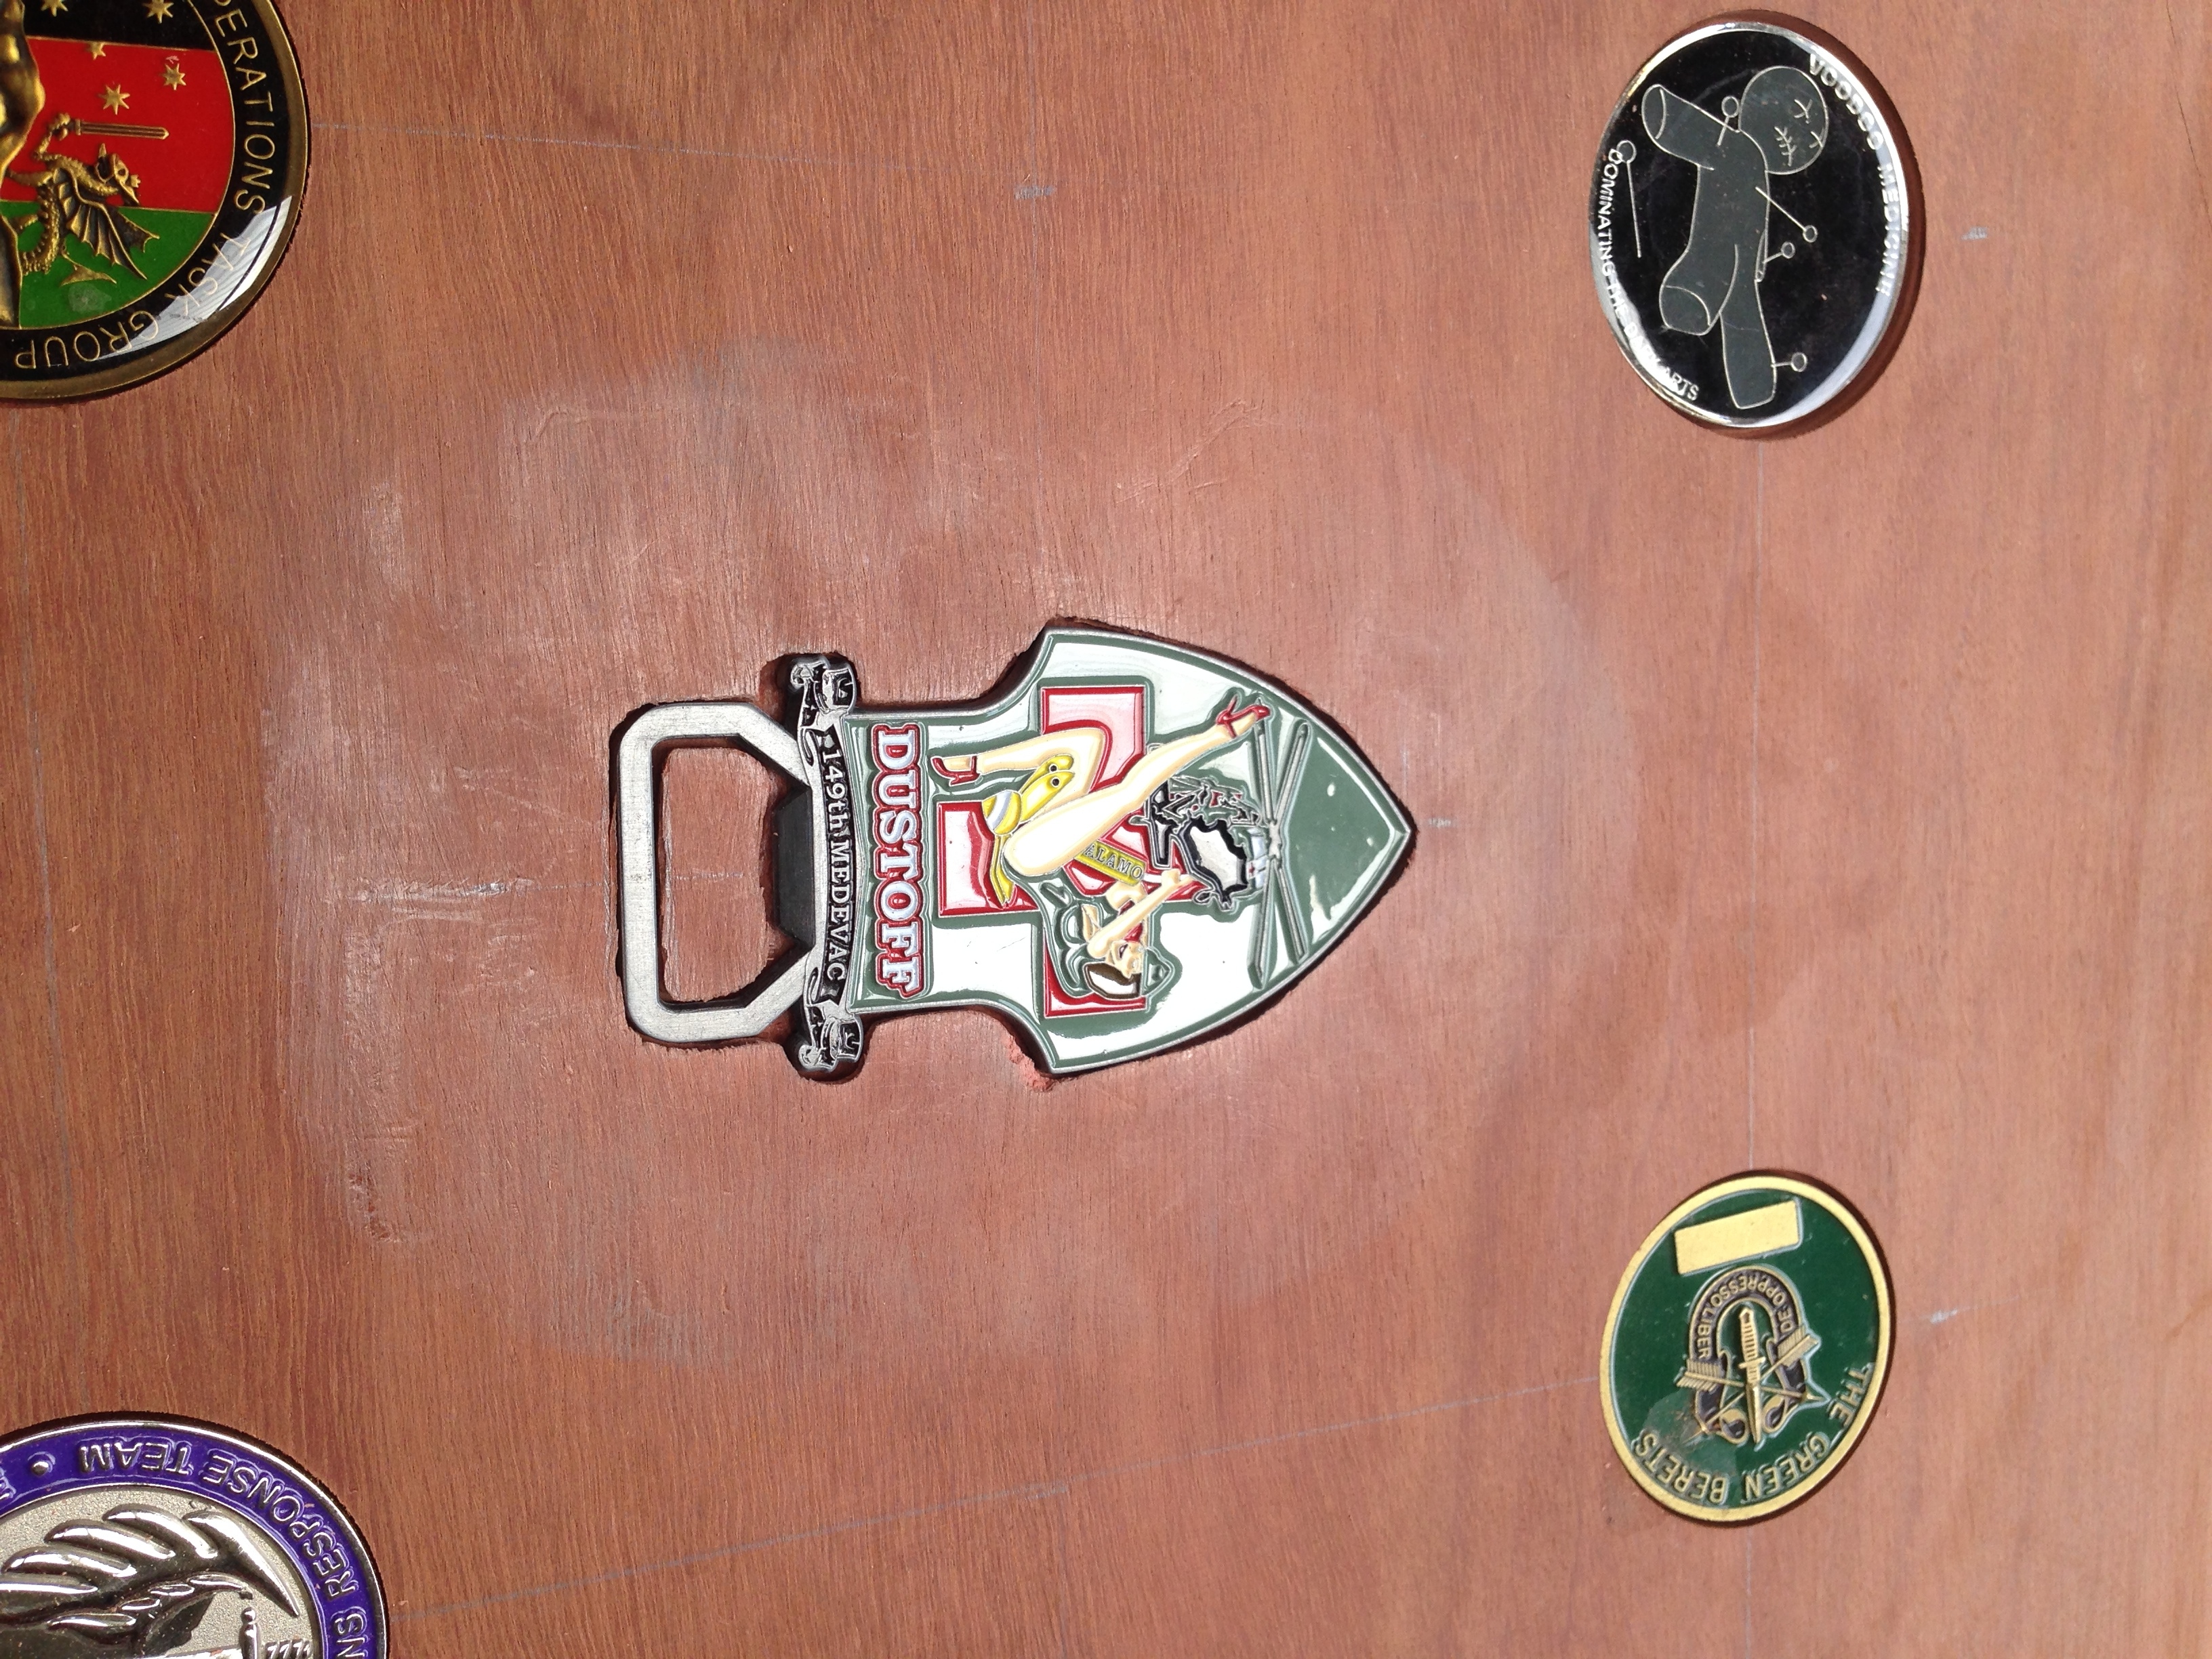
This coin / bottle opener was also a bit of a challenge, but once again, using the Forstner, chisel and Dremel combo, it went in OK.


Side two complete.


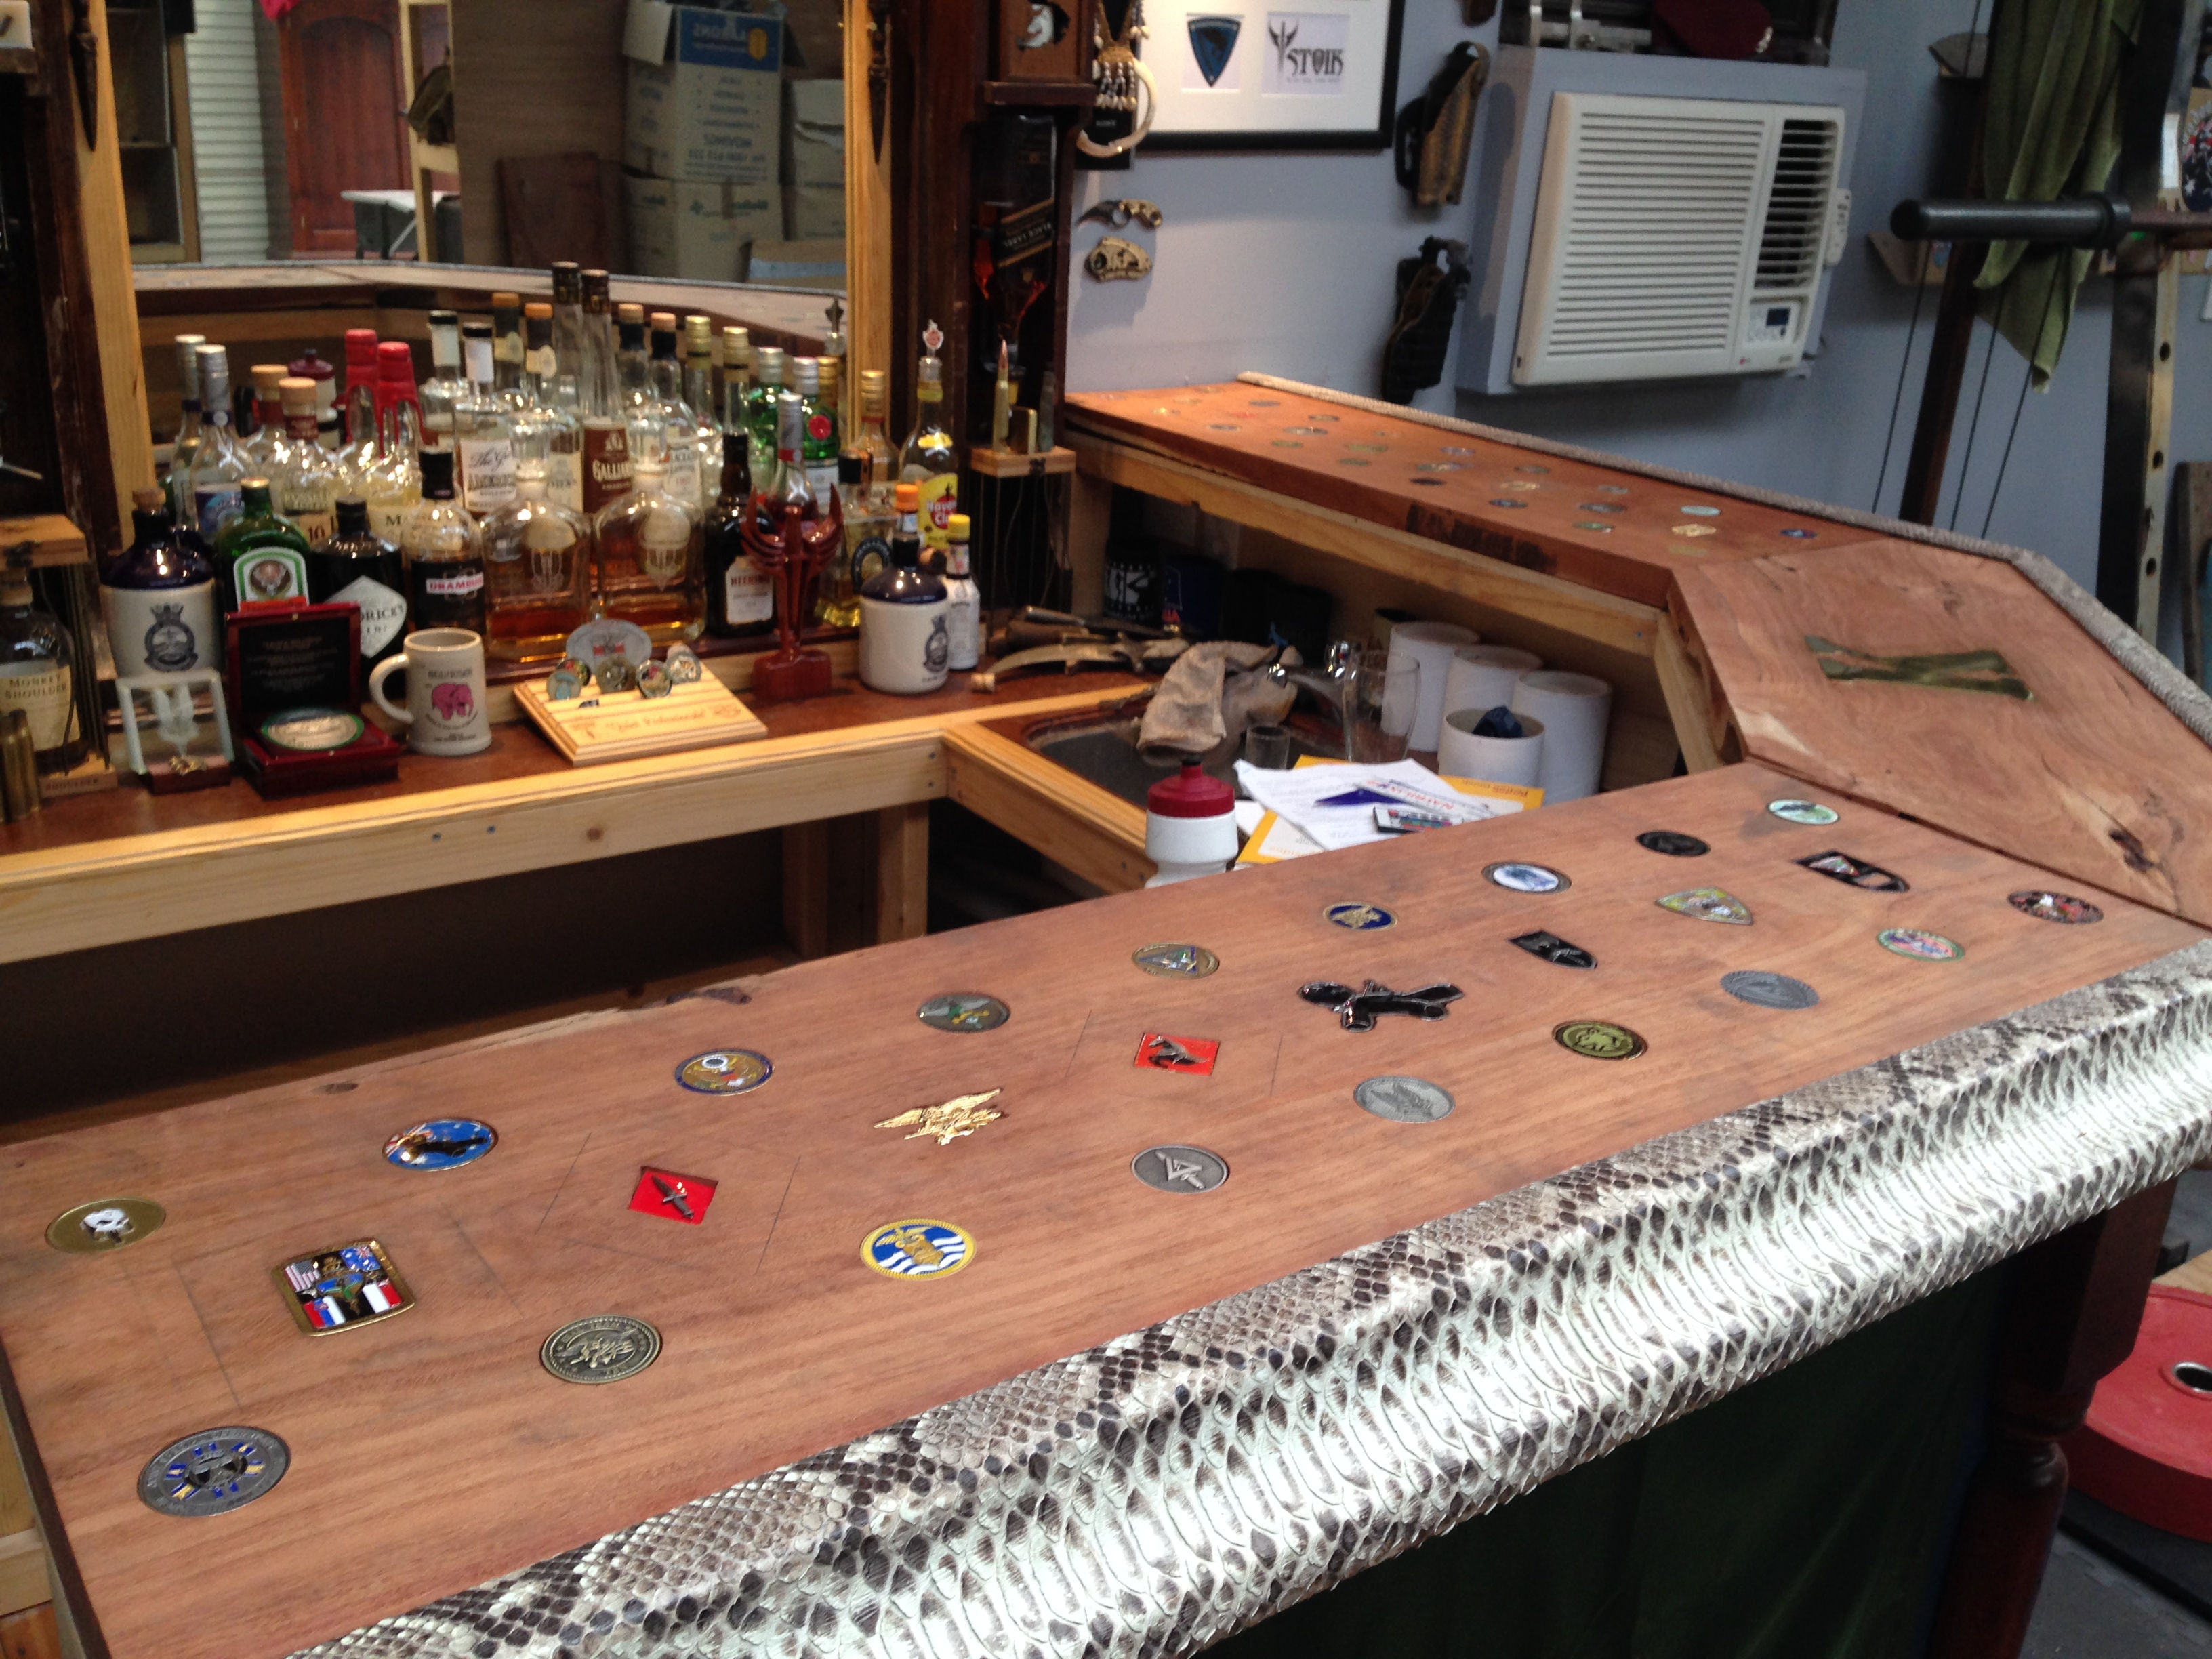
Back on the bar, here is the result to date. Next step is to biscuit join all three pieces of the bar together, give it one last sand, and then lacquer the top of it to seal all the coins in place.

Thanks for looking, dan.
