
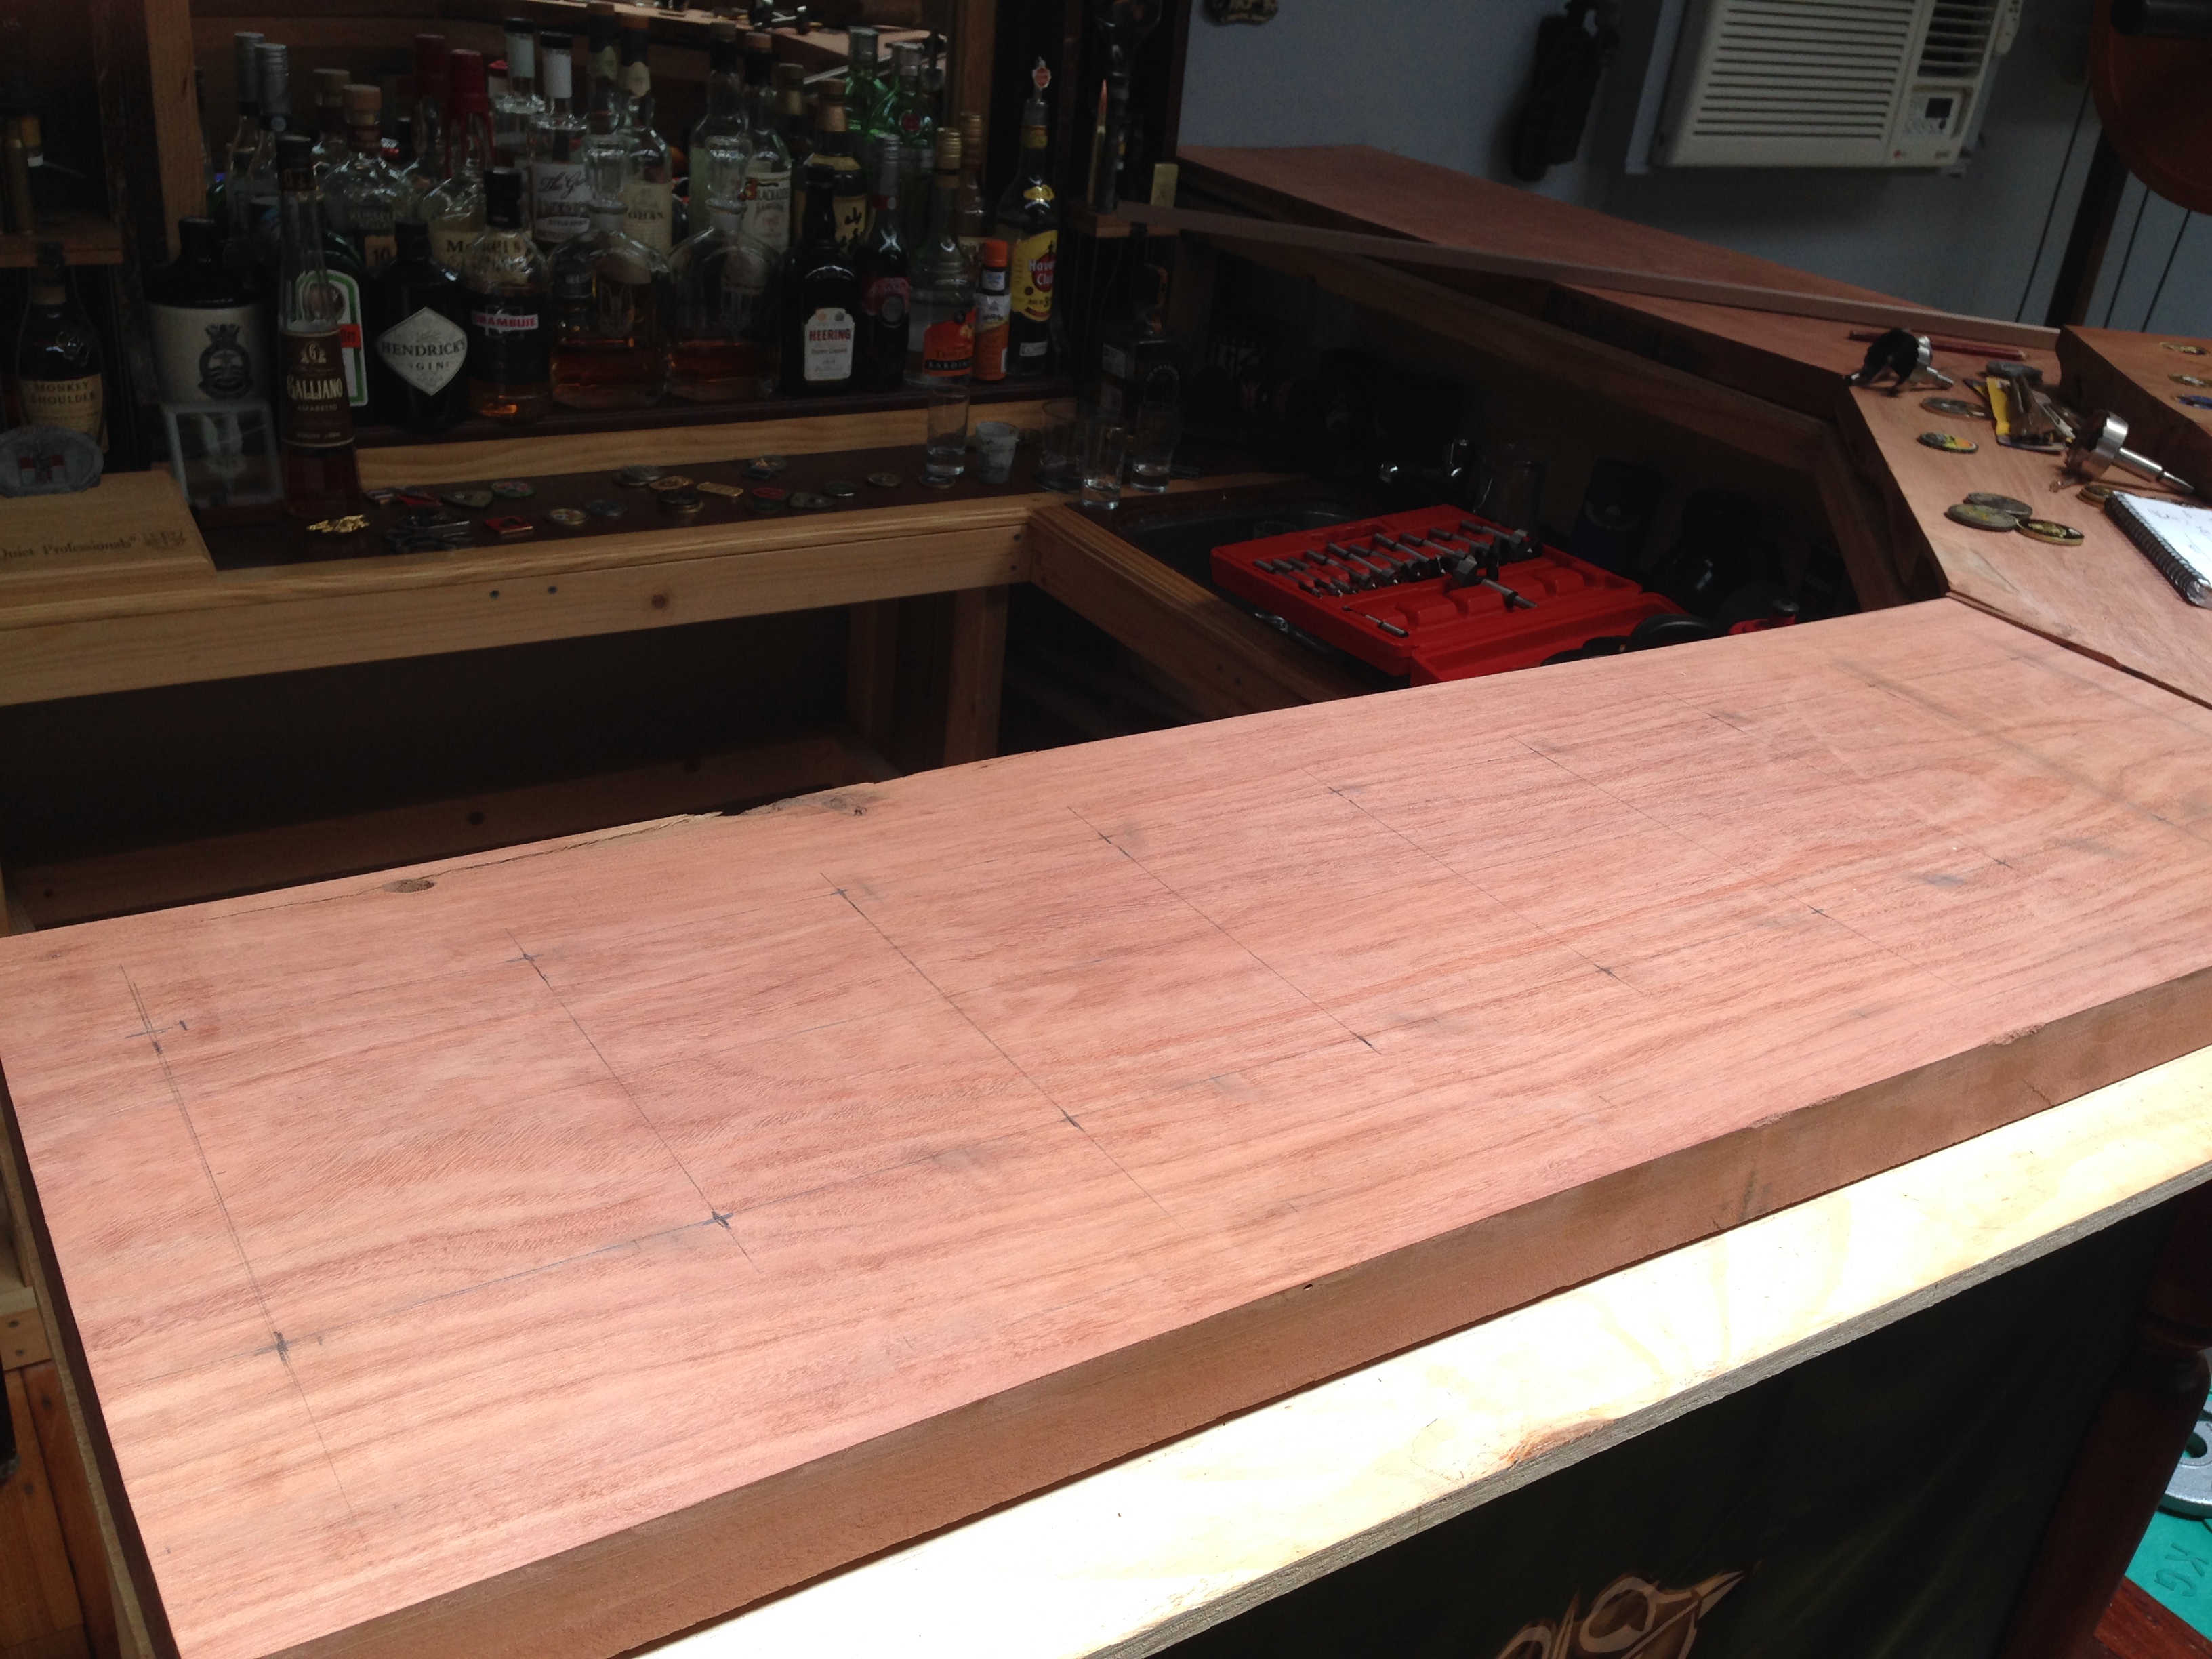
As discussed in a previous post, my plan is to have a bunch of coins and badges that I have collected over the years inlayed into the bar top. First job was to lay out the coins and badges in roughly the position that I wanted them to be.


From there I could work out the spacing required to get them nice and symmetrical, and then mark the exact centre points to drill out the holes to inlay the coins into.
Before taking to the actual bar top and risking making a mistake, I trialled inlaying the coins into a scrap piece of the same Jarrah that I used for the bar top. Complicating matters slightly was the fact that the coins where all slightly different diameters and thicknesses. My goal was to minimise the gap around the outside of the coins, so I drilled a bunch of different holes in the test piece of wood, using different diameter Forstner bits. From there I could test fit each individual coin and work out the best sized hole to minimise gaps.
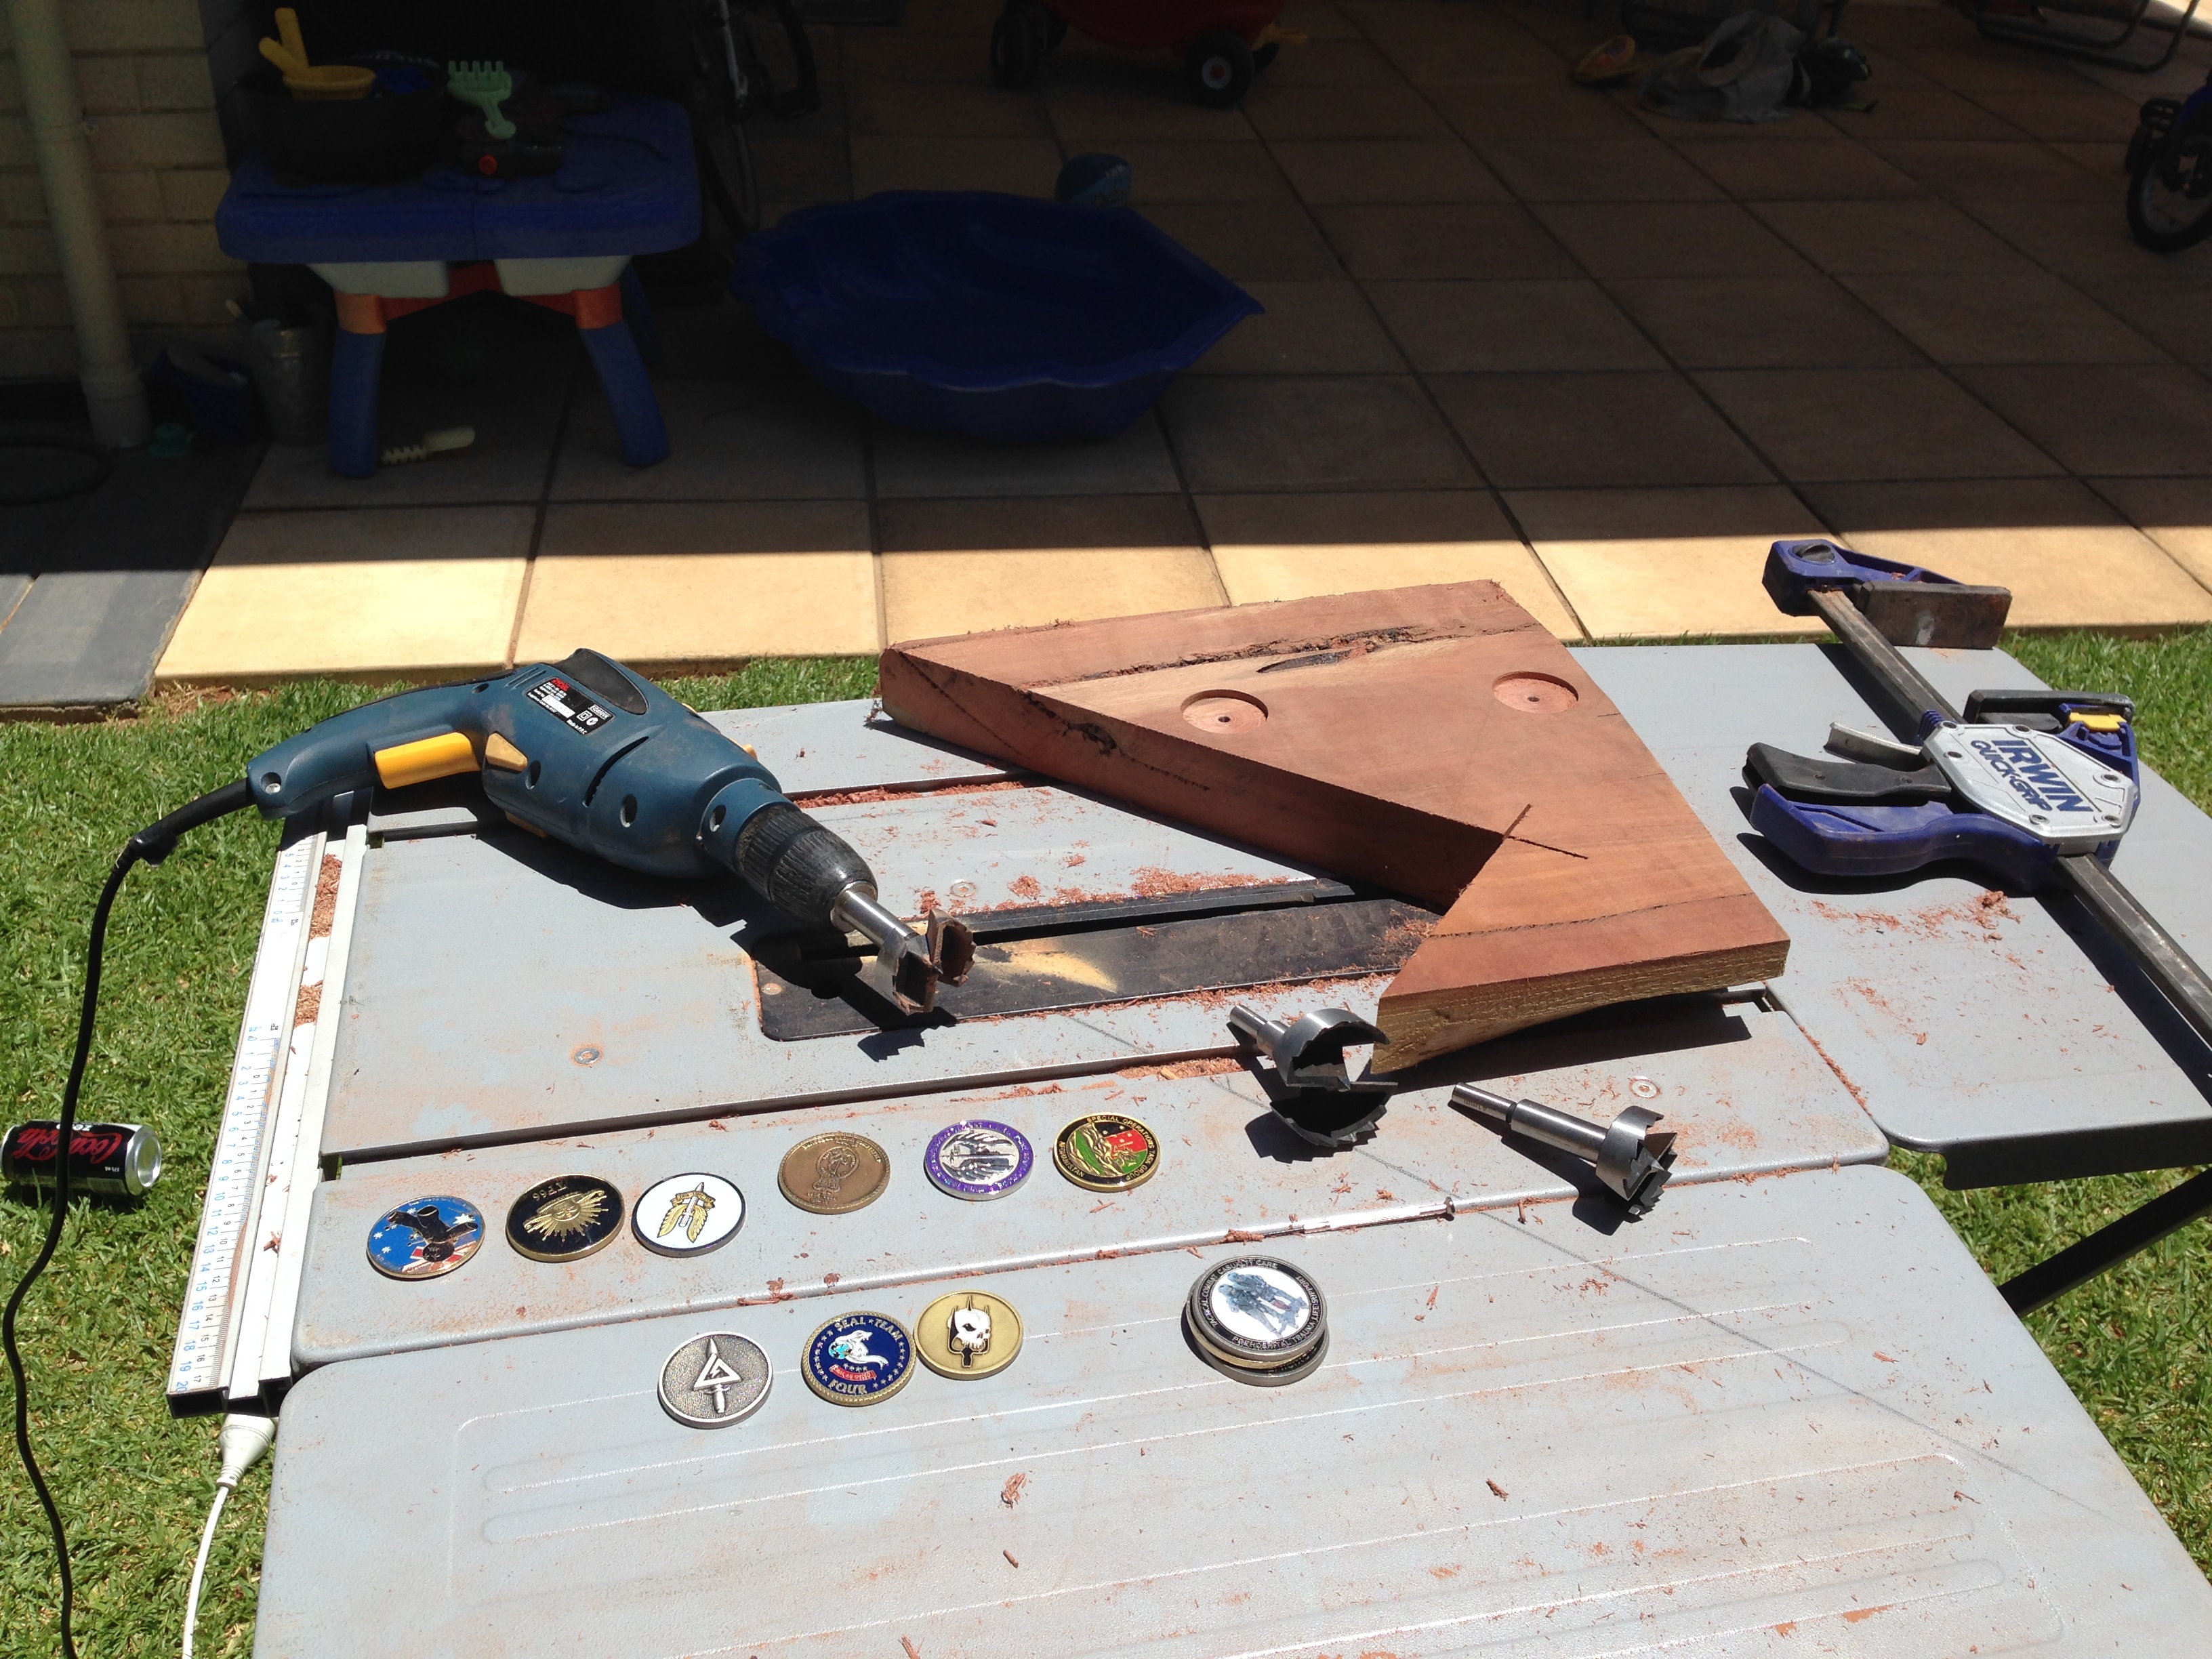

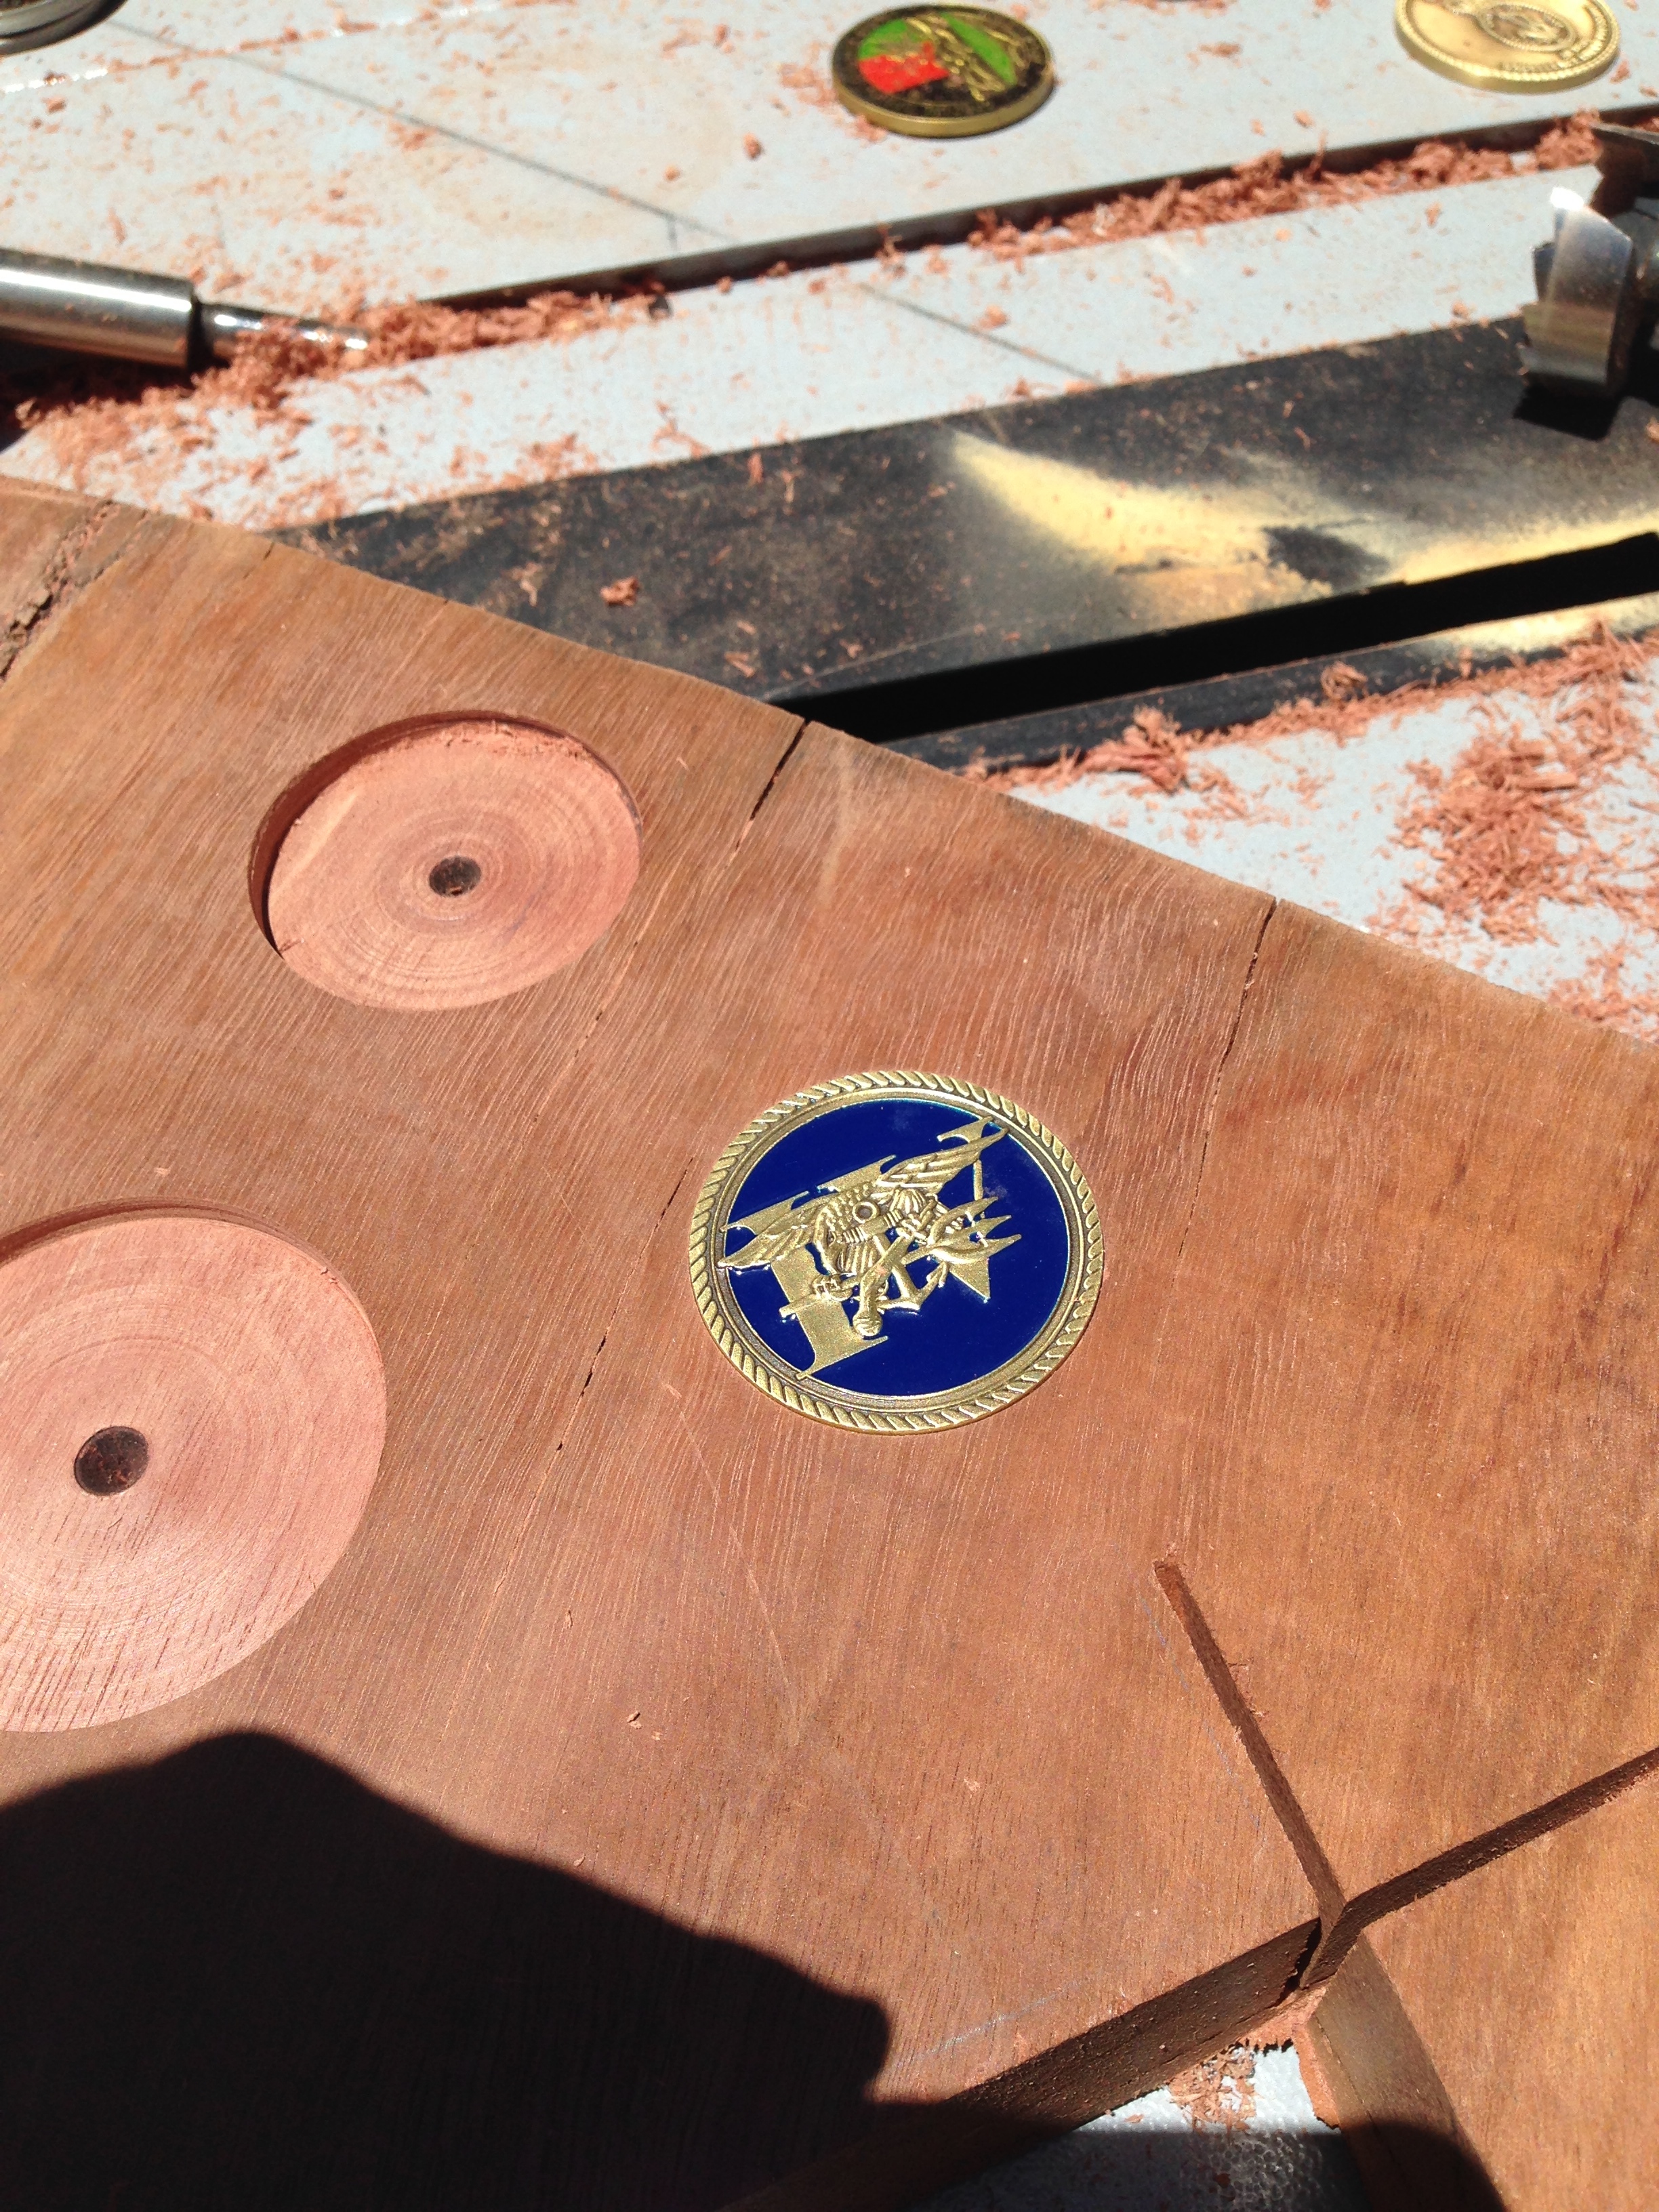
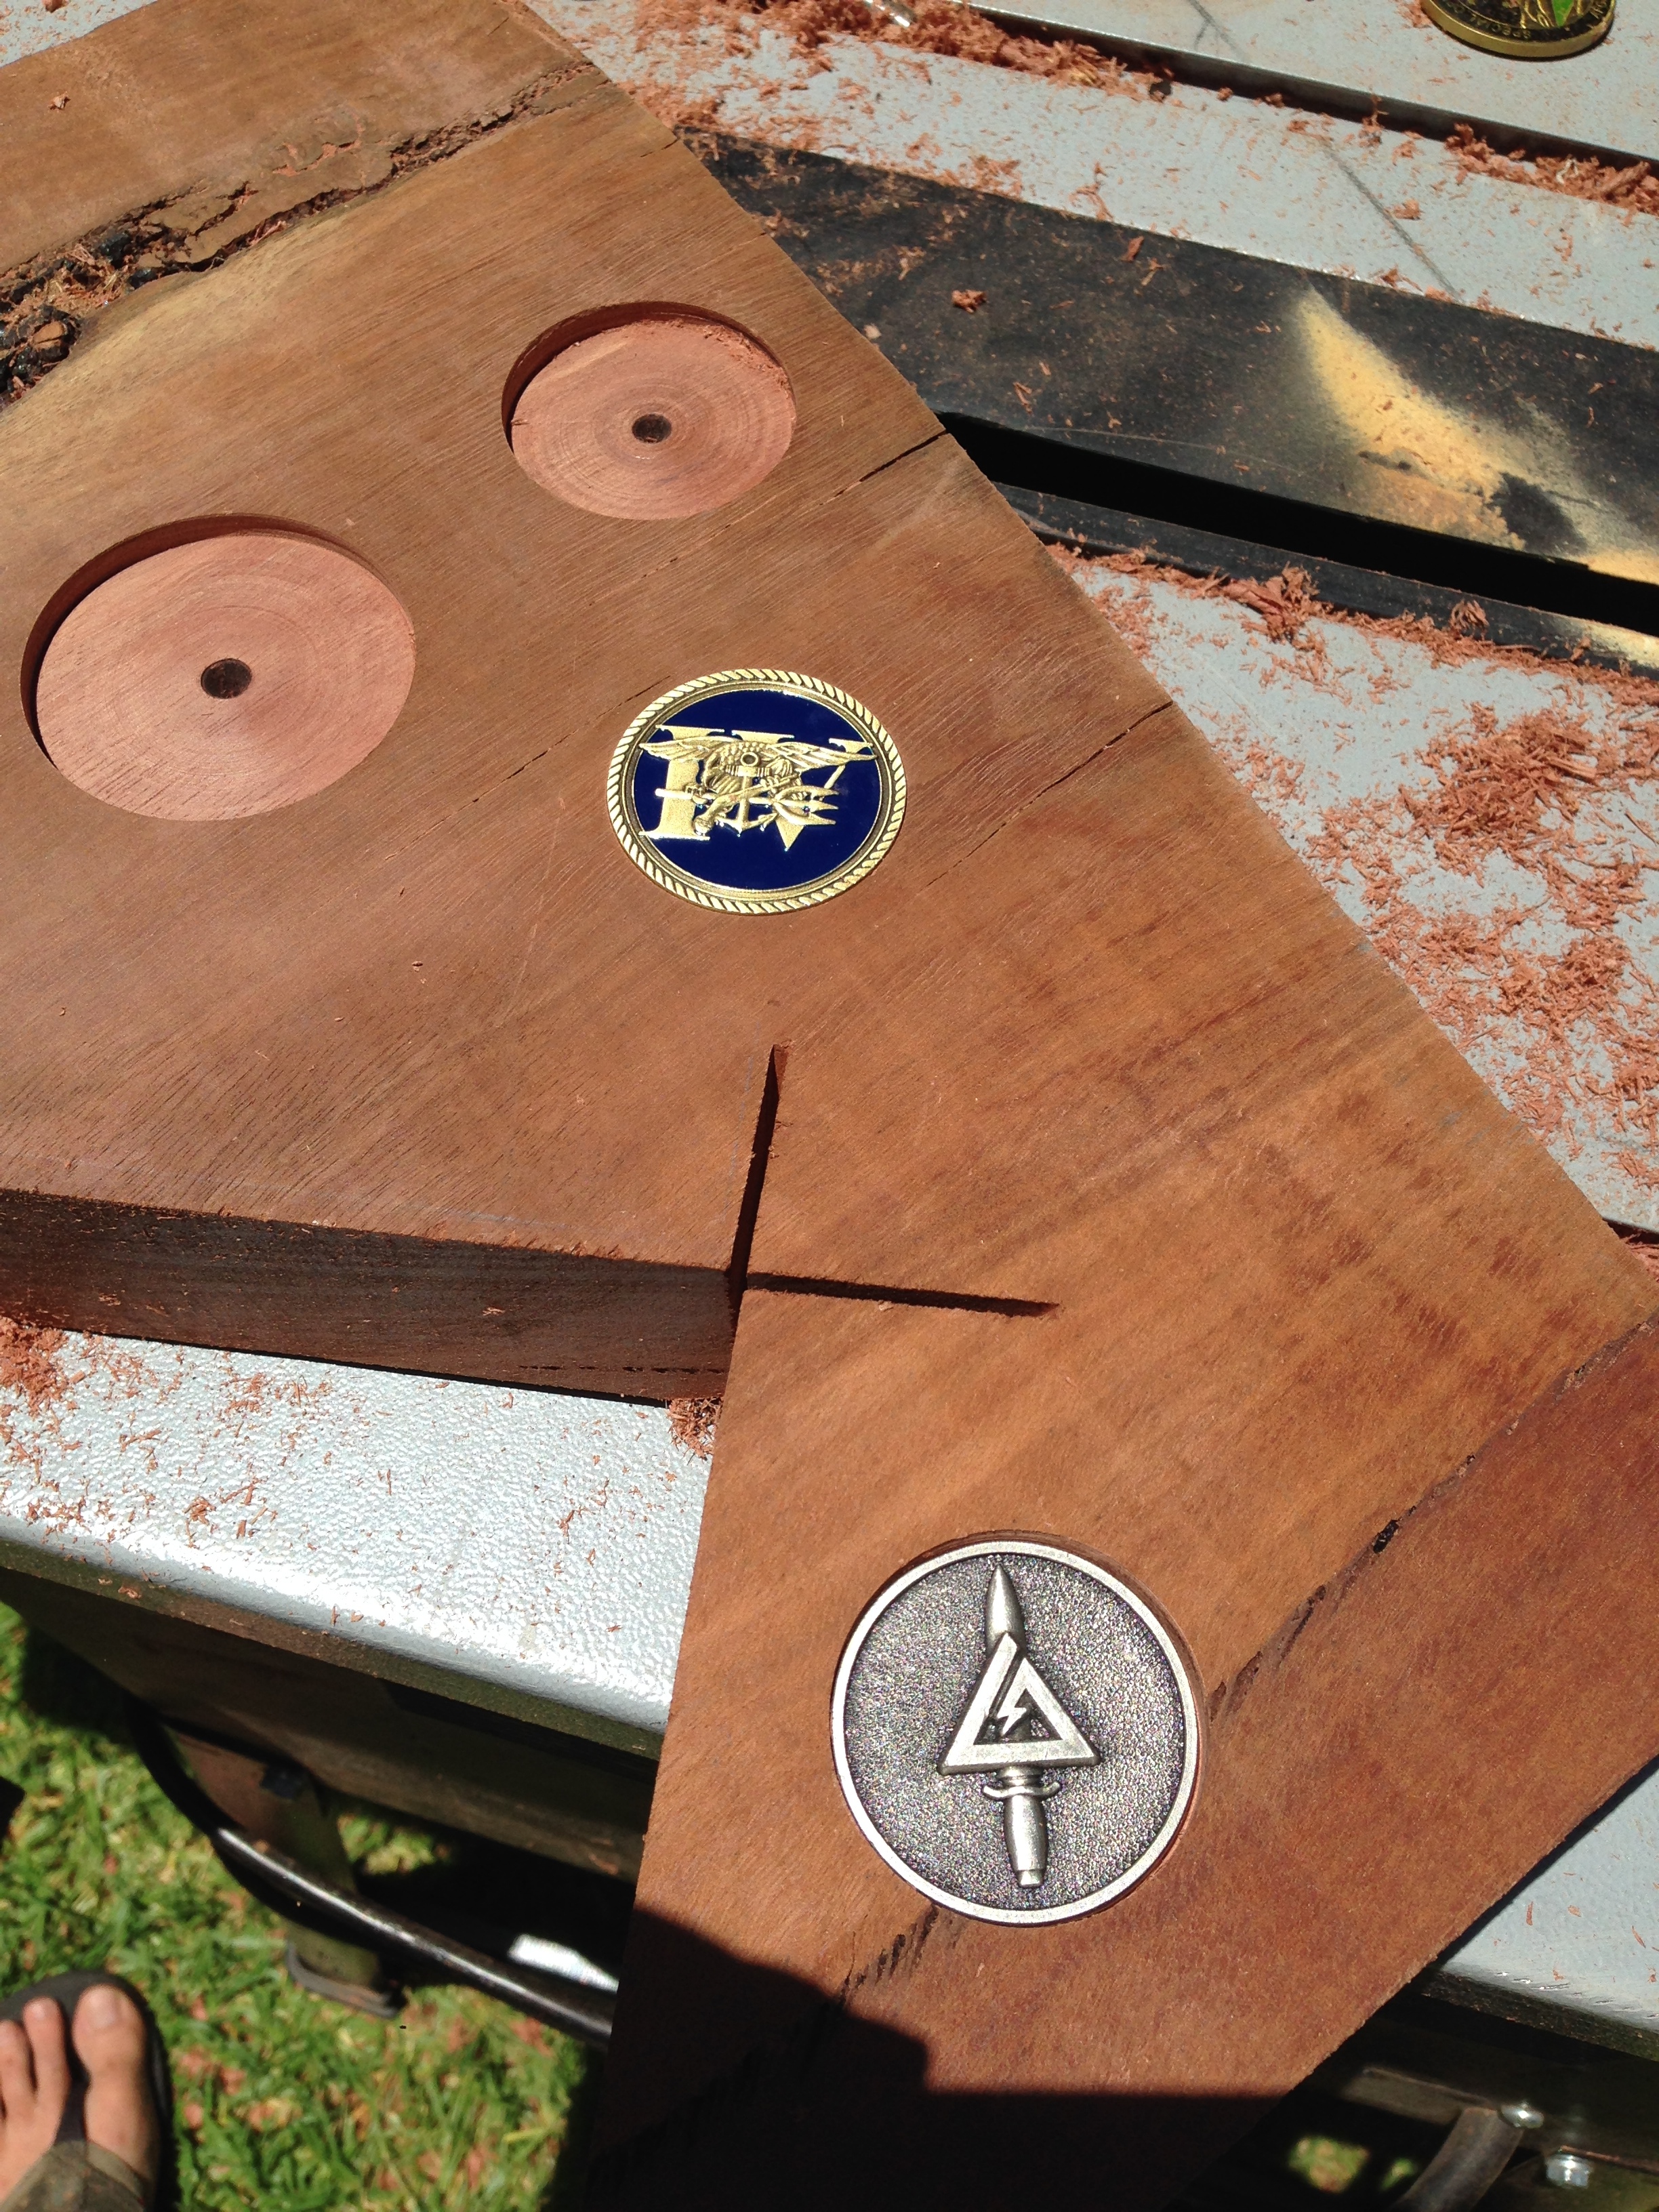
I found that the real trick with drilling the holes was to ensure that I kept the drill bit absolutely perpendicular to the wood. I initially struggled to do this, and found that I had a tendency to put more pressure on the handle side of the drill, leading to uneven depth holes, and therefore the coin sitting at an angle. The trick to overcome this problem was to only drill a few millimetres at a time and then check the hole to see if it was even, and compensate accordingly if required. To get the depth correct, I would also regularly test fit the coin into the hole as I went and then keep drilling small amounts until a depth where the coin fit flush with the wood. When I was fairly confident that I could get it right, I took to the bar top and started inlaying the coins.
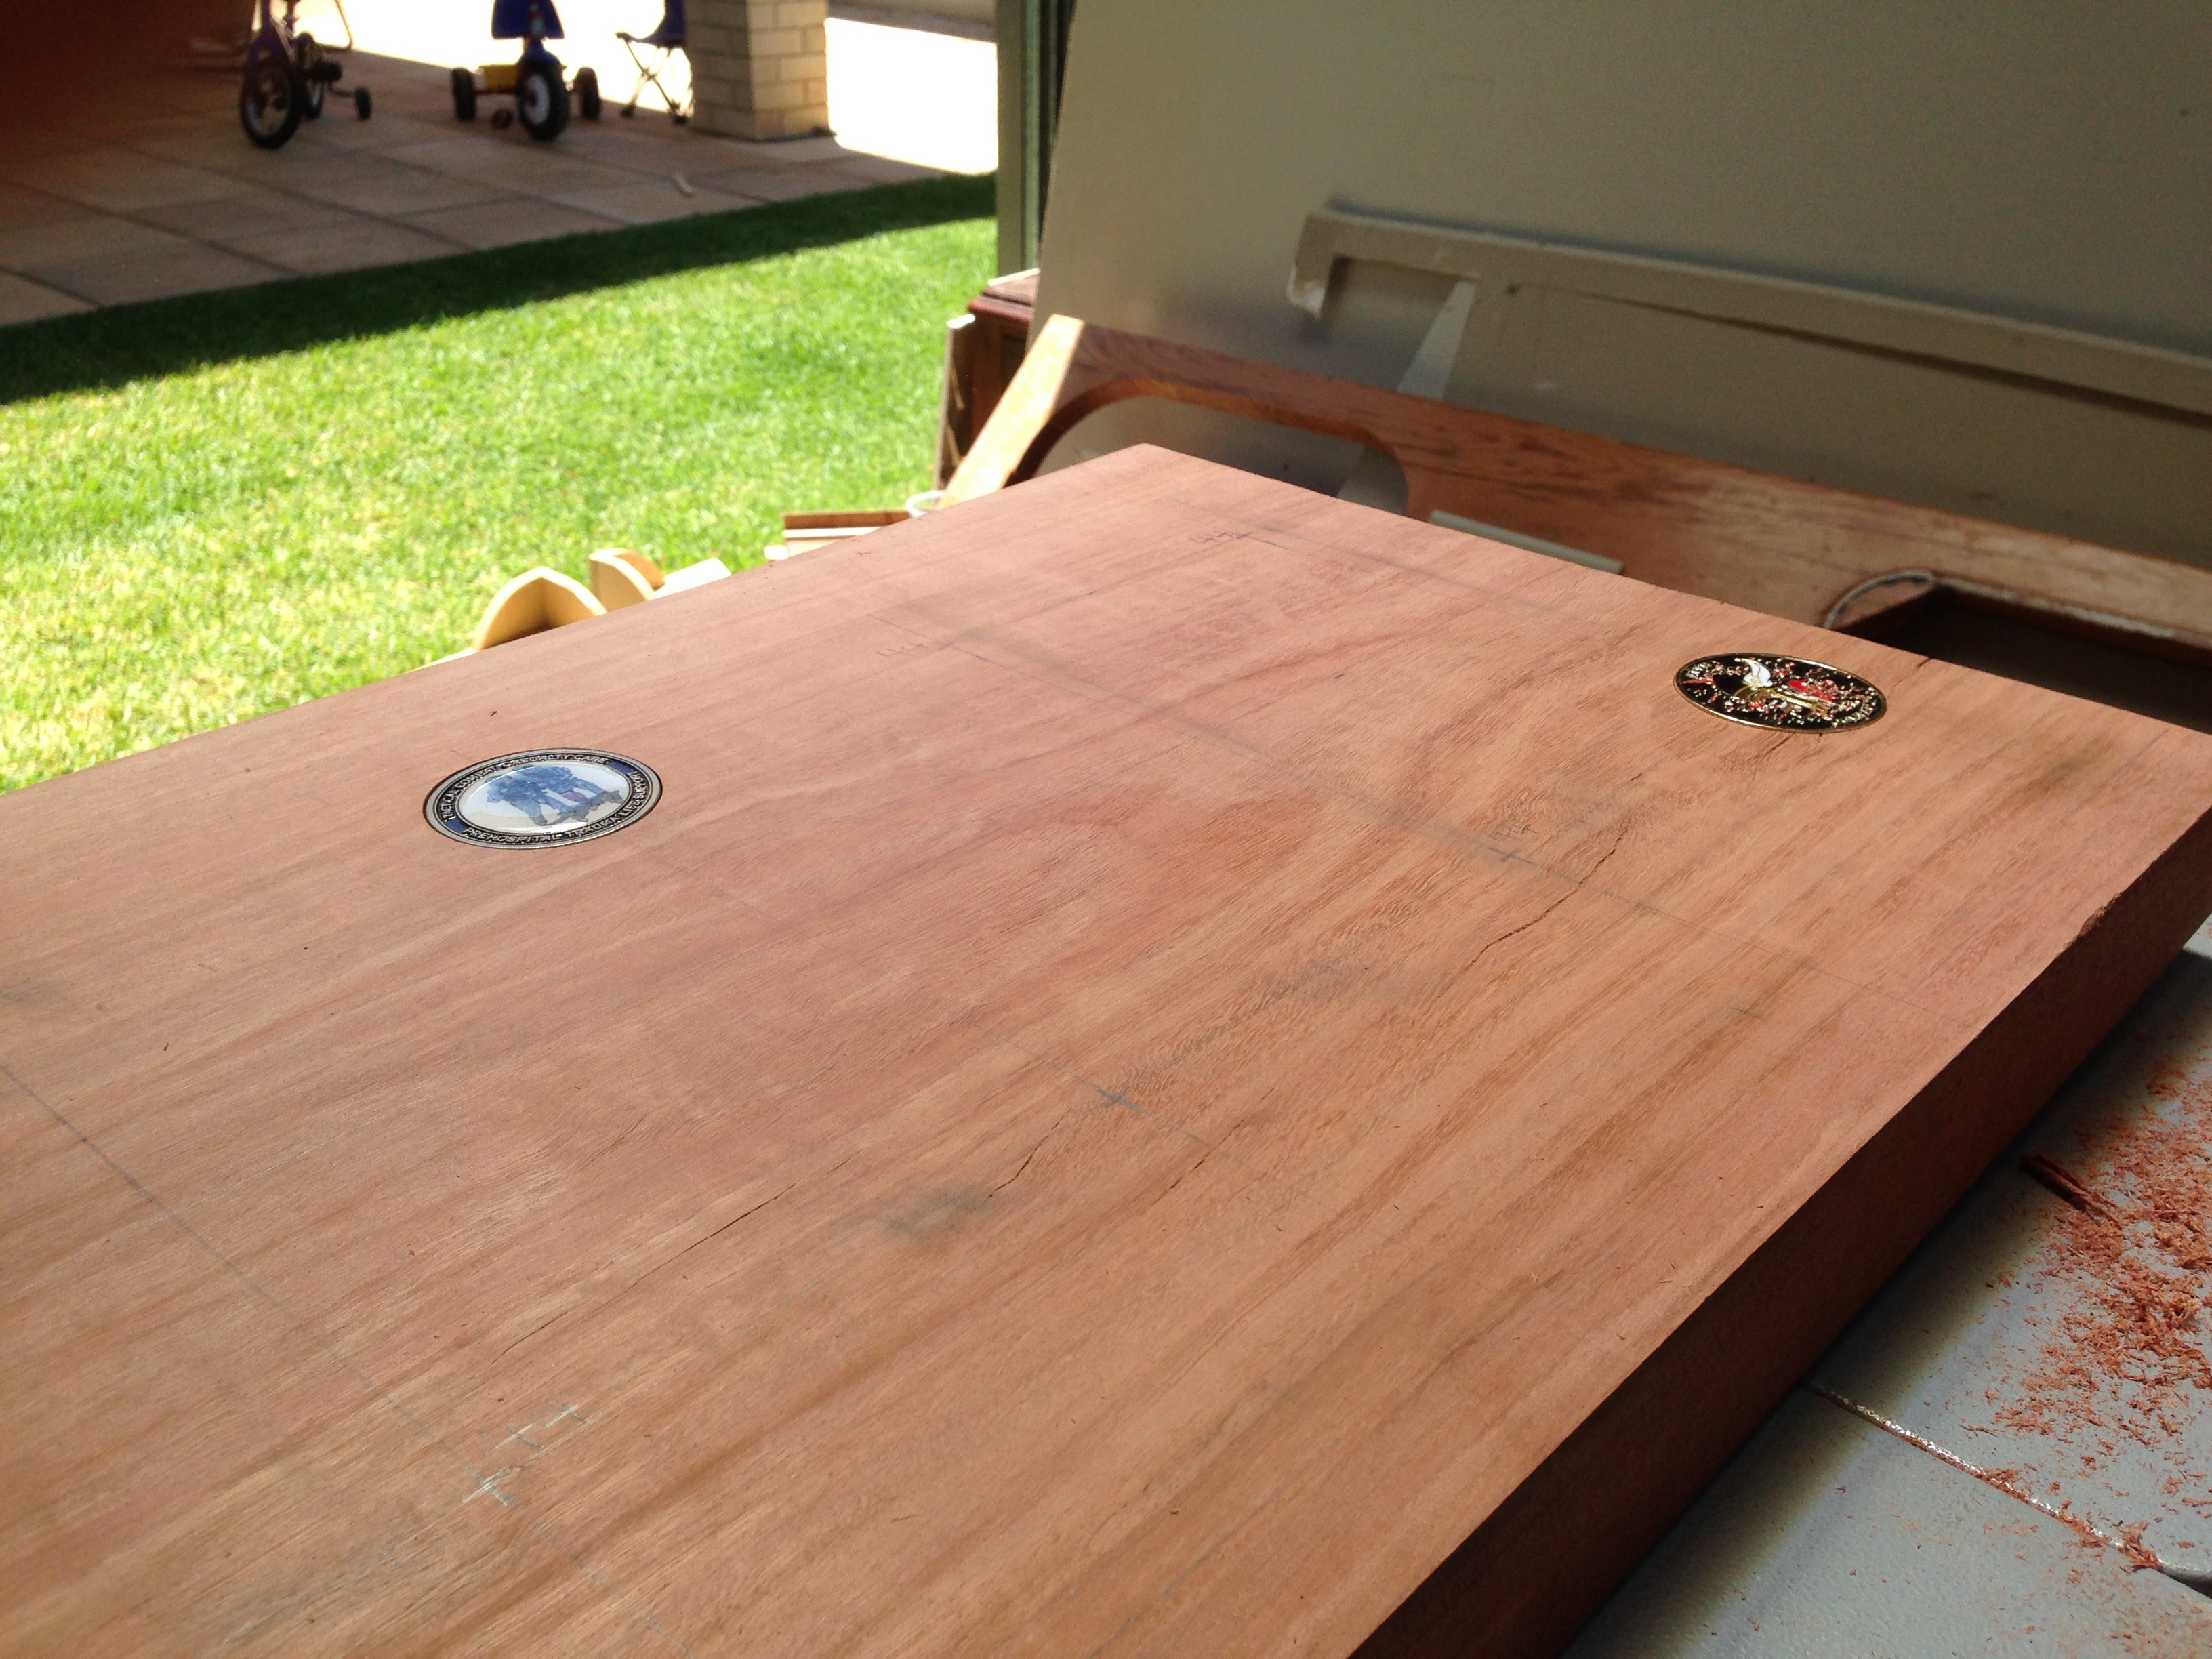


I certainly didn’t get all the holes perfect, but as I will be covering the bar top with lacquer, my plan will be to glue the coins in their holes, and this will give me the chance to adjust their angles slightly in the holes that I have drilled unevenly.
Once the first slab was done, I simply repeated the process for the second slab.

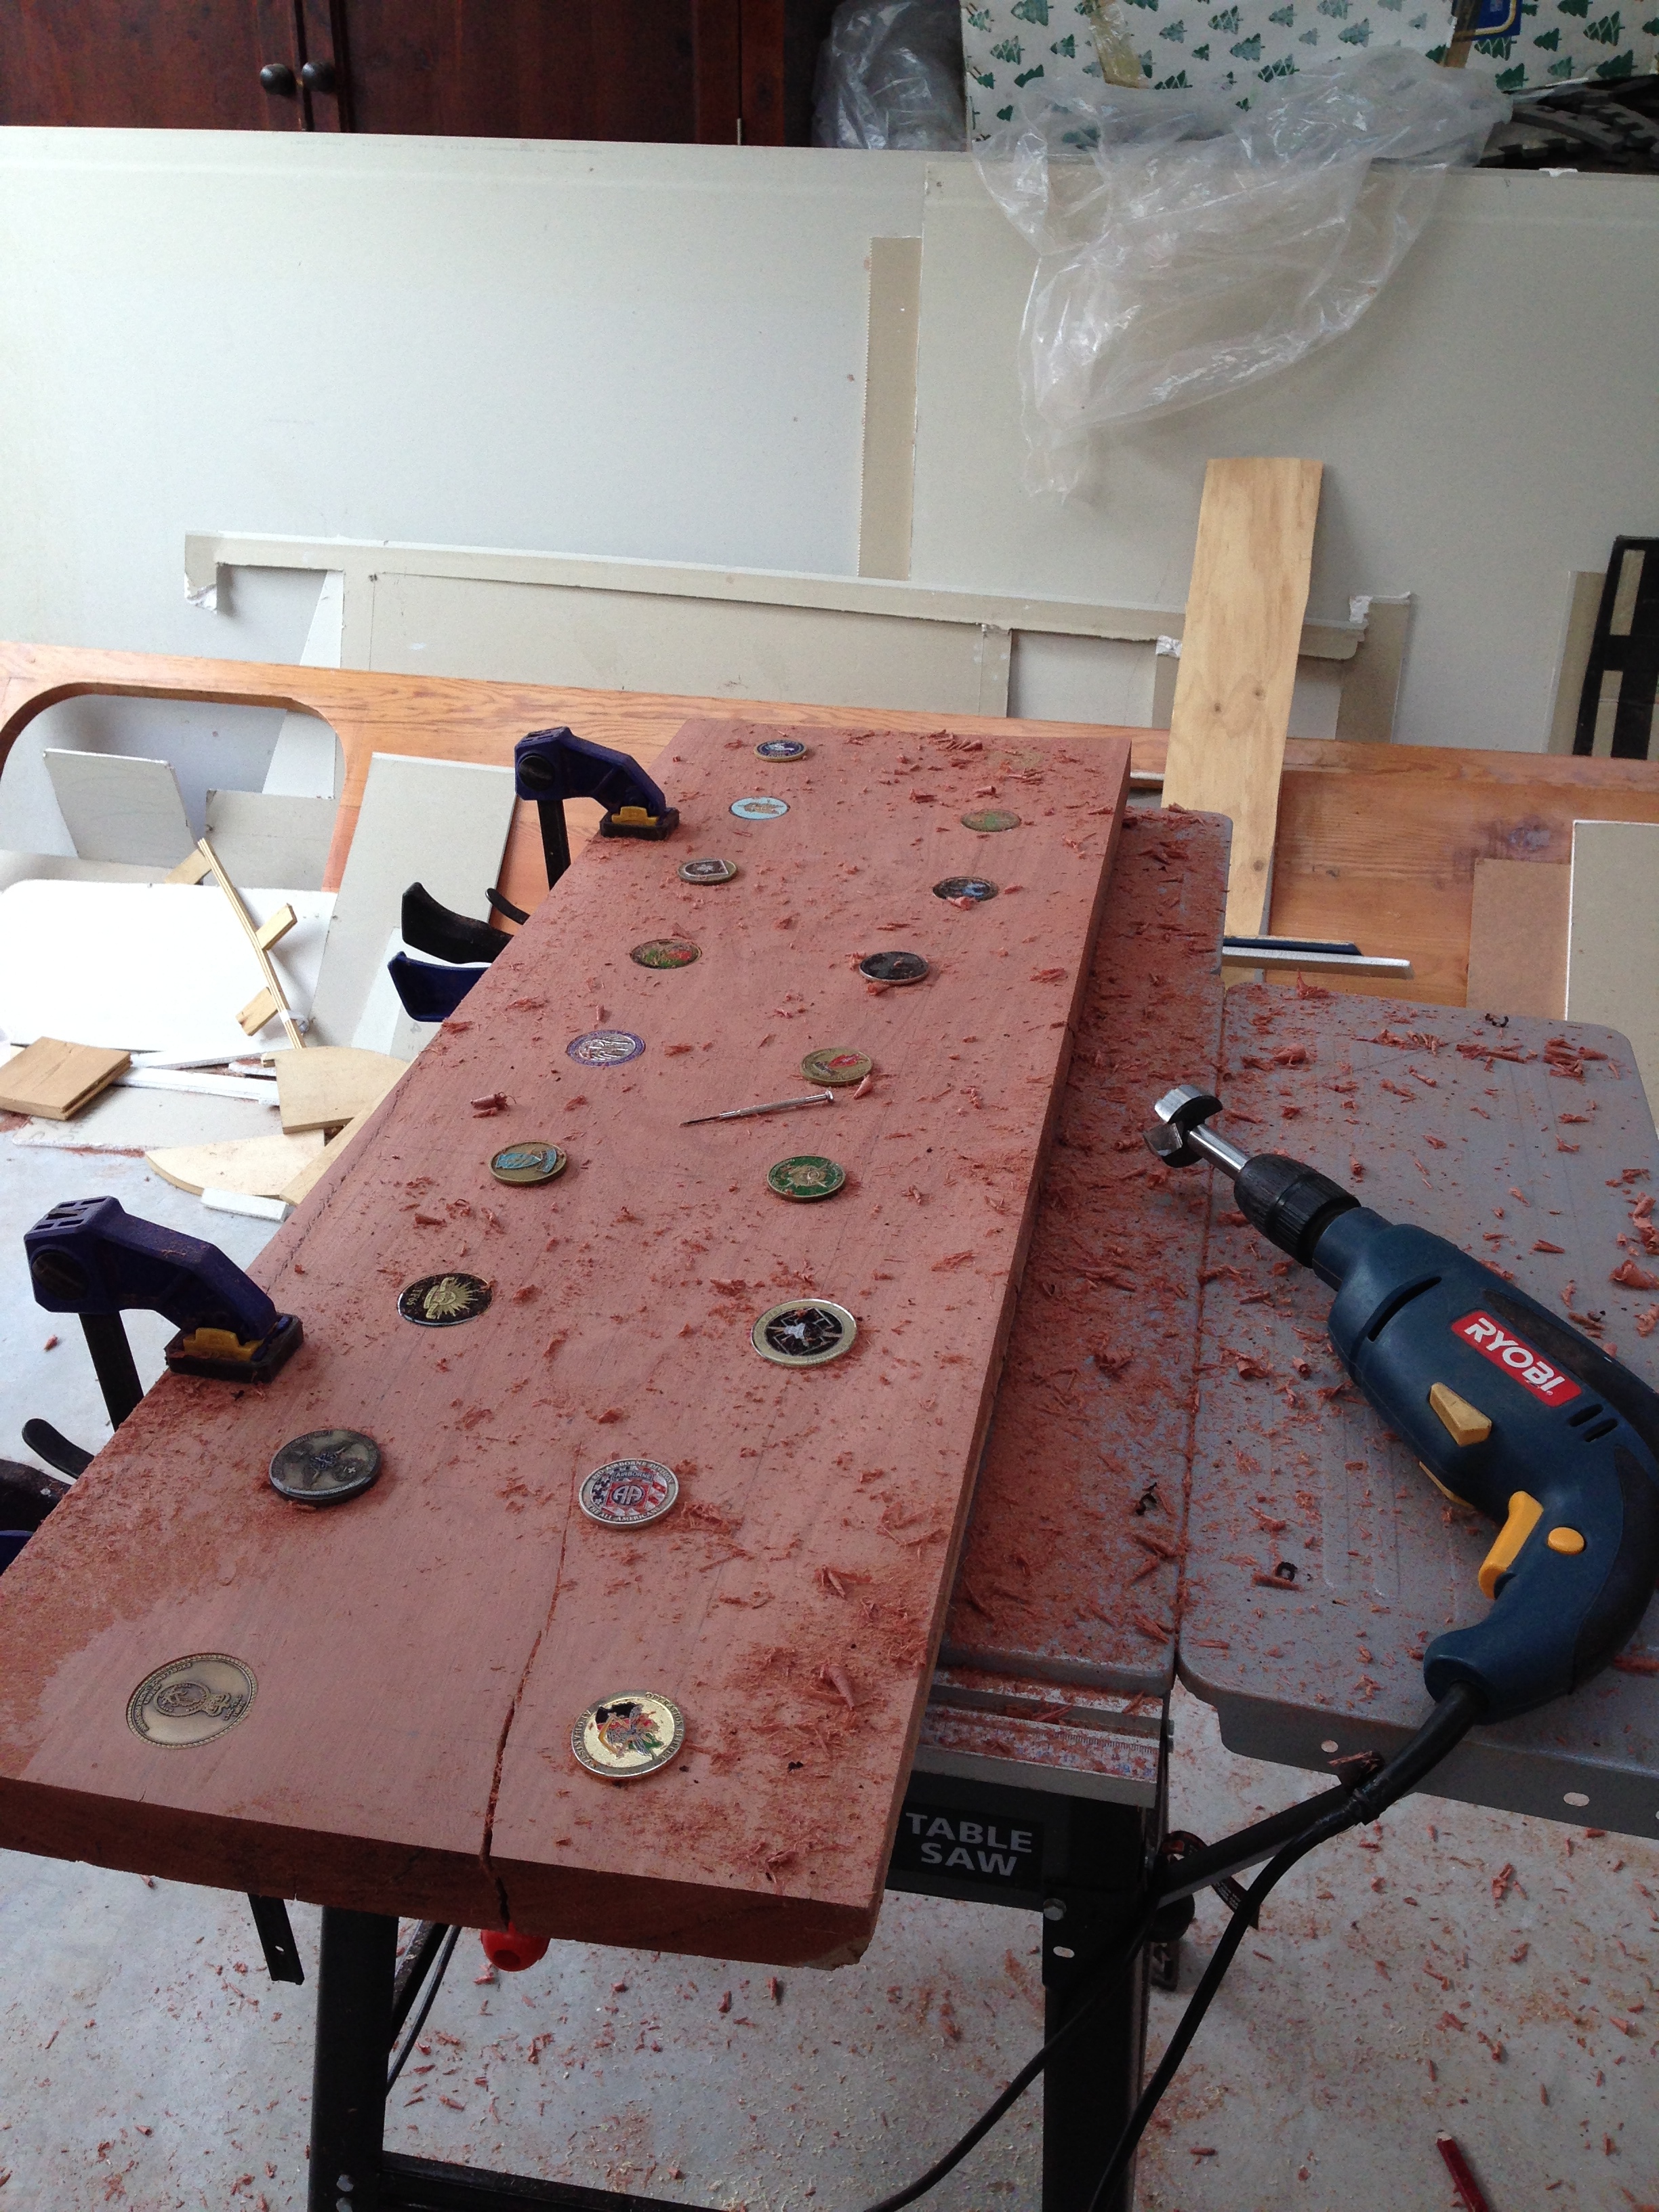


I found that I was much better at drilling accurate holes for the second slab, having had the experience of doing the first. The second slab is the one that goes down the side of my bar, and I anticipate will generally be less used than the first slab. With hindsight, I should have done the slabs in the opposite order, so I got the best result on the more visible slab. That said, they both came out pretty well, and certainly good enough for a man cave bar!


As seen in the first pictures of this post, the centre row of coins and badges that I plan to inlay into the bar top, are all irregular shapes and odd sizes. These are ones that I can’t simply inlay using a Forstner bit, and I will have to give a bit more thought to. The plan is to use a router for the larger ones, and a Dremel in a frame for the smaller, more intricate badges. I anticipate that I will need to make up a few templates as I go, and once again I will be doing test runs on scrap wood before I crack into the bar top.
Cheers for looking, dan.
